


This tutorial will guide you through the process of setting up your Raspberry Pi to act as an AirPlay receiver, allowing you to stream music from any AirPlay-enabled device to your speakers. To accomplish this, we will be using Shairport Sync, an open-source software that implements Apple’s proprietary protocols.
By connecting your Raspberry Pi to your speakers and installing Shairport Sync, you can easily modernize your speakers and cut the cord on expensive wireless speaker systems. This setup is both simple and cost-efficient, and it allows you to use almost any iPhone product and even some Android products with a compatible app installed.
With Shairport Sync, your Raspberry Pi can receive music from any device that supports AirPlay, making it a versatile and convenient solution for streaming audio content. Follow the steps outlined in this tutorial to get started!
What You Will Need
Click Here For The Best Raspberry Pi Gear & Accessories!
Step-By-Step Guide To Setting Up Airplay On A Raspberry Pi
- Download the Raspbian Lite image from the Raspberry Pi website and copy it to your SD card using a program like Etcher.
- Install the necessary packages by running the following commands on your Raspberry Pi:
sudo apt-get update
sudo apt-get install autoconf automake avahi-daemon build-essential git libasound2-dev libavahi-client-dev libconfig-dev libdaemon-dev libpopt-dev libssl-dev libtool xmltoman- Clone the Shairport Sync repository by running:
git clone https://github.com/mikebrady/shairport-sync.git- Build and install Shairport Sync by running:
cd shairport-sync
autoreconf -i -f
./configure --with-alsa --with-avahi --with-ssl=openssl --with-metadata --with-systemd
make
sudo make install- Enable Shairport Sync to start on boot by running:
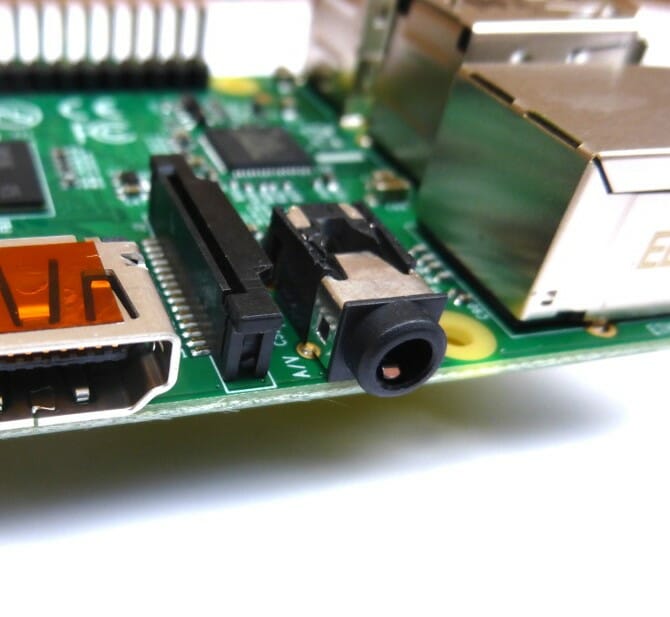
sudo systemctl enable shairport-sync- Connect your Raspberry Pi to your stereo receiver and speaker using an HDMI cable or 3.5mm audio cable.
- Your Raspberry Pi AirPlay receiver should be all set! To confirm that it works, hop on an Apple device and head to the AirPlay menu or to System Preferences>Sound. Your Raspberry Pi should be on the list, ready to receive AirPlay casts!
Click Here For The Best Raspberry Pi Gear & Accessories!
How To Improve The Analogue Audio Output
Now that you have set up your Raspberry Pi AirPlay receiver, there are several ways to improve its performance. One of the most effective ways is to upgrade the audio driver to a newer version.
To take full advantage of the improved audio driver, you will need to make a few changes. If you want to learn more about the audio driver, you can check out this topic on the ever-helpful Raspberry Pi forums.
You Might Like: We Explain Raspberry Pi Rack Mounts
1. Firstly we need to update the Raspberry Pi’s firmware, and we can do this by running the following command, it can take some time. Make sure your Raspberry Pi doesn’t lose power during this.
sudo rpi-update2. Once the firmware update has completed, turn off your Raspberry Pi and take out your SD Card.
Once you have removed your SD Card, insert the SD Card into a reader connected to a computer. The reason for this is that we need to modify the Raspberry Pi’s boot config file
The file we are after is located at /boot/config.txt on the SD Card, open it up with your favorite text editor. Add the following new line to this file.
audio_pwm_mode=2Once you have edited this file, you can save it and place the SD Card back into your Raspberry Pi and power it back on.
3. With your Raspberry Pi powered back on, there are two more things we need to do before the improved analog audio driver works well with Shairport. The next step is to set it, so the analog jack is the main audio out and not the HDMI output.
We can utilize the following command in the Raspberry Pi’s terminal to do this.
amixer cset numid=3 14. Now there is one final thing we must do to finish improving our Raspberry Pi AirPlay device, and that is to modify the volume db Range that Shairport uses. We can modify the range by changing it in the configuration file.
Run the following command to begin editing the configuration file.
sudo nano /usr/local/etc/shairport-sync.conf5. Within this file make the following changes.
Find
volume_range_db = 60Replace with
volume_range_db = 30We can now save the file by pressing CTRL + X then pressing Y and then ENTER.
6. Now to make sure all these changes are properly loaded in, we will restart the Raspberry Pi by running the following command.
sudo reboot
You Might Like: Raspberry Pi VS Jetson Nano
Extra Tips For Improving Sound Quality
Even after following the steps above, you may still find the audio lacking. Here are a few more tips to improve the audio output of your Raspberry Pi.
- Use an external USB sound card: Using a USB sound card can help improve the sound quality by leaving the D/A conversion to the interface. HiFiBerry and PecanPi HAT are some of the popular options available in the market.
- Use Pulseaudio: Pulseaudio is a package for the RPi that significantly increases the quality of the audio.
- Ensure your Pi is getting enough power: Make sure your Pi is getting enough power to avoid cracking sounds.
Conclusion
In this tutorial, we have shown you how to set up an Airplay receiver using Raspberry Pi and provided tips for improving its sound quality. We hope that you found this tutorial helpful and informative. By following the steps outlined in this guide, you can now enjoy wireless streaming of audio, video, and photos between devices using Airplay.
The team at LifeHacker has put together an awesome video guide to setting up your Raspberry Pi as an AirPlay receiver. Check it out below and check out the rest of their videos.
If you have any questions or feedback, please feel free to reach out to us. We’d love to hear from you!
READ NEXT: Running Steam On A Raspberry Pi