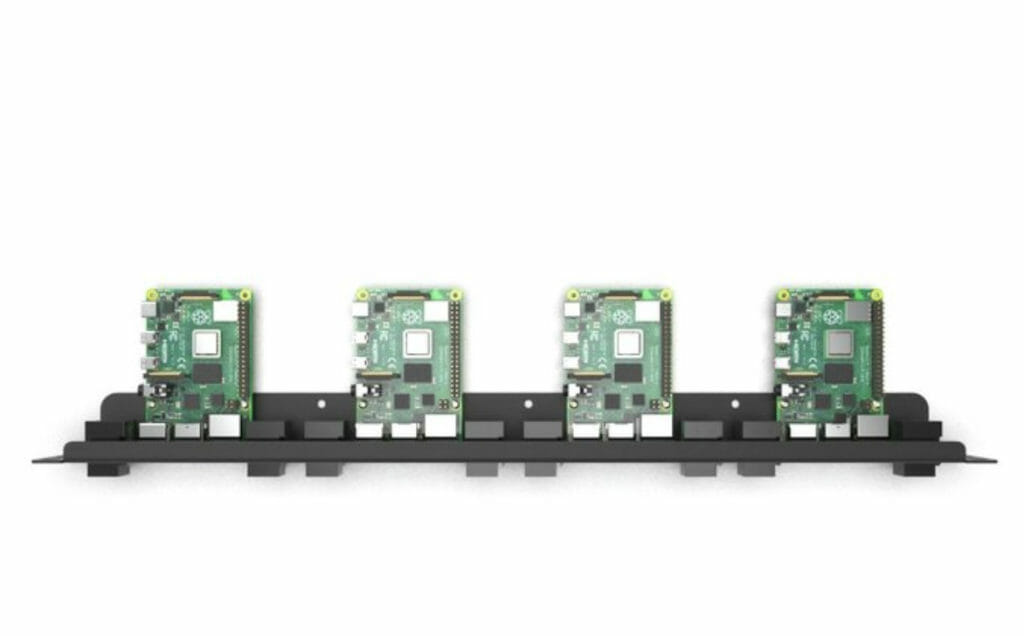
A Raspberry Pi rack mount is a hardware device that allows you to stack multiple Raspberry Pi devices and operate them as a cluster.
With a Raspberry Pi cluster, you can connect numerous devices and stack them to work towards the same goal, with roles evenly spread across each one. This versatile and cost-effective method is an excellent way to boost the power of your Raspberry Pi.
In this comprehensive guide, we’ll cover everything you need to know about choosing a rack mount for your Raspberry Pi.
What Are The Benefits Of Using Rack Mounts?
Creating a mounting rack for your Raspberry Pi offers numerous advantages, including:
- Actions will be distributed evenly across the multiple Raspberry Pi devices. This will mean that you don’t have just one overworked Raspberry Pi that is struggling to perform all of your required functions.
- Many rack mounts will offer extra features that can enhance the performance of your devices. For instance, they are often built with fans, which should reduce the risk of overheating.
- Rack mounts will allow multiple Raspberry Pi devices to work in harmony, thus allowing you to create more powerful servers. The overall performance of your system will be boosted.
- It will keep all of your Raspberry Pi devices in one location. As a result, it can save space and ensure that you do not misplace your devices. Not to mention, it is an aesthetically pleasing and organized storage method.
- Rack mounts will also act as a form of protection for these single-board computers. Typically made from metal, such as carbon steel, or tough plastics, these mounts are durable and long-lasting.
- Creating a Raspberry Pi cluster with a mounting rack is a fairly straightforward process. Some mounts will even come ready-assembled, which should reduce the amount of time that it takes to set up this system.
- Rack mounts come in a variety of different styles, allowing you to find a product that works best for you.
How To Choose The Right Raspberry Pi Rack Mount
When choosing a rack mount, consider factors such as price, size, number of slots, and suitability for your specific Raspberry Pi model. Additionally, look for additional features such as built-in fans to prevent overheating, compact design for portability, and durable materials such as steel or aluminum.
If you do not want to purchase a premade rack mount, you could build a frame with a 3D printer. It’s worth noting that this method will be incredibly time-consuming and will require technical skills. It is best to follow an online guide if you intend to construct your rack mount with a 3D printer
Once you have chosen and obtained (or made) the rack mount, you will need to assemble it. The exact method that you use to build the mount will differ depending on the model that you have selected. Whichever rack mount system you choose, you will usually need a screwdriver to build it. Luckily, many products will be accompanied by an added screwdriver.
After assembling the rack mount, add the Raspberry Pi devices to the assigned slots and prepare them by installing necessary programs and apps such as Raspbian. Establish a connection between the devices through network configuration and ethernet cables.
Once you have installed all of the necessary apps and connected the ethernet cables, it is recommended that you test the mount rack to see if you have created a successful cluster. If the Raspberry Pi cluster runs properly, this will indicate that the connection is strong.
If there are any issues, you may need to check each device individually before moving on. Though this can be time-consuming, it will ensure that you remove any problems.
Finally, test the mount rack to ensure that the Raspberry Pi cluster is running properly. Troubleshoot any issues by checking each device individually. Once the mount rack is set up successfully, you can start using it for your desired purpose.
Top 5 Raspberry Pi Rack Mount Systems
There are several options when it comes to Raspberry Pi rack mount systems. I’ve outlined the top 5 choices below.
UCTRONICS Ultimate Raspberry Pi 4 Rack Mount
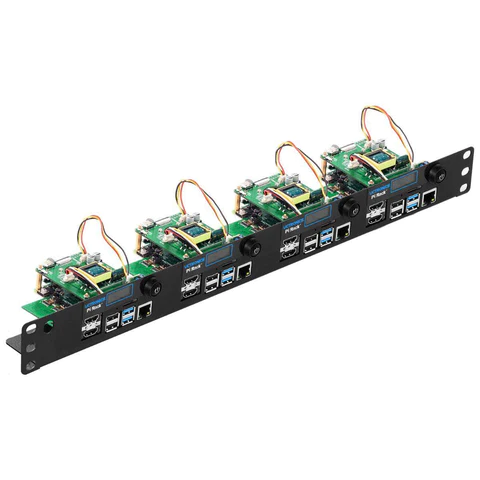
Features: Designed specifically for Raspberry Pi 4, supports up to 4 devices, built-in fans, and multiple USB and HDMI cut-outs.
This rack mount provides excellent cooling with its integrated fans, easy access to ports, and a compact design that accommodates up to four Raspberry Pi 4 devices in a single mount.
GeeekPi 6-Layer Raspberry Pi Cluster Case
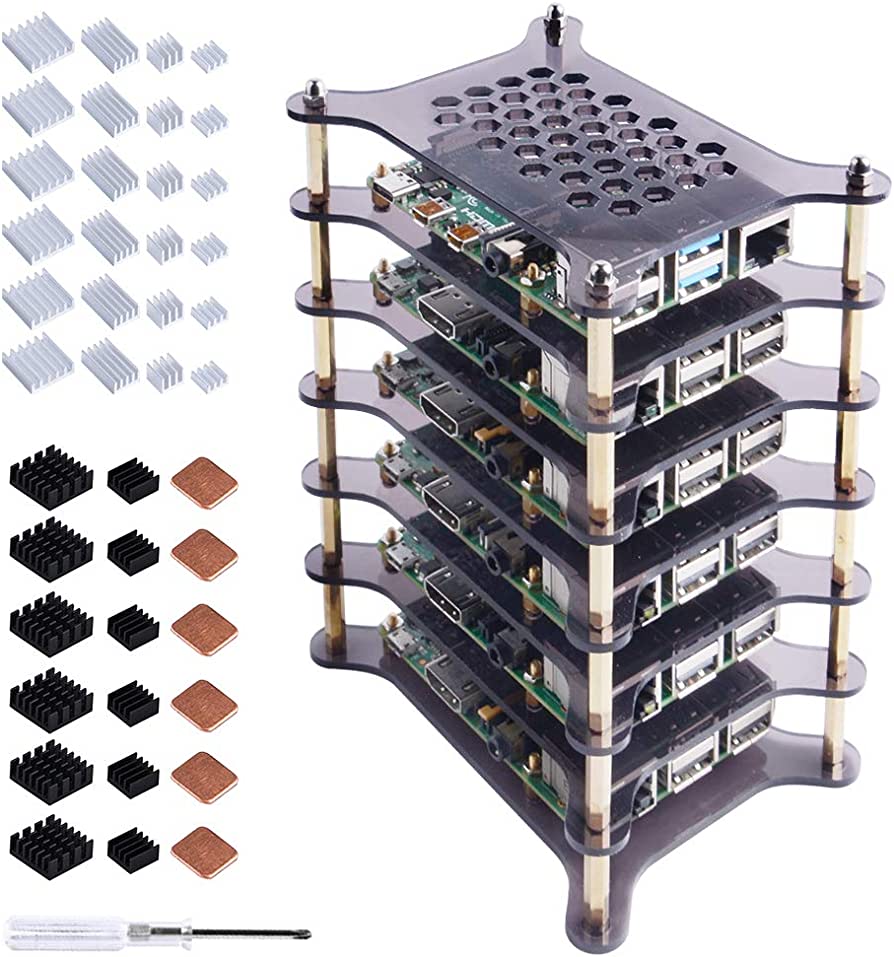
Features: 6-layer stackable design, compatible with Raspberry Pi 4/3/2/B+, supports up to 6 devices, and includes built-in cooling fans.
The stackable design allows for easy expansion, while the compatibility with multiple Raspberry Pi models and built-in cooling fans make it a versatile and efficient solution for managing multiple devices.
MyElectronics Raspberry Pi Rack Mount
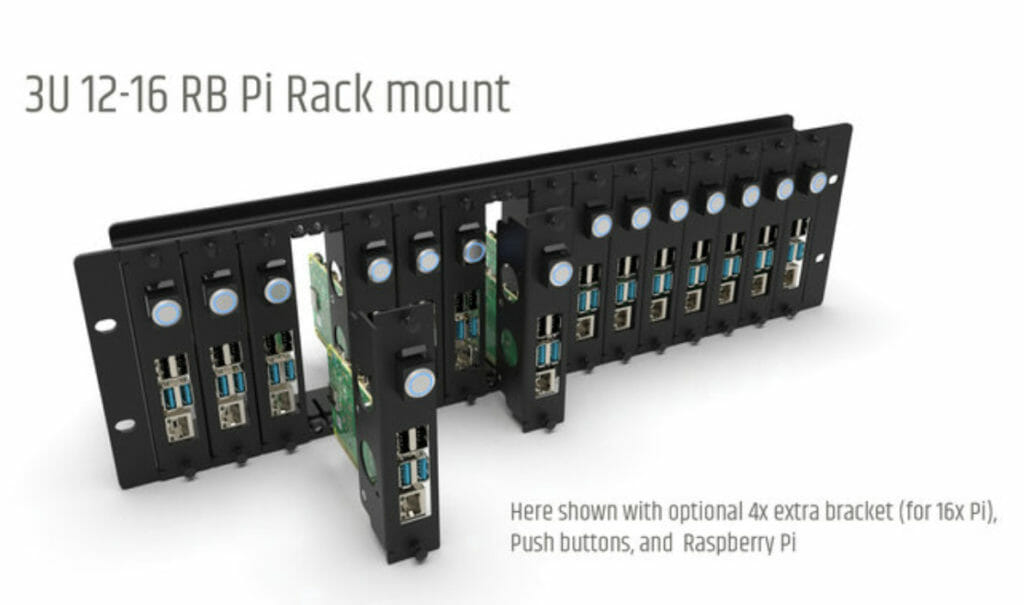
Features: Modular design, compatible with Raspberry Pi 4/3/2/B+, supports up to 12 devices, and includes cable management features.
The modular design allows for easy customization and expansion, while the cable management features help to keep your setup neat and organized. The mount’s capacity to hold up to 12 devices makes it suitable for larger Raspberry Pi deployments
SumoLink Front Removable 1U Rack Mount
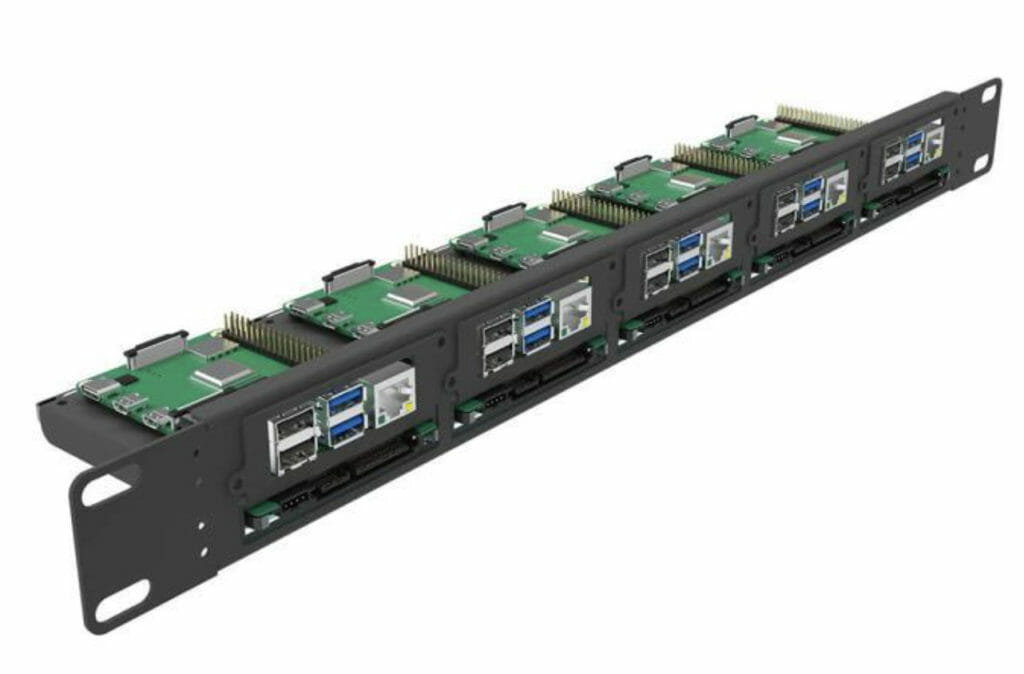
Features: 1U size, front-removable design, compatible with Raspberry Pi 4/3/2/B+, supports up to 4 devices, and fits into a 19-inch server rack.
The front-removable design allows for easy access to your devices without the need to dismantle your server rack. Its compatibility with multiple Raspberry Pi models and 19-inch server rack fitment make it a convenient and space-saving solution for professional environments.
Final Thoughts
Assembling a rack mount for your Raspberry Pi can help you streamline your cluster of devices and make them more organized and portable. By following the steps outlined in this article, you can choose a suitable rack mount, assemble it properly, and add your Raspberry Pi devices to the assigned slots.
With a successfully set up mount rack, you can enjoy the benefits of having a Raspberry Pi cluster that runs smoothly and efficiently. Whether you’re a hobbyist, educator, or maker, a rack mount for your Raspberry Pi can help you take your projects to the next level.
The team at BensTechLab have put together a great video review on the Uctronics Rackmount, check it out below, and don’t forget our FAQ’s are just after the video.
Frequently Asked Questions
How Many Raspberry Pi Devices Can I Mount On A Rack Mount?
The number of devices you can mount on a rack mount depends on the design and size of the mount itself. Some mounts can accommodate just a few Raspberry Pi devices, while others can hold dozens. Choose a mount that meets your specific requirements.
Can I Use A Raspberry Pi Rack Mount In A Standard Server Rack?
A: Some Raspberry Pi rack mounts are designed to fit inside standard 19-inch server racks, while others have a standalone design. If you intend to use a server rack, ensure that the rack mount you choose is compatible with your specific rack size and configuration.
Can I Use A Rack Mount With Different Raspberry Pi Models?
A: Yes, most Raspberry Pi rack mounts are designed to be compatible with various Raspberry Pi models, such as the Raspberry Pi 4, 3, 2, and B+. However, it’s important to check the compatibility information provided by the manufacturer before purchasing a rack mount.
- How To Uninstall Packages On Ubuntu - March 13, 2024
- How To Restart Ubuntu Using The Terminal - March 13, 2024
- What Is The Steam Deck | Experience Modern Handheld Gaming - March 12, 2024



![How To Host A Website On A Raspberry Pi: A Step By Step Guide How To Host Your Own Website On Raspberry Pi [Ultimate Guide]](https://raspians.com/wp-content/uploads/2023/02/How-To-Host-Your-Own-Website-On-Raspberry-Pi-Ultimate-Guide-1-150x150.jpg)
