So you’ve got yourself your shiny new Raspberry Pi, congratulations. And now you’ve got it, you get to explore all that it has to offer.
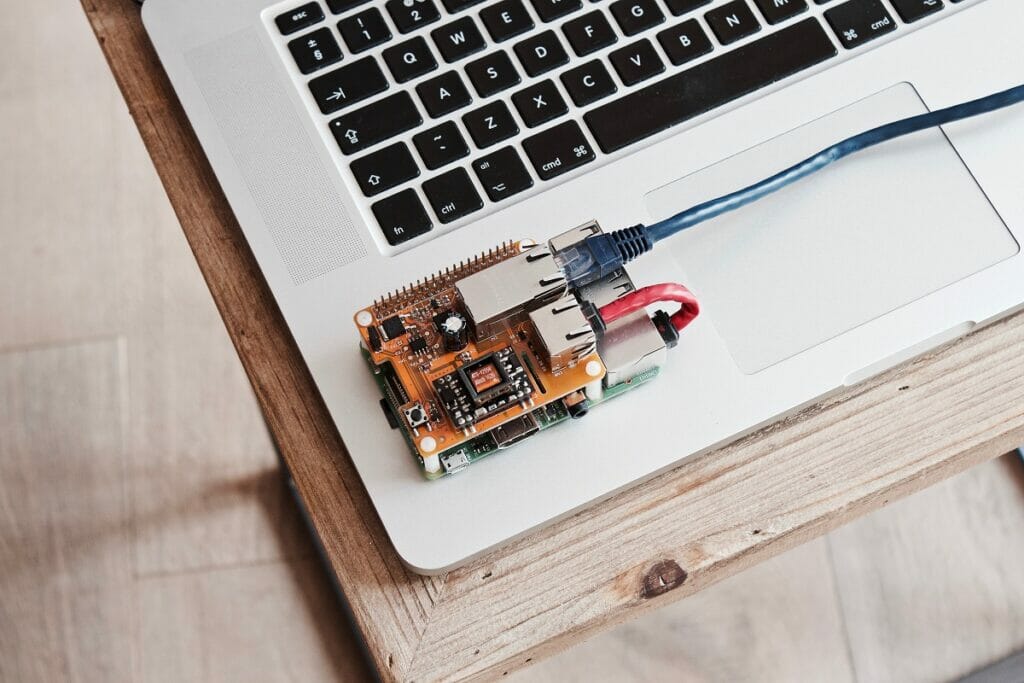
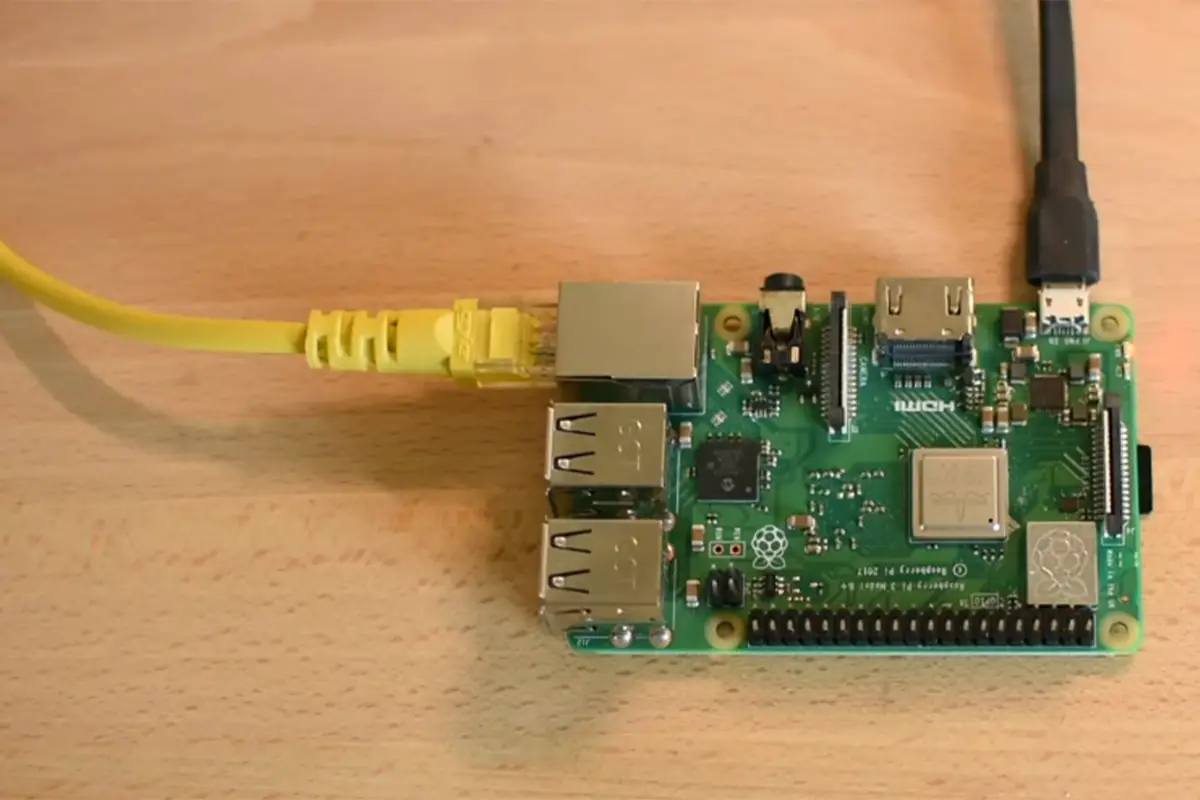
The first thing you might want to do is connect your Pi to the internet. This guide focuses on how to connect your Raspberry Pi to the internet via an Ethernet cable.
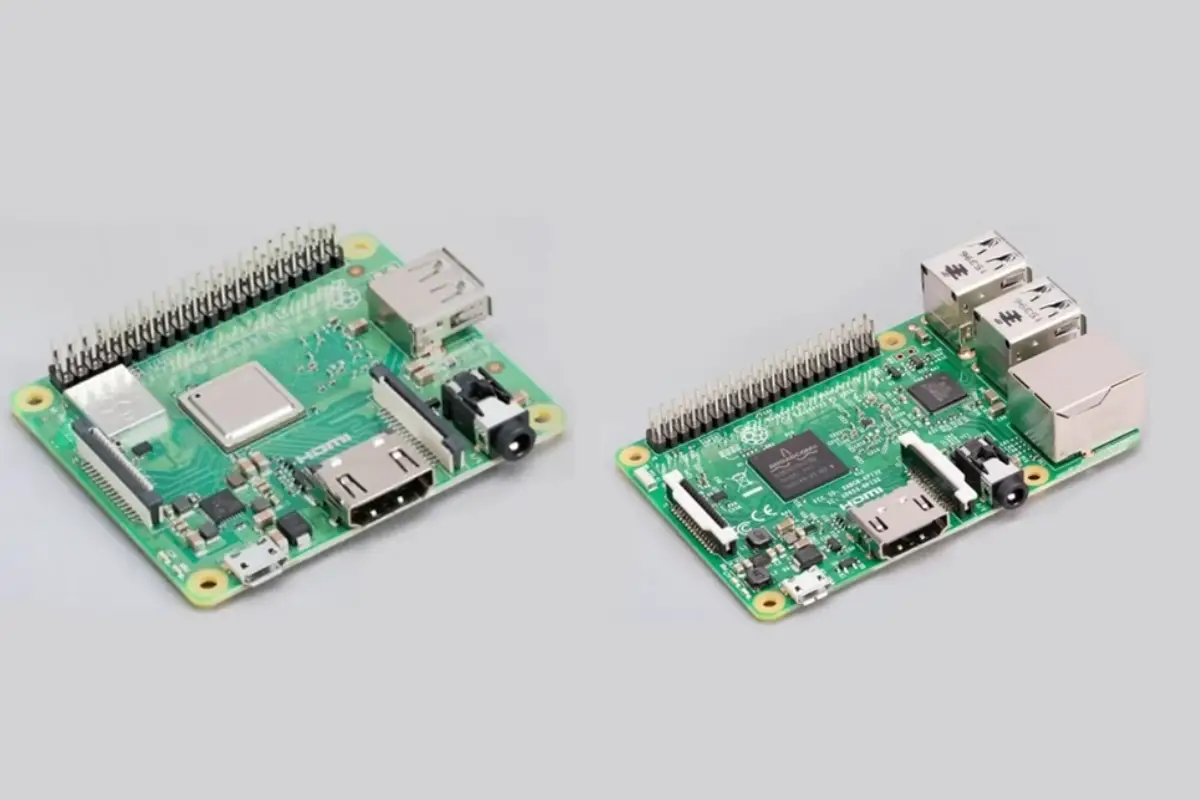
Raspberry Pi Overview
To make sure we’re all on the same page, let’s run over the basics of the Raspberry Pi.
The Raspberry Pi is a device that can fit in your pocket. It’s as big as the standard smartphone, give or take a few inches, and it definitely doesn’t have the same price tag.
The Pi is designed to connect to any big screen such as a monitor for a PC/MAC or a television set (see also ‘How To Fix Screen Tearing‘). When plugged in, you can use a basic computer mouse and a basic computer keyboard to navigate your Pi.
So, what’s it for? Well, multiple things.
You can code, and program, and this is what the Pi was initially intended for. Popular programs like Scratch and Python (see also ‘How To Install Python Libraries‘) were the perfect platforms for such tasks.
But it grew and grew, and now you can use it as a media center, a desktop (with slightly lesser function), you can use it as a gaming device or server (see also ‘How To Install Spigot‘), as a remote control, and even stream videos.
Ethernet And Their Cables Overview
To understand Ethernet, you need to understand the bigger picture.
Ethernet, in a nutshell, is an avenue for communication from a device, such as a computer, to a network. It is a connection portal.
Let’s run with the computer as an example. The computer wants to connect to a certain network, say your home network.
To do this, it needs some way of transferring data between the two. Sometimes this can be wireless, other times this is Ethernet. More specifically, an Ethernet cable.
An Ethernet cable is an actual cable. This is how the data goes from one to the other. The only other relevant term here is ‘protocol’. A protocol is the words that govern a network. In other words, it’s how they communicate with one another.
Ways To Connect Raspberry Pi To The Internet
There are a few ways that you can connect your Raspberry Pi to the internet.
- Use an Ethernet Cable.
- With newer Pi models, you can connect to the internet via a Wi-Fi connection.
- With newer Pi models, you can connect to the internet via a mobile hotspot.
How To Connect Your Pi With An Ethernet Cable
So if you choose to connect your Pi to a network by using an Ethernet cable to get an internet connection, you need to know what you’re doing.
We have broken it down in to easy to manage steps. Follow each step to the letter, and you will successfully connect your Raspberry Pi to a network via an Ethernet cable.
- You will need something called a USB-Ethernet Adapter.
A USB-Ethernet Adapter provides a connection port for when the device is lacking.
If one device has a USB port but no Ethernet port, and the other has an Ethernet port, a USB-Ethernet Adapter is what you need to connect the two.
- You will also need something called a Crossover Cable or a Crossover Adapter in order to engage the wired connection.
Crossover Adapters are handy little things that connect two separate electronic devices together succinctly.
- Join the dots. Plug in the USB-Ethernet Adapter to the Crossover Adapter. Connect the Ethernet adapter port to the Pi port.
- You’re done. Your Pi via Ethernet connection is now live. You have a stable and secure internet connection. An Ethernet is one of the better ways of connecting to any network via your Pi. You can protect your IP address, and even save yourself from hackers.
Using A Wired Network V.S. A Wireless Network: Tips And Tricks
Wired networks are considered faster than a wireless networks. But, they can sometimes still be slow. If you are struggling with a poor connection, there are some things that you can try to speed it up.
Of course, this list is not exclusive and there are more methods to dig into. These are just some top tips and tricks.
- Anything that is connected to the network will affect the speed of the network.
If you are trying to use one particular device while other devices are also accessing the network, think about shutting them down.
That way, your device will be the only one accessing the network and therefore, hopefully, get a faster connection. - You can change providers. This is overlooked by many people.
You get stuck in a rut with a company, and it’s too much hassle to switch. But it doesn’t have to be a hassle. You can research the fastest speeds in your area and act accordingly.
You never know, you might even find a better deal than your current commitment.
Ethernet Advantages
The advantages of Ethernet, there are a few noticeable things to highlight.
- Faster
Ethernet is generally considered faster than a WiFi connection.
- Dependable
The Ethernet cable is a direct cable into the internet. That makes it more dependable than any other form of network connection that you might come across.
- Secure
Any data that is transferred through an Ethernet connection, is inaccessible except for one method. The only way that you can gain access to that data is by literally being in the same room as the Ethernet cable and physically attaching to it.
Ethernet Disadvantages
Like anything, there are disadvantages as well.
- Nondeterministic
- Not as many deals
Summary
And that’s a wrap.
To connect your Raspberry Pi to the internet via an Ethernet connection, there are a few extra purchases that you’re going to have to make.
These are a USB-Ethernet Adapter and a Crossover Adapter. This is, of course, alongside the Ethernet cable that you will need.
Once you are in possession of these two devices, you can then proceed to make that all important Ethernet connection. You may find your overall connection speed increases and is more reliable by a noticeable degree.
You may also find an increase in overall connection security with an Ethernet connection. This is because it is much harder to hack than a Wi-Fi network.
- How To Uninstall Packages On Ubuntu - March 13, 2024
- How To Restart Ubuntu Using The Terminal - March 13, 2024
- What Is The Steam Deck | Experience Modern Handheld Gaming - March 12, 2024


![How To Host A Website On A Raspberry Pi: A Step By Step Guide How To Host Your Own Website On Raspberry Pi [Ultimate Guide]](https://raspians.com/wp-content/uploads/2023/02/How-To-Host-Your-Own-Website-On-Raspberry-Pi-Ultimate-Guide-1-150x150.jpg)
