

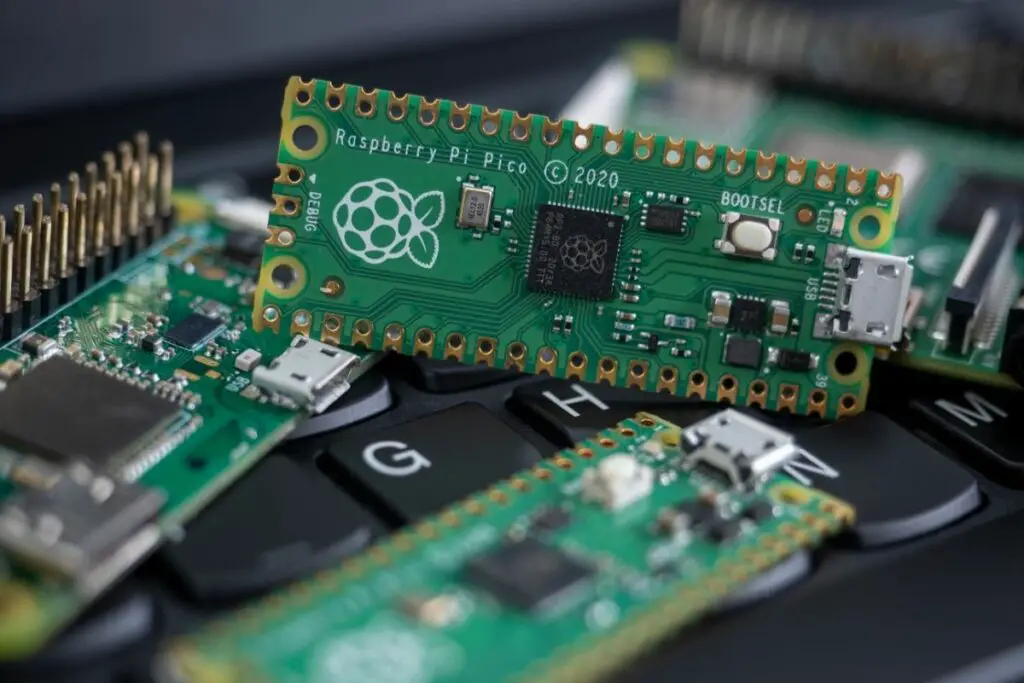
If you consider yourself a computer scientist, then chances are you have worked with Raspberry Pi at some point in your life.
Considered the best-selling computer in Britain, the single-board technology was created for the purpose of teaching basic computer science, with the computer now being used for robotics and other creations.
Among these inventions, it has become popular to use Raspberry Pi to produce weather monitors, with the low cost and open design making the computer easy to use.
Because of this, it is also possible to construct your own daylight sensor, which can measure sunlight and be used to activate other devices such as clocks.
So if you are interested in making your own daylight sensor, then you have come to the right place. In the following guide, we are going to teach you how to make a daylight sensor, while also outlining the equipment you will need and the simple Python script that can be used to activate the finished device…
Click Here For The Best Raspberry Pi Gear & Accessories!
What You Will Need
Before you can start constructing your daylight sensor, you will need the following equipment that we have listed below.
While it is possible to complete this task without breadboard gear, we would recommend purchasing some for the amount of circuitry work the sensor requires.
Recommended
- Raspberry Pi
- Power source
- Micro SD card
- Ethernet cable or Wi-Fi
- LDR sensor (light)
- 1uF capacitor
Option Equipment
- Raspberry Pi case
- USB keyboard
- USB mouse
- GPIO breakout kit
- Breadboard
- Breadboard wire
How To Make A Daylight Sensor
If you are interested in computer circuitry, then this light sensor is a great way to hone your skills, as it requires a simple circuit that will teach you the ins and outs of the creative process.
Light Dependent Resistor (LDR)
The light-dependent resistor (otherwise known as the LDR) is the most important component of the daylight sensor, as the device is capable of detecting whether its surroundings are in the day or night.
When it detects light, the daylight sensor will have a resistance of only a few hundred ohms, while in the dark, the daylight sensor will be able to generate resistance of several megohms.
Capacitor
The capacitor (see also ‘What Is Capacitance?‘) is included in the final circuit to help measure the resistance of the LDR, with the device working similarly to a battery, storing energy for electrical surge.
Like a battery, the capacitor will charge (see also ‘How To Charge A Capacitor Without A Resistor‘) when receiving power and will discharge when no longer connected to the power source.
By using this in conjunction with the LDR, we are able to determine how much resistance the LDR is producing, which also helps tell it whether it is day or night.
Click Here For The Best Raspberry Pi Gear & Accessories!
How To Make The Sensor Circuit
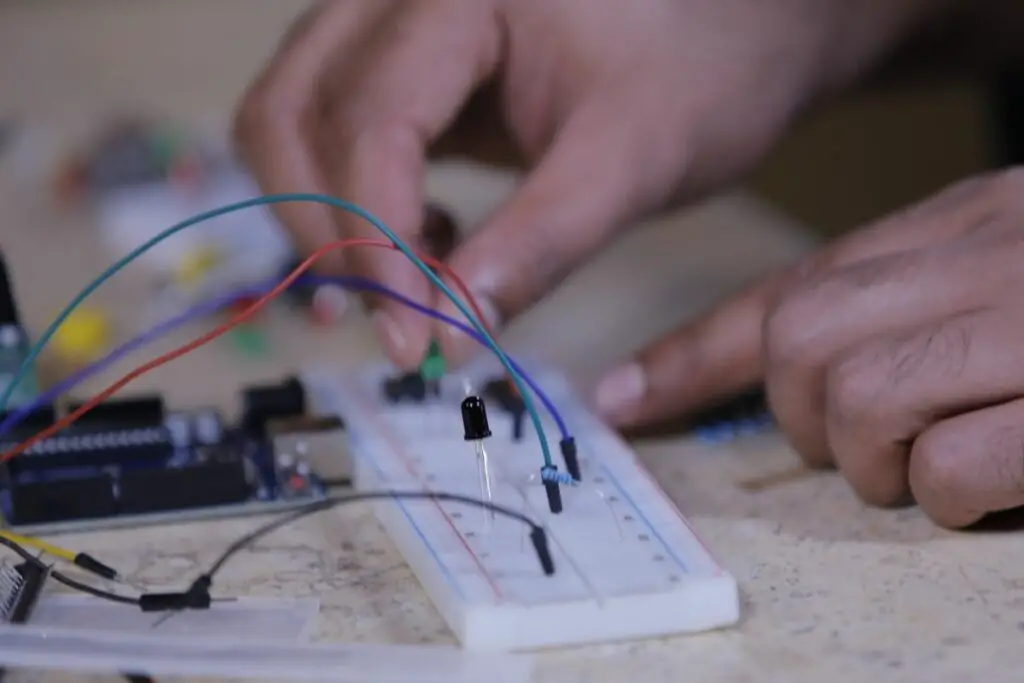
To make sure that the daylight sensor works correctly, you will need to assemble an efficient circuit. This can be done by following the steps below, where we have outlined the process to help you.
However, it is important to note that we are referring to the physical numbers of the pins in their logical order:
-
To start, you will need to connect pin #1 (3V3) to the positive rail located on the main breadboard.
-
Once you have done this, take pin #6 and connect it to the ground rail located on the main breadboard.
-
Next, place the LDR sensor onto the breadboard and connect a wire from one end to the positive rail.
-
On the other side of the LDR sensor, place a wire and connect it to the Raspberry Pi by holding it in place with pin #7.
-
To complete the circuit, connect the capacitor from the wire to the negative rail on the breadboard, while making sure that the negative pin has been connected to the negative rail.
Now that you have assembled the circuit, it’s time to take a look at the Python code that will control the sensor.
However, if you are still having trouble assembling the circuit, then you can find informative diagrams on the web.
How To Code The Daylight Sensor
Fortunately, the code needed for the sensor is pretty simple and will tell us whether it is day, afternoon, or night.
The only setback is that Raspberry Pi does not feature analog pins, which means you will never be able to accurately measure the resistance of the input.
Because of this, we advise measuring the time it takes for the capacitor to charge as this method is an accurate way to tell whether it is light or dark.
Click Here For The Best Raspberry Pi Gear & Accessories!
If you are still new to Python, we recommend that you take a crash course on the basics of the program, as this will give you a better understanding of how the coding process works.
-
To start, you will need to import the GPIO package that you will need to communicate with the GPIO pins. It is also advisable to import the time package, as this will allow you to put the script to sleep if needed.
-
Once you have done this, set the GPIO mode to GPIO.BOARD, which will allow you to refer to the pins through the numbering in the code. Because the circuit only has one input/output pin, you will only need to set up one variable.
-
For the next step, you will need to use a function called rc_time, which requires one parameter. This parameter is the pin in the circuit, which can be initialized through a variable called count.
-
When the pin goes high, set it as the output and put it on low before letting the script sleep for around 10 minutes.
-
When the time is up, set the pin as the input and enter a while loop until the pin goes high. This is when the capacitor reaches a charge of 3/4.
-
Once the pin goes high, return the count value to the main function. It is possible to use this value to turn on an LED, activate another device or record the statistics on any variance in light.
How To Run Code On Raspberry Pi
The final step in the process is extremely easy, even though we still think it’s important to learn the ins and outs.
To download the code to your Raspberry Pi, you can use a git clone, which can be activated by a simple keyboard command. However, it is also possible to copy and paste the code into the program, although you have to make sure that it is a Python script (see also ‘How To Install Python Libraries‘).
Once you have done this, you can save and exit the file by pressing CTRL + X then Y. Then you can run the code by using the following command:
- Sudo python light_sensor. py
This should run the script smoothly through the computer, allowing you to activate your very own daylight sensor.

Final Thoughts
While constructing your own daylight sensor can be difficult, it is also necessary to learn more about circuitry and computing.
With the right attitude, you will be able to create your own daylight sensor in no time, while also gaining experience with circuits and the coding process.