
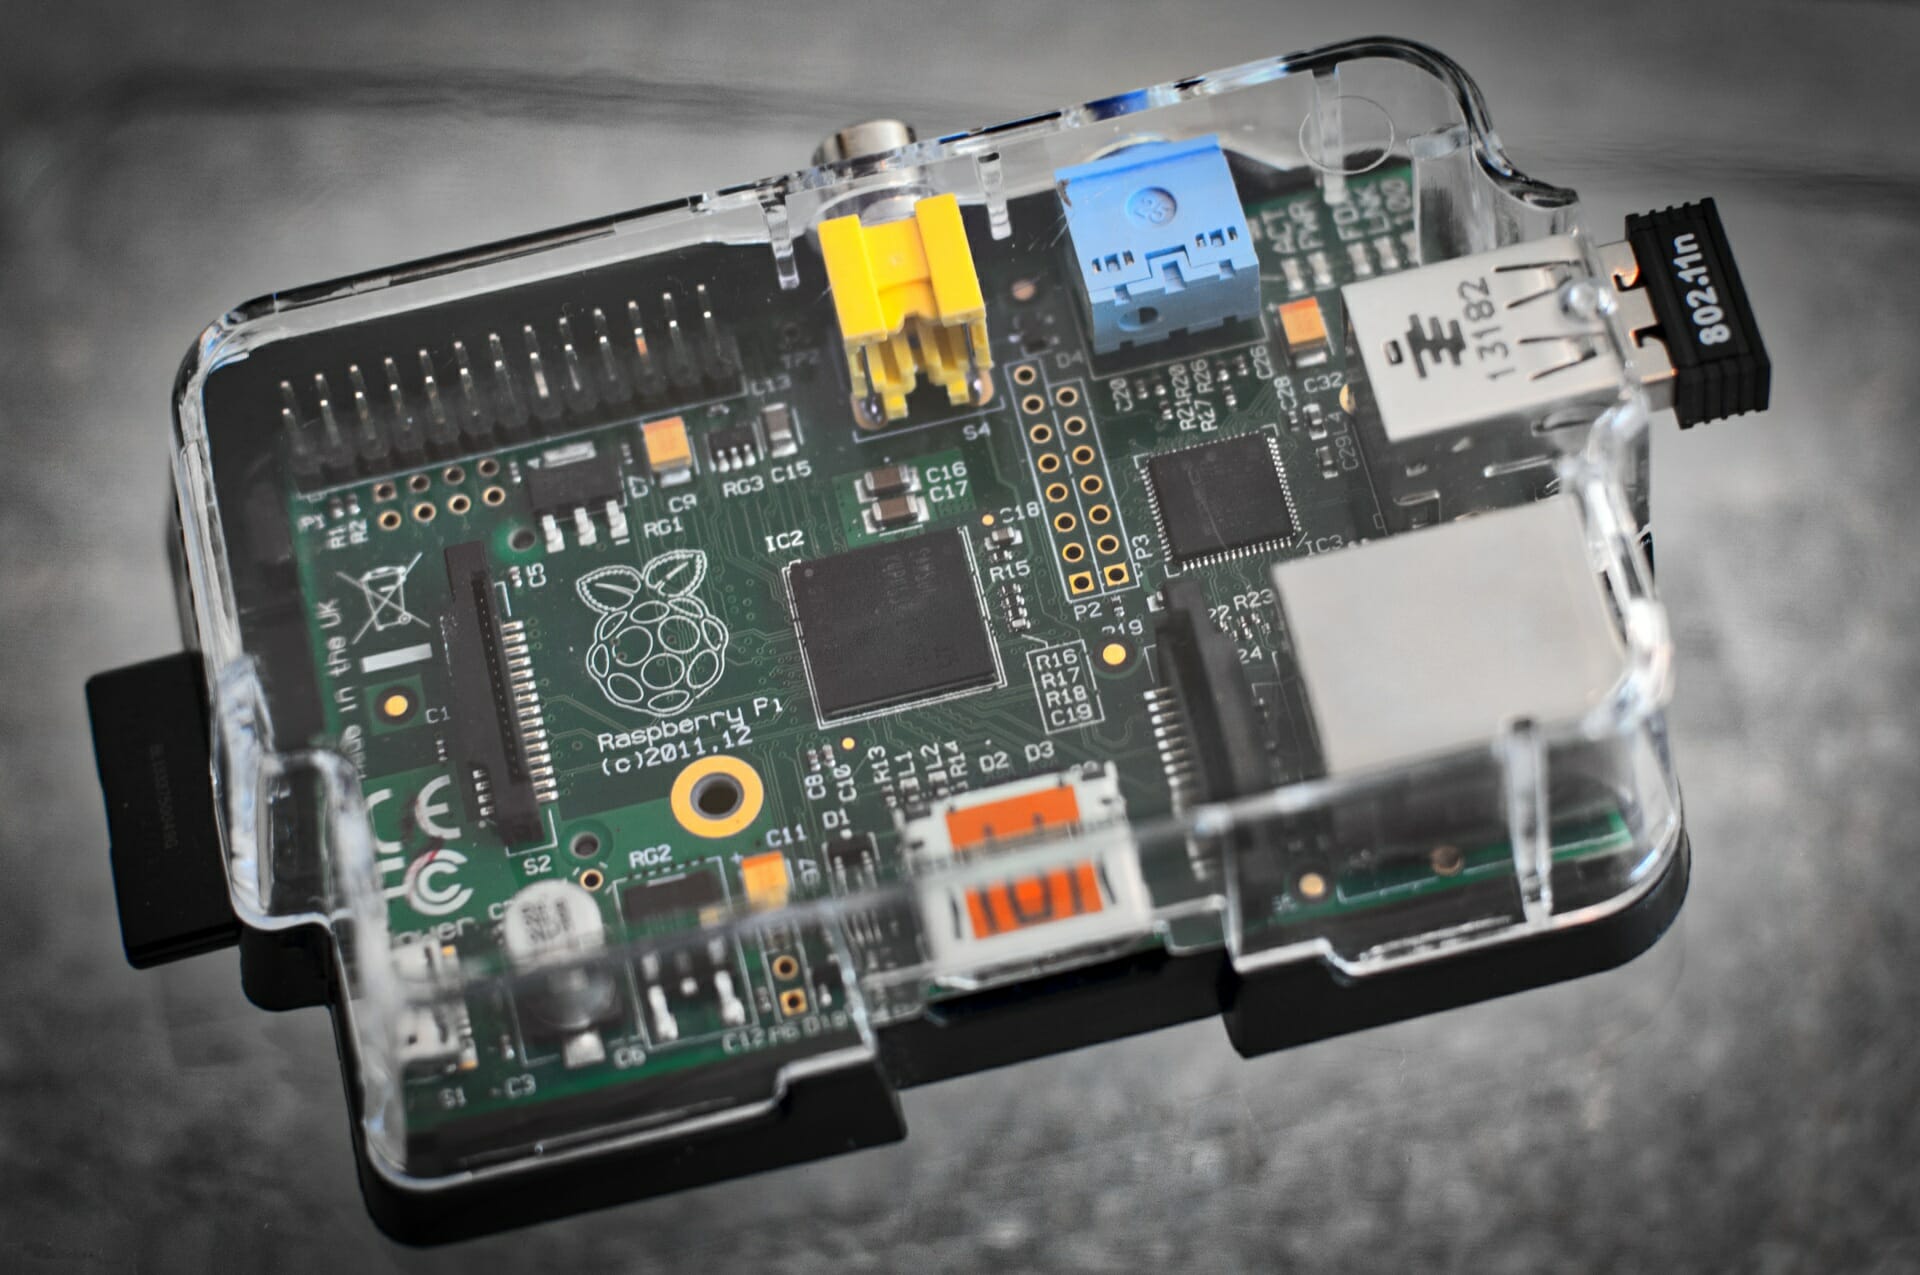
The Raspberry Pi can be used for many different purposes, such as a WiFi extender, media center, or even as a remote control for robots and to play games.
But what do you do if you want to keep it on all the time even when you’re not using it?
Here are some top tips on how to stop Raspberry Pi from sleeping.
Click Here For The Best Raspberry Pi Gear & Accessories!
What Is Raspberry Pi Sleep Mode?
The Raspberry Pi doesn’t have a sleep mode like the ones we often see on more complete operating systems like Windows and macOS.
Instead, the Pi has a feature called “Screen Blanking” which simply shuts off your display and substitutes it with an empty screen.
But, unlike the sleep modes, we often see in our laptops and desktops, during screen blanking, the hardware for the Pi is still on and the HDMI cable and ports remain supplied with power.
How Do I Turn Off Screen Blanking On Raspberry Pi?
Suddenly facing a completely blank screen while using your Raspberry Pi can interrupt your work and can be annoying.
Luckily, newer releases of the Raspberry operating system allow users to change their Raspberry Pi sleep settings and screen blanking defaults very easily.
Here are 3 quick and easy ways to disable Raspberry Pi sleep mode/screen blanking:
- Disable The Setting Through The Desktop
Here’s how to disable Raspberry Pi from sleeping and prevent its screen from blanking through the desktop UI:
- First, start your Raspberry Pi and get into the Configuration menu. You can open this menu by clicking on the Raspberry icon present in the left corner of the screen.
- Next, move to the Preferences menu and click on the Raspberry Pi configuration option.
- Once the Raspberry Pi Configuration menu is opened, tap on the Display tab.
- You should be able to see the “Screen Blanking” option there. Select the “Disable” option and then click “Ok” to continue with the process.
- When you exit the Raspberry Pi Configuration, the system will ask you to reboot it to implement the changes.
- Just accept and wait for your computer to restart (see also ‘How to Restart Raspberry Pi Remotely‘). Now your Raspberry Pi should function smoothly without screen blanking even during periods of inactivity.
- Disable Screen Blanking Through The Terminal
If instead, you’d like to utilize the terminal interface to stop Raspberry Pi from going to sleep, this method can also be used to get the same results. Here’s how:
- Start by typing sudo raspi-config in the command terminal. This should bring up a command line interpretation of the Preferences settings.
- Use the arrow keys to select the Display Options submenu and press enter.
- After entering the submenu, move over to the “Screen Blanking” setting and press the enter key.
- Select the “No” option on the next screen when asked if you’d like to enable screen blanking and then hit enter once again.
- Lastly, finish saving the settings and reboot your device for your new settings to take effect.
- Use A Screensaver
Finally, the last option you have to stop your Raspberry pi screen from sleeping is to use a screensaver to trick your device into thinking your system isn’t idle even when you’re not using it.
Xscreensaver is one that works perfectly for the Pi and can be installed through the Add/Remove tool in the desktop interface.
Simply go to the Preferences section and select “Add Software”. Then type xscreensaver in the search box and press enter. Look for the software titled “xscreensaver” and download it.
Alternatively, you can also simply download it through the terminal by typing Sudo apt install xscreensaver.
After installing and rebooting your device for the changes to take effect, you’ll be able to find the xscreensaver module in the Preferences options and should be able to run it whenever you want to avoid screen blanking.
The quick video below is a great walkthrough on exactly how to do this:
Click Here For The Best Raspberry Pi Gear & Accessories!
How Do I Wake Up My Raspberry Pi 4?
If your device tries to hibernate or sleep, the most sure-fire way to fix the issue is to simply turn your Raspberry Pi off and reboot it (see also ‘How To Reboot Raspberry Pi‘). However, this is something we’d like to use as a last resort.
Most of the time, if your display has suddenly gone completely blank, you may be able to wake it up with a few button presses on the keyboard. Any key should do the trick, but the “spacebar” and “escape” keys are usually recommended.
What To Do When The Raspberry Pi Screen Isn’t Turning On?
Now, if you’ve properly set up your Raspberry Pi and the screen still isn’t turning on, there are a couple of things you can do to fix the issue.
Check the power supply first. If it’s not getting enough power, it won’t be able to run the screen. Make sure that all the cables are plugged in correctly and that the power source is working.
If the power supply is fine, then the next thing to check is the SD card. It’s possible that the card isn’t inserted properly or that it’s corrupted. Try removing the card and reinserting it. If that doesn’t work, try using a different SD card.
If you’ve tried all of that and the screen still isn’t turning on, then there could be an issue with the screen’s HDMI cable. Try unplugging it and plugging it back in. If that doesn’t work, try using a different HDMI cable.
Finally, if none of the above works, then there could be an issue with the Raspberry Pi itself.
Consider getting it checked by a professional to see if there’s an issue with the hardware or simply replace the device if you own an extra Pi.
Click Here For The Best Raspberry Pi Gear & Accessories!
How to Solve The Raspberry Pi “Currently Cannot Show Desktop” Error?
Arguably, one of the most frustrating errors, especially when you have something important to do on your Raspberry Pi.
Let’s have a look at a few ways to solve this issue:
- Change Screen Resolution
Although it’s possible that the Raspberry Pi “Currently Cannot Show Desktop” problem could be due to some internal fault, sometimes this error might pop up because your Pi’s display settings don’t match your current display’s native resolution.
To fix this, consider connecting to another monitor temporarily and try changing the resolution in the configuration settings to see if it makes a difference. Sometimes, shifting to the highest possible or the display’s native resolution is the only way to solve this issue.
Alternatively, you can also connect your Pi through an ssh connection then run raspi-config and change the resolution settings. Just make sure your Pi has the ssh interface as “enabled” before using this method.
- Free Up Space in Root Partition
Another reason why your Raspberry Pi might not be responding could be because you have run out of disc space. Type in the command df – h in the terminal to assess the storage space in every partition.
Check whether your partition root has space or is filled with your data. If later is the case, consider cleaning up the root partition to make some extra space or simply move to a larger microSD card.

That’s It!
I hope that’s helped you troubleshoot a few issues and get you back on track!
Don’t hesitate to reach out with any questions or comments 🙂