
One of the things that have helped to make the Raspberry Pi such a popular computer is that it is easy to interface with and customize to your specifications.
All of us know the dread that can come with making modifications to a PC, knowing that we will have to solder in components permanently, leaving very little margin for error. Luckily things like Raspberry Pi computers are known to be very easy to customize on a whim.
Another component that has become popular amongst coders and programmers in recent years is the ‘Breadboard’ – a special device that allows users to create circuits all without any need to solder anything in.
This is incredibly useful and makes experimenting and learning about circuits much easier.
But how do you leverage the benefits of a breadboard to work alongside your Raspberry Pi? Well – read on below! We’ve got everything you need to know about Raspberry Pi Breadboarding!
amzn_assoc_tracking_id = “raspians-20”; amzn_assoc_ad_mode = “manual”; amzn_assoc_ad_type = “smart”; amzn_assoc_marketplace = “amazon”; amzn_assoc_region = “US”; amzn_assoc_design = “enhanced_links”; amzn_assoc_asins = “B09D1DDFBD”; amzn_assoc_placement = “adunit”; amzn_assoc_linkid = “ab15916f72676a23d7aeb2f9197c06df”;
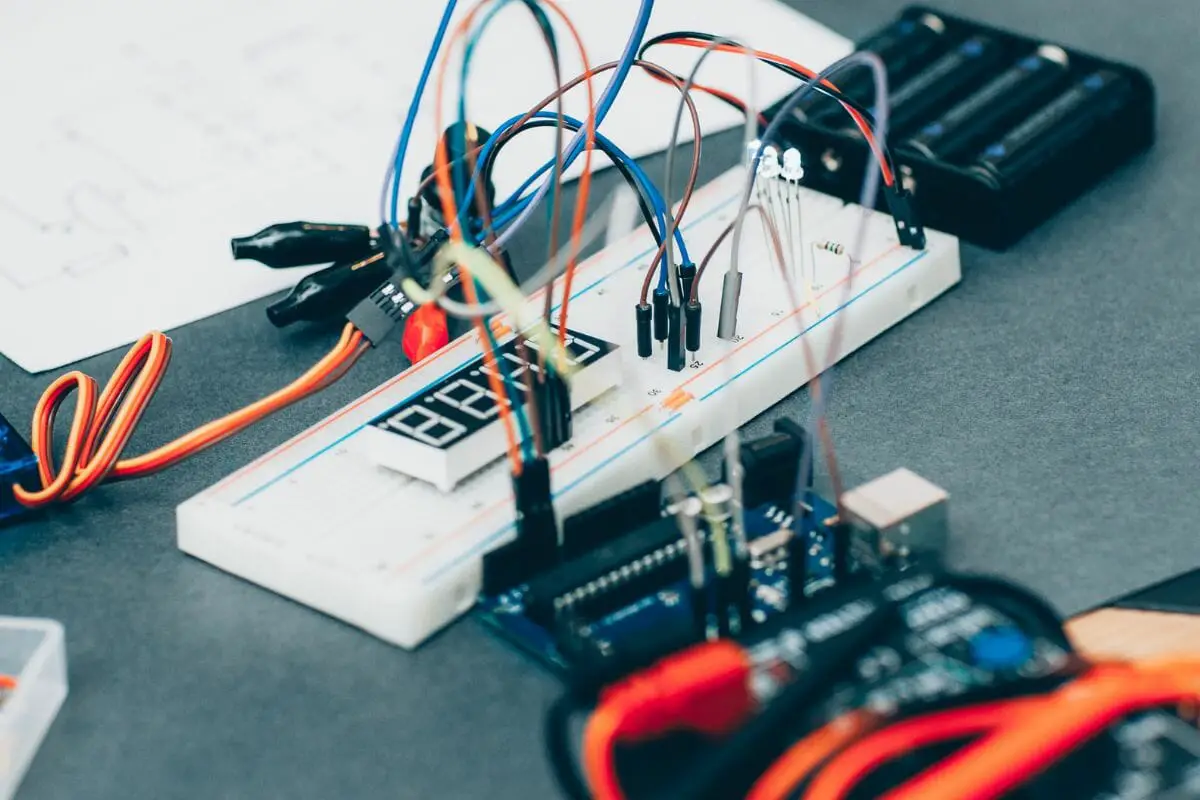
What Is A Breadboard?
Put simply, a Breadboard is a circuit board that allows individuals to build circuits without any need for soldering, which makes the process much easier, as there are no permanent changes made to a circuit.
This allows for continued experimentation with circuits, allowing users to move pieces around from area to area to see how it changes the circuit as a whole.
Breadboards are very popular with those that are still getting to grips with building circuits and linking components together on a circuit board. They are great for popular projects such as building a daylight sensor or putting together a weather station.
Click Here For The Best Raspberry Pi Gear & Accessories!
The reason for this is that there is no need to solder any of the components into place, which allows for mistakes to be made without consequence.
Breadboards are even used by more professional circuit builders as a testing ground to see how certain components will interact together. This is beneficial because it also helps to keep the process of building circuits from becoming fiddly and finicky.
Users will not have to manage countless wires poking out from the bottom of the circuit board and keep track of which ones lead in which direction.
How Do Breadboards Work?
Before we find out how you can begin integrating a Raspberry Pi with a Breadboard, it would be pertinent to get a sense of exactly how a Breadboard works so that we can tell how the two can work together.
The two large rows of holes that extend across both sides of the breadboard are intended to act as power rails, and this helps to deliver the power to the smaller rows of holes that can be found running across the center of the unit.
The smaller rows of holes are to be used for components such as LEDs and other things that you will want to bring power to.
Each of the holes on a breadboard leads to a small metal component that grips directly onto the pins of any devices you attach to the board, which allows it to make enough contact to carry power across and complete a circuit.
Can You Use A Breadboard With A Raspberry Pi?
Absolutely. A Raspberry Pi computer can easily be hooked up to a Breadboard in order to allow users to control aspects of the circuit. This further makes both the Breadboard and the Raspberry Pi perfect devices for learning about coding.
Using the two together can be a good way to learn more about electronics and circuitry as well as how programming can directly interact with electronics.
If you are totally new to integrating the Raspberry Pi with a Breadboard, then you can start by learning how to create an LED circuit. Creating an LED circuit is incredibly easy because you can simply use the power and ground pins from the Raspberry Pi to power the circuit!
Click Here For The Best Raspberry Pi Gear & Accessories!
Step 1 – Power The Breadboard
To get started on integrating the Breadboard with the Raspberry Pi, take a female-to-male wire and connect one of the female ends to the 5v pin on the Raspberry Pi unit. The male end can simply insert the male end into one of the holes along the red rail on the Breadboard.
Now, take another cable and connect the female end to the ground pin on the Raspberry Pi. This will help to keep the circuit from overloading.
Step 2 – Add A Resistor
Take one of your resistor units, and insert one leg into the blue rail, which is the grounding rail of the Breadboard.
Take the other leg, and simply connect that leg to one of the holes on one of the central rows on the board.
Step 3 – Add Your LED
This part takes a little more work. Take a look at the LED you are planning to add to the circuit. Notice that one of the legs is shorter. Make sure that the shorter leg is in a hole that is on the same row as the resistor.
The longer leg will be placed in the hole on the row adjacent to the shorter leg. Once you have added the longer leg, take a cable and place one end in a hole on the same row as the long leg, and the other end into a hole on the red rail.
Once you complete the circuit, you should notice the LED lighting up. You can also control whether the circuit lights up by controlling the power via the Raspberry Pi!
To Wrap Up
Once you have created this circuit, feel free to experiment with other configurations to better understand electronics and its links to programming.

Frequently Asked Questions:
What Is The Purpose Of Breadboarding?
The purpose of breadboarding is to allow you to test out circuit combinations before you set about permanently soldering the components down!
Do Professionals Use Breadboards?
Absolutely. Breadboards can be used to test out circuit configurations before making them permanent on another circuit board.
When Should You Not Use A Breadboard?
Try not to use a breadboard when using high voltage, as breadboards are not designed to handle high voltages.