


Are you experiencing difficulty in setting up a Raspberry Pi FTP Server? Don’t worry, we have you covered.
Raspberry Pi has become a beloved tool among DIY enthusiasts, who leverage its affordability, robust capabilities, and seamless setup process to bring their creative projects to life – be it a media center, home automation, or otherwise.
However, even the most seasoned pi tinkerers can find the setup of the Raspberry Pi FTP server a challenge.
With our expert tips, the installation process will become a whole lot easier, regardless of your proficiency level.
Let’s see what it takes!
Click Here For The Best Raspberry Pi Gear & Accessories!
How to Create a Simple Raspberry Pi FTP Server
For the purpose of transferring files from one device to another, the most fitting network protocol is FTP.
And while setting up a Raspberry Pi FTP server is relatively straightforward, following our steps will get you there faster.
The protocol doesn’t have data encryption, so you must ensure you don’t transfer sensitive data. That way, you will prevent your data from exposure to other dangers.
Are there any accessories you will need?
Yes, to set up the Raspberry Pi FTP server on your device, you will need the following:
- Your Raspberry Pi needs a network cable to connect to your local network
- A computer plus a keyboard
- Power supply
- An SD card with 8+GB storage space
- A monitor with an HDMI provision and a display cable to connect your Raspberry Pi
The best way to install an operating system on your SD card is using a Raspberry Pi imager. It downloads the image and installs it automatically to the SD card.
Can You Use Raspberry Pi from Another Raspberry Pi?
Using a Raspberry Pi from another is possible. You can do that by downloading a terminal using the following command.
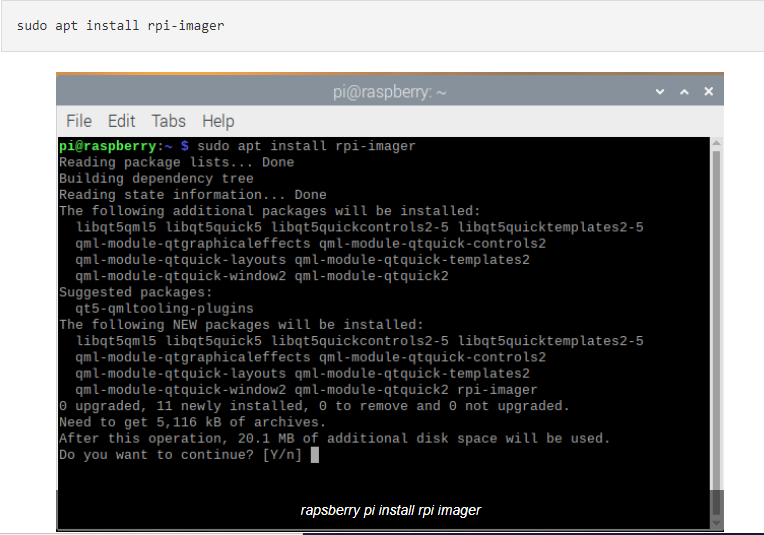
Once the installation is complete, connect an SD card reader with an SD card.
After that, open the Raspberry Pi imager then pick the needed OS from the list presented to you.
Then, choose an SD card where you want to write your image. You can click “write,” and it will begin writing your data to the SD card once you have reviewed your selections.
If you have Windows 10, the process may fail. So here is a workaround.
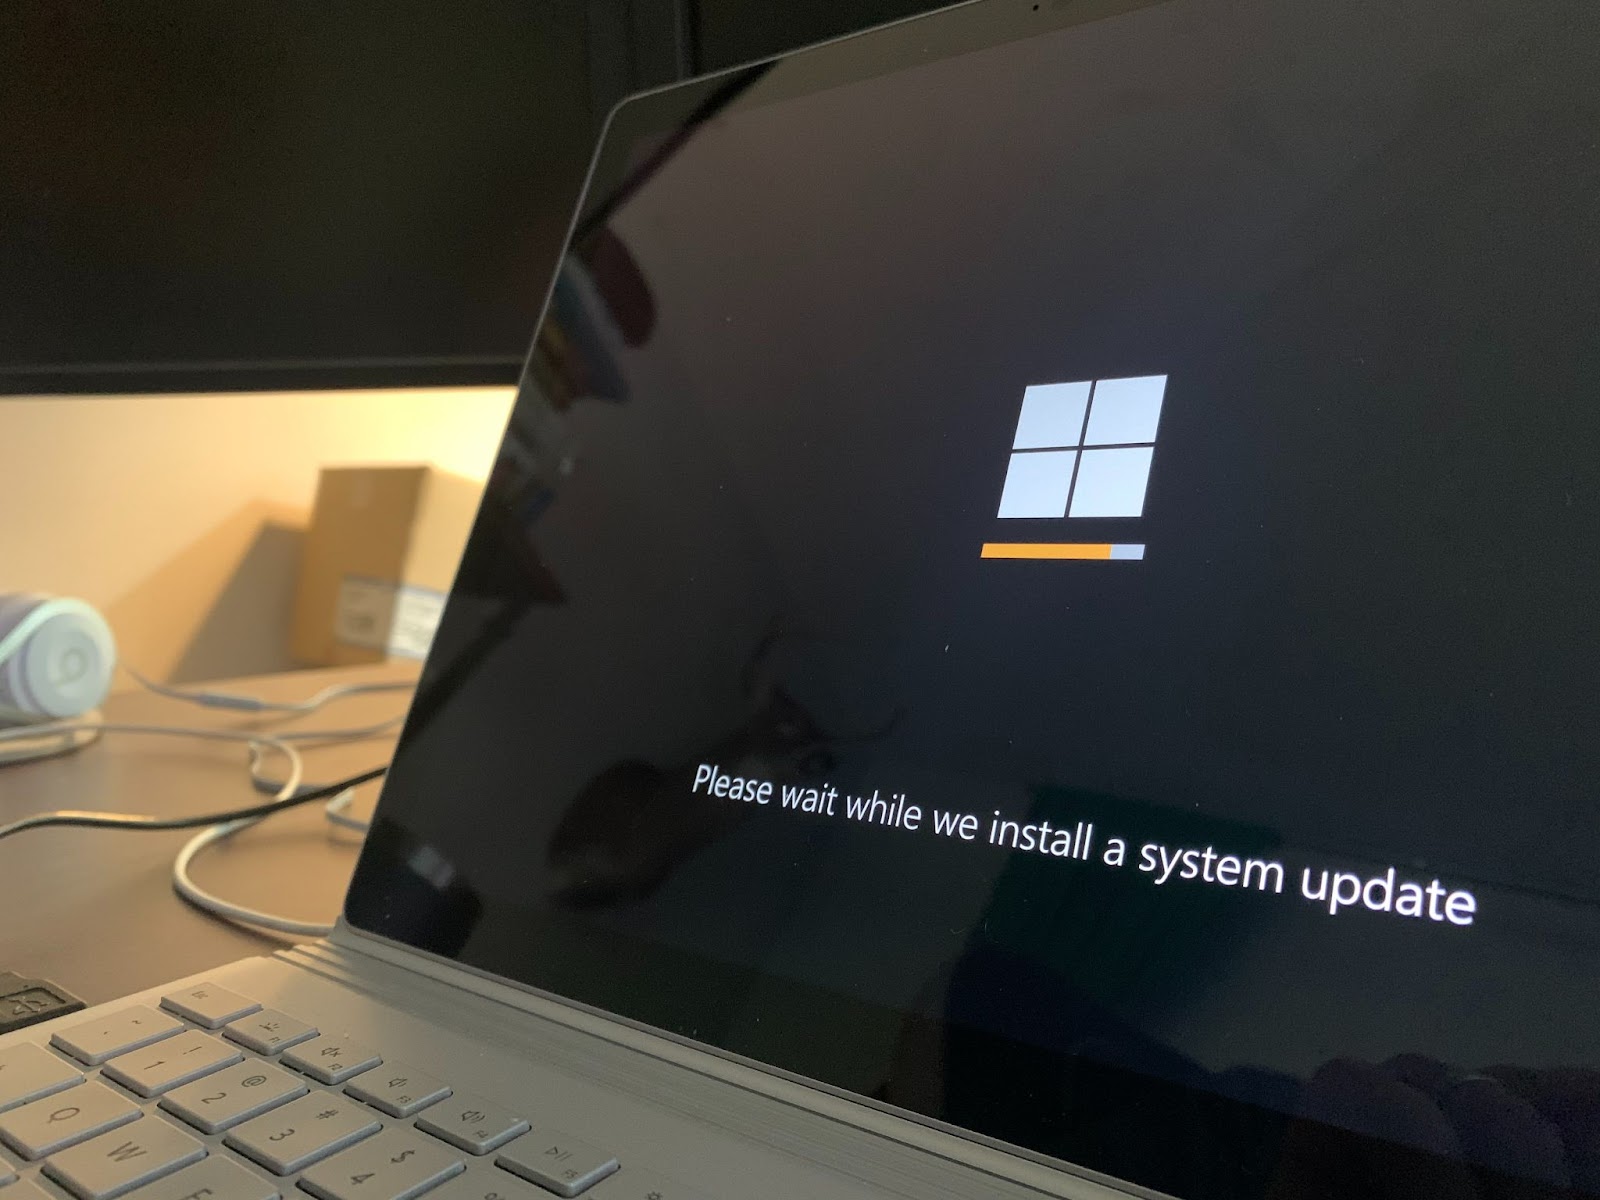
1 – If you use the Raspberry Pi imager on Windows 10 with a “controlled folder access,” you will first allow the Raspberry imager to write the SD card.
2 – Insert the SD card into Raspberry Pi and power it. You can log in manually if you are using the formal Raspberry Pi OS.
Important to remember: the default username and password are “pi” and “raspberry”, respectively. But, to be safe, change the default password immediately.
Click Here For The Best Raspberry Pi Gear & Accessories!
How to Set up Raspberry Pi FTP Server
To set up a Raspberry Pi FTP server, there are essential components you must have and other things you should do. They include
- Changing some configurations
- Server utility
- Step up the server directory
- Modify permissions for the server user
Follow the steps below to set up a simple Raspberry Pi FTP server:
1. Update the Systems Packages
Make sure to refresh the system package database prior to installing the FTP tool and run an upgrade thereafter.
To accomplish the two, follow this command:
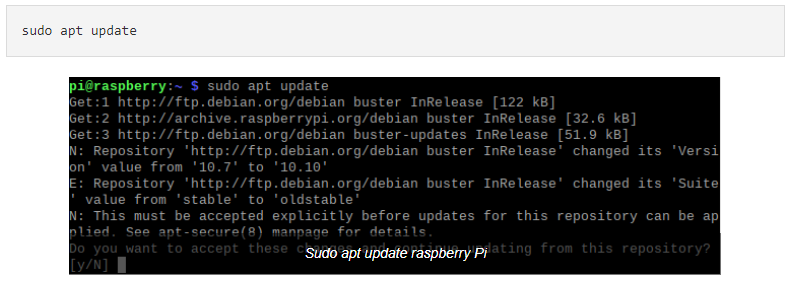
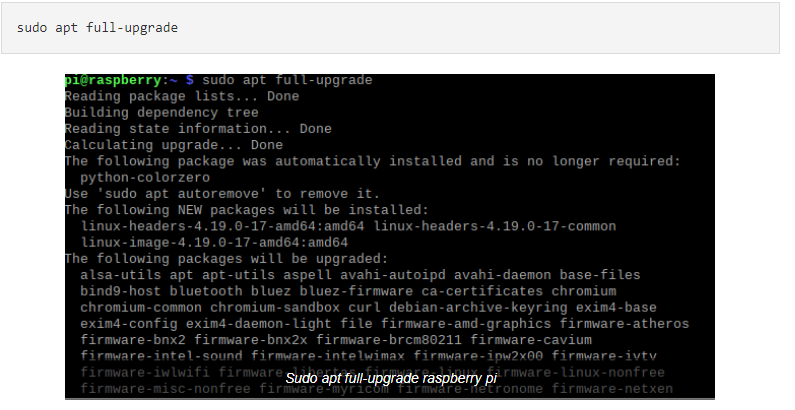
Top Tip: To confirm the upgrade, click “Y” and enter on the keyboard. Wait for the upgrade process to be complete.
2. Install the FTP Server
While there are many utilities for setting up the Raspberry Pi FTP server, opting for “vsftpd” is ideal since it will cost nothing (it’s an open source licence).
To get the “Vsftpd” software running on your Raspberry Pi, employ these specific commands:

Don’t go to the next step until the installation process is complete.
3. Configuration File Editing
Before accessing the Raspberry Pi FTP server, make sure to make some necessary adjustments to the settings.
As a starting point, alter the configuration file for vsftpd.
A nano text editing tool can help. Follow the command below.

Take out the hash symbol [#] in order to activate the lines below.
Find (CTRL +W).

Then find the line below;


After that, change it to;

Remember to use this specified line of code at the end of the configuration file.

By executing the steps outlined above, you will restrict the server users to accessing only the FTP folder within the home directory.
Top Tip: To confirm your action, click [CTRL+X] followed by Y before you exit. Do that once the above processes are complete.
Click Here For The Best Raspberry Pi Gear & Accessories!
4. FTP Directory Creation
To transfer files successfully, you need to come up with an FTP directory. However, the root is not authorized to write permissions.
As such, you will require the files subfolder. The syntax below will help you.

Replace with an appropriate user. The one on Raspberry Pi is “pi.”
Do that to [Subdirectory_name] with a name you like.
See below:

The -P argument mentioned above instructs the mkdir to generate the entire directory structure for both the FTP and Files directories.
5. Modify Permissions
Now that the directory has been established, it is important to remove write permissions on the FTP directory to prevent users from uploading files.
The following syntax should be considered::

Also, ensure you replace with the name you think is appropriate. Below is an example.

6. Start the Vsftpd Daemon Again
Run this to let the Vstfpd start again successfully.

After that, the FTP will reboot and run on your Raspberry Pi.
FTP Server Test
To validate the FTP setup, you can utilize a remote device and the widely-used FileZilla FTP client, which supports all operating systems.

Adhere to these guidelines for a successful evaluation:
1. Install FileZilla on a remote machine. Run the command below on Obuntu.

Confirm by clicking Y, then wait for the process to be complete.
2. Get the Pi’s Ip address. Use the terminal on the Raspberry Pi to run the command below.

3. On a separate machine, launch FileZilla and enter the IP address of the Raspberry Pi. Input the username and password of the desired connection. Note that the default username is “Pi”, the password is “raspberry” and the port number is 22.

Once you have done that, click on “quickconnect” to establish a connection. If you succeed with the connection, a message saying “connection established” will pop up.
4. Drag and drop some files from the source to the directory on FileZilla on the remote device. If everything works, FileZilla will let you know with a confirmation.
The steps remain the same if you want to do local transfers and other cases.

Conclusion
If you follow our process above, you’ll have a cost-effective way of setting up a Raspberry Pi FTP server. You can also use it when transferring files between two computers.
Turning your Raspberry Pi into a reliable FTP server takes some persistence – but can be achieved with just a few essential tools and a bit of technical know-how.
With a few tweaks to the configuration file and a password change, you’ll have a secure and functional FTP server ready to serve your file transfer needs.
So, go ahead and unleash the full potential of your Raspberry Pi with a brand new FTP server today!
If you’re needing a bit more help with setting up a Raspberry Pi FTP server, check out this great video from RaspberryTips.
Next: Read How To Use Raspberry Pi Cluster Cases [The Complete Guide]