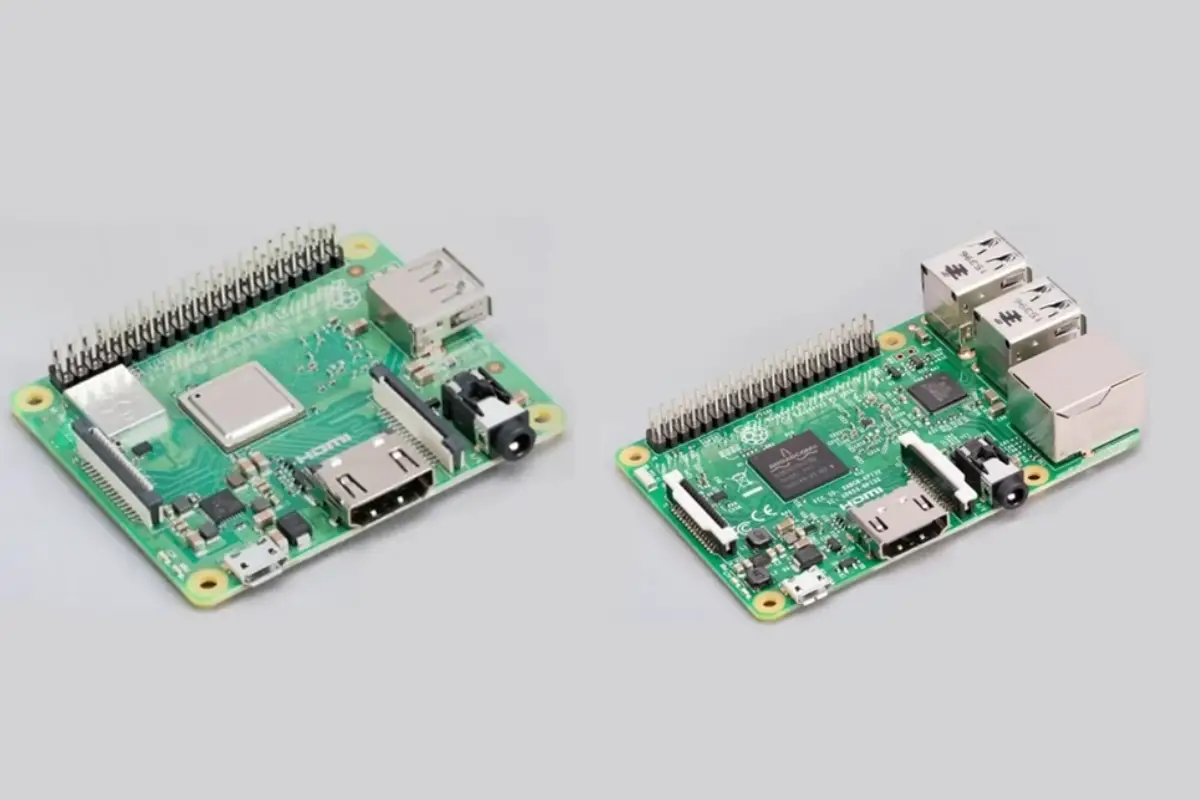
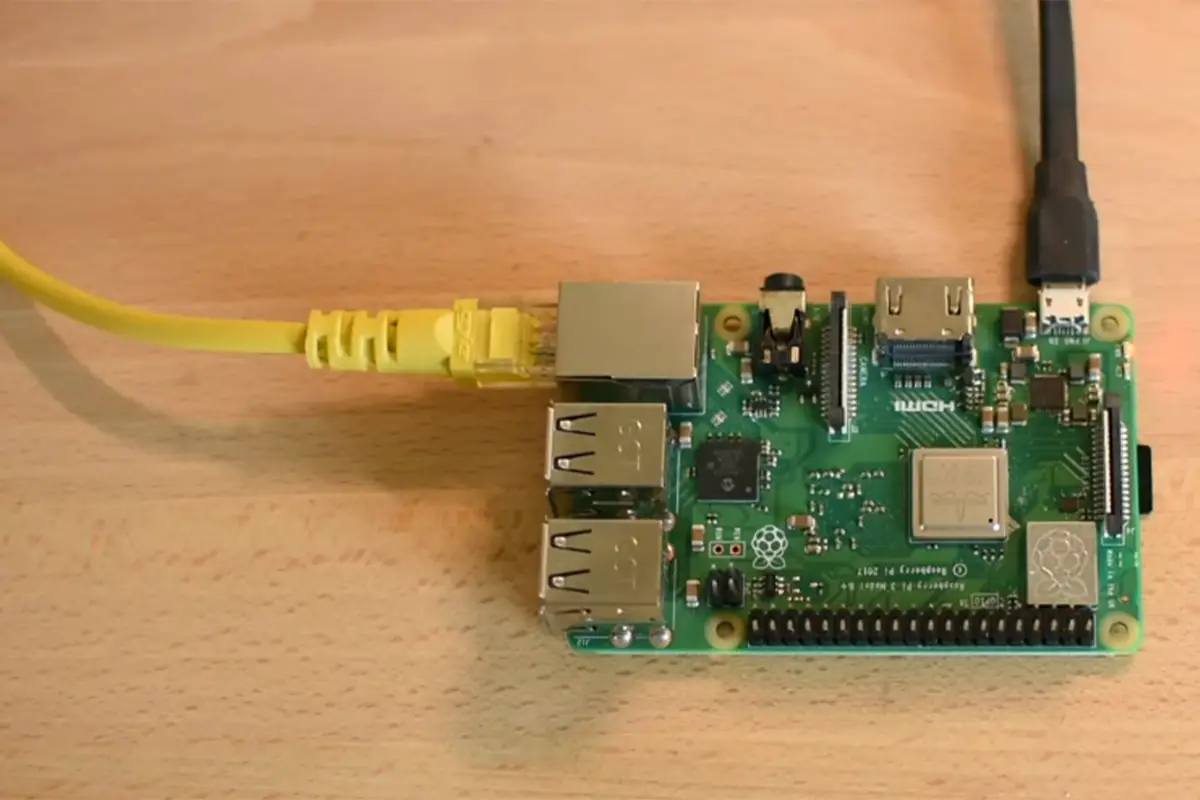
Of course, if you have any experience with Raspberry Pi computers, you will know that they are great for being extremely portable, and for being easy to carry around from place to place, allowing you to do all kinds of computing, even while on the move.
![How To Build A Solar-Powered Raspberry Pi [In 4 Easy Steps] How To Build A Solar-Powered Raspberry Pi [The Ultimate Project Guide]](https://raspians.com/wp-content/uploads/2022/12/How-To-Build-A-Solar-Powered-Raspberry-Pi-The-Ultimate-Project-Guide.jpg)
The only problem is, Raspberry Pi computers need to be hooked up to some kind of power source in order to operate optimally. This is often easier said than done, especially when you are out and about, and you need to use your Raspberry Pi computer, but cannot get access to a power source.
Thus, you’ve likely wondered at some point whether it is possible to hook up a Raspberry Pi to solar power and whether it would be possible to build a perpetually solar-powered Raspberry Pi computer. If so, you have come to the perfect place.
Today, we have dedicated ourselves to creating the ultimate guide to creating your very own solar-powered Raspberry Pi computer. So dive in down below to get started!
What You Will Need
Raspberry Pi
Obviously, you are going to need to make sure that you have a Raspberry Pi computer to get started with this project.
We strongly recommend having the latest model of Raspberry Pi if possible, as it will be able to more efficiently make use of solar energy, and will more likely be compatible. We recommend having at least a Raspberry Pi 3B+ or later.
Solar Panel
Of course, you will also need the right solar panel to go with your Raspberry Pi computer. While it is easy to hook up a Raspberry Pi computer to mains electricity that comes from rooftop solar panels, it’s probably more useful to know how to hook it up to a panel that allows it to be portable and used away from the house (e.g. for some weather station projects etc.)
Thus, you will want to get access to a portable solar panel that can easily be unfolded to allow sunlight to be converted into electricity for the device. Such solar panels can easily be found online.
You will also want the appropriate battery to pair with the solar panel!
Power Management Board
In order to make sure that your Raspberry Pi does not draw too much power from a solar panel, you will want to also invest in a power management board, which is directly attached to the Raspberry Pi itself.
This ensures that the battery of the Raspberry Pi charges at a safe rate, no matter how much power is being generated, which helps to keep the entire motherboard safe from potential damage.
How Much Electric Current Does The Raspberry Pi Need?
An average Raspberry Pi computer generally needs around 2 to 2.5 volts at a minimum in order to be powered. If you were to use less power, your Raspberry Pi computer may warn you by displaying a small “Undervoltage warning” symbol on the dashboard.
You should aim to grab a portable solar panel that can safely and efficiently provide that level of power to a consistent degree.
Step 1 – Attach Your Power Management Board
The first thing you are going to need to do, once you have gathered all of your materials, is to attach your power management board. This is easy to do and only requires that you hook up the board to the correct ports on the motherboard.
Step 2 – Attach Your Battery
Once you have connected the power management board, you will want to then attach your chosen battery, which will store up the energy generated by the solar panel.
Make sure to do this carefully, to ensure that the battery is fully installed, and also that it is designed to work in tandem with your chosen solar panel.
Step 3 – Connect Your Solar Panel
Finally, you are ready to then hook up the solar panel to the Raspberry Pi. The solar panel will be hooked up to the Raspberry Pi via the power management board, which will help to keep the battery from being overloaded.
This step is very easy, as it is just a matter of hooking up the wires to the correct inputs.
Step 4 – Install Power Monitoring Software
This is totally optional, as, at this point, you would actually be ready to start powering your Raspberry Pi computer via solar power right away.
However, if you want an extra layer of control over your solar panel and the power it provides, you may want to install some power monitoring software.
There are many platforms that you could opt for, many of which allow you to observe the health of your battery, and even control the amount of power coming from the power management board, to stay on top of the health of your Raspberry Pi!
Frequently Asked Questions:
How Long Will A Car Battery Power A Raspberry Pi?
Car batteries can last for a very long time and the average Raspberry Pi computer would only ever be able to drain the battery at around 90 hours of continuous use!
Is It Ok To Just Unplug Raspberry Pi?
No. Generally, if you want to shut down your Raspberry Pi, you will want to do so from the user interface of the device itself.
Unplugging the device from power before shutting it down can cause the system to be corrupted, as it may still be writing new data to your SD card when you unplug it, corrupting the data!
Can A Raspberry Pi Stay On 24/7?
Yes. Provided the Raspberry Pi is receiving a stable and consistent flow of energy, it is perfectly safe to leave a Raspberry Pi device on 24/7. Providing a Raspberry Pi with incorrect power for that length of time could see the motherboard being slowly fried.
![How To Build A Solar-Powered Raspberry Pi [In 4 Easy Steps] buy raspberry pi accessories](https://raspians.com/wp-content/uploads/2022/08/Copy-of-BBAR-Banners-2-1024x256.png)
To Conclude
We hope that this guide has proven not only useful but also incredibly fruitful. By following the steps detailed in this guide, you could easily build your own solar-powered Raspberry Pi computer!
- How To Uninstall Packages On Ubuntu - March 13, 2024
- How To Restart Ubuntu Using The Terminal - March 13, 2024
- What Is The Steam Deck | Experience Modern Handheld Gaming - March 12, 2024

