The Raspberry Pi is a popular single-board computer that can be used for a wide range of projects, from building a media center to creating a smart home automation system. However, if you are wanting to make it portable, you need to power it with a battery.
This may seem like a daunting task, but with the right hardware and a little bit of knowledge, it’s relatively simple to do. In this article, we will guide you through the process of powering a Raspberry Pi with a battery, covering everything from choosing the right battery to wiring it up correctly.
Whether you’re building a robot, a remote sensor, or just want a portable computer, this guide will help you get up and running in no time.
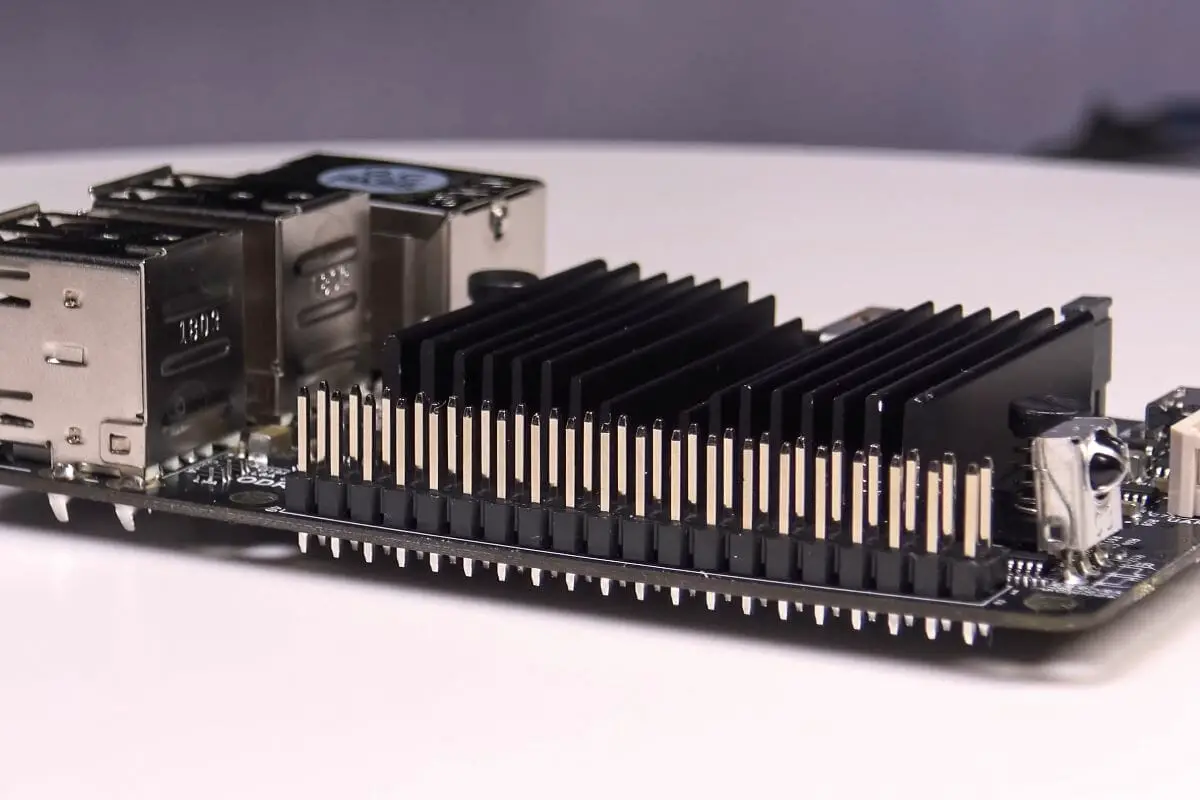
Powering Your Raspberry Pi With A Battery
Firstly, Pick The Right Raspberry Pi Model
Sure, the new Raspberry Pi 4 B might feel like the obvious choice, but it isn’t the right one if you want to maximize the life of your battery. If you want your battery to last as long as possible, it would be smarter to go for the Raspberry Pi Zero.
Here’s a quick look at the power usage of a Raspberry Pi 4 B compared to the Raspberry Pi Zero:
- Raspberry Pi 4 B power rating = 1.25A / USB-C
- Raspberry Pi Zero power rating = 180mA / microUSB,
As you can see, you consume almost seven times less power when using the Raspberry Pi Zero compared to the Pi 4 B! To really hammer this point home, we will look at a quick calculation below.
Calculating Battery Life
Here we can calculate how long a cylindrical 18650 lithium battery with 2200 mAh capacity will last when used with a Raspberry Pi 4 B vs a Raspberry Pi Zero.
As you can see, the results are very different when comparing the Raspberry Pi 4 B versus the Raspberry Pi Zero.
While this calculation is only for a single lithium-ion battery, it does tell us what we need to know in terms of efficiency. These numbers will vary depending on the Raspberry Pi model you have, as well as the peripherals and various activities.
Nonetheless, the results are clear when it comes to outright power consumption.
Picking The Right Battery Size
Before you can connect your Raspberry Pi to a battery, you should consider the battery size you’re going to need. This will depend on what exactly you intend to do with your Raspberry Pi.
You need to consider how long you need the battery to last, and how much power you are going to use from the battery every hour. For example, you can use a 40,000 mAh power bank to power a 4a device for just one hour, or you could use it to power a 1A device for 40 hours.
It’s up to you to decide which one you need, and which one will best suit your interests.
What You Need To Consider
Below are a few things that you need to consider before going ahead with your plans:
- You need to have a DC/DC converter in order to convert the 3.7V battery voltage up to 5V because the Raspberry Pi has to be powered by 5V DC.
- You need to think about the efficiency and power consumption of the converter you are using in order to help determine battery life. It’s crucial.
- You need to pick your DC/DC converter very carefully to make sure that it is a good one. The efficiency will impact the battery life like a multiplier.
- You need to have a battery charge controller if you are powering your Raspberry Pi using a rechargeable battery. This will regulate incoming voltage and current to the batteries you use to prevent overcharging. If you don’t do this, the lifespan of your batteries will be cut short and be potentially unsafe.
Set-Up Options
Three set-up options could work for you, depending on your preferences. We will go through each of them below.
1.) Charge Controller
This is the minimal and simple setup that should work for most people’s needs.
Connect the 3.7V lithium battery to the TP4056 charge controller, and connect the charge controller’s output to the pin that indicates 5V and Raspberry Pi Zero ground.
You can use this setup for testing to see if the whole system is working. However, it isn’t great as a permanent solution, as your Raspberry Pi will shut down when the battery level gets below 3.3V. You will also need to disconnect the Raspberry Pi and battery when you change, meaning you will also need a breadboard or toggle switch.
DC/DC Converter
A MT3608 3.7V to 5V DC/DC converter will solve this issue. It will up the 3.7V to 5V to make everything run smoothly.
To do this, you will need to take the charge controller output and connect it to the converter’s input, then connect the Raspberry Pi 5V pin.
You won’t need to concern yourself over your batteries being inefficient or shutting off before they are spent. Thanks to the setup, you also won’t need to disconnect the batteries when you charge, as it will have the DC/DC converters in the built-in circuitry.
Power Boost Module
The final set-up will use Adafruit’s PowerBoost 1000 charger module to get even better results. This is a combination of a DC/DC converter and battery charge controller in one, so you don’t need to have separate modules.
All you need to do is connect the 3.7V lithium-ion battery. From there, you will have regulated USB charging and consistent 5V output.

Final Thoughts
We know it can be a little confusing if you’re just starting out, but hopefully, this article has helped you! When you break things down, they become a lot easier to understand.
When you begin reaping the rewards of a better-powered Raspberry Pi, you are going to be amazed by what it can do.
Good luck!
- How To Uninstall Packages On Ubuntu - March 13, 2024
- How To Restart Ubuntu Using The Terminal - March 13, 2024
- What Is The Steam Deck | Experience Modern Handheld Gaming - March 12, 2024




![How To Host A Website On A Raspberry Pi: A Step By Step Guide How To Host Your Own Website On Raspberry Pi [Ultimate Guide]](https://raspians.com/wp-content/uploads/2023/02/How-To-Host-Your-Own-Website-On-Raspberry-Pi-Ultimate-Guide-1-150x150.jpg)