

The Raspberry Pi 3 is a handheld, pocket sized electronic device. It can code, it can game, it can make videos.
Regardless of what it can do, it comes without a traditional power button.
With that in mind, you may be wondering how to turn it on after the power has been turned off. This guide will explain the various methods that you can turn your Pi 3 on after it has been turned off.
Raspberry Pi 3 Overview
Raspberry Pi 3 is a 2016 and onwards rendition of the original 2012 Raspberry Pi.
It is newer, faster and has improved features.
The main features are as follows.
- 4 USB Ports
- Bluetooth and WiFi
- 40 Pin GPIO
- 10/100 LAN Port
- HDMI Port
- Camera Port
- Video/Audio Jack
- SD Card Slot
- Quad Core 1.4 GHz
How to Turn on Your Raspberry Pi 3
Raspberry Pis go against standard device conventions that you might have grown accustomed to. They do not have a power button. That means, they have no magic switch to turn them on. This may feel counterintuitive, but stick with it.
In place of a traditional power on button command, Raspberry Pis have a different system.
You have to plug in a cable in order to get power to the Pi 3 device. This power cable is inserted into the micro USB port. And, it is the answer to all your questions.
If this is the first time powering up, and subsequent times thereafter, you have to tick a few boxes in order to ensure you don’t break your device before you get your feet on the ground.
1. The Micro SD card. It’s important. This needs to be inserted in the Pi 3 device. Before it is inserted, the Micro S card needs to have the most update Raspbian operating system downloaded and ready to go.
2. The HDMI cable needs to be connected to your chosen monitor or screen. Your Keyboard and Mouse also need to be plugged in and ready to go. If you are using an Ethernet cable, you got it, plug it in.
3. When, and only when, all of the above boxes have been ticked and thoroughly checked, can you plug in the micro USB power cable.
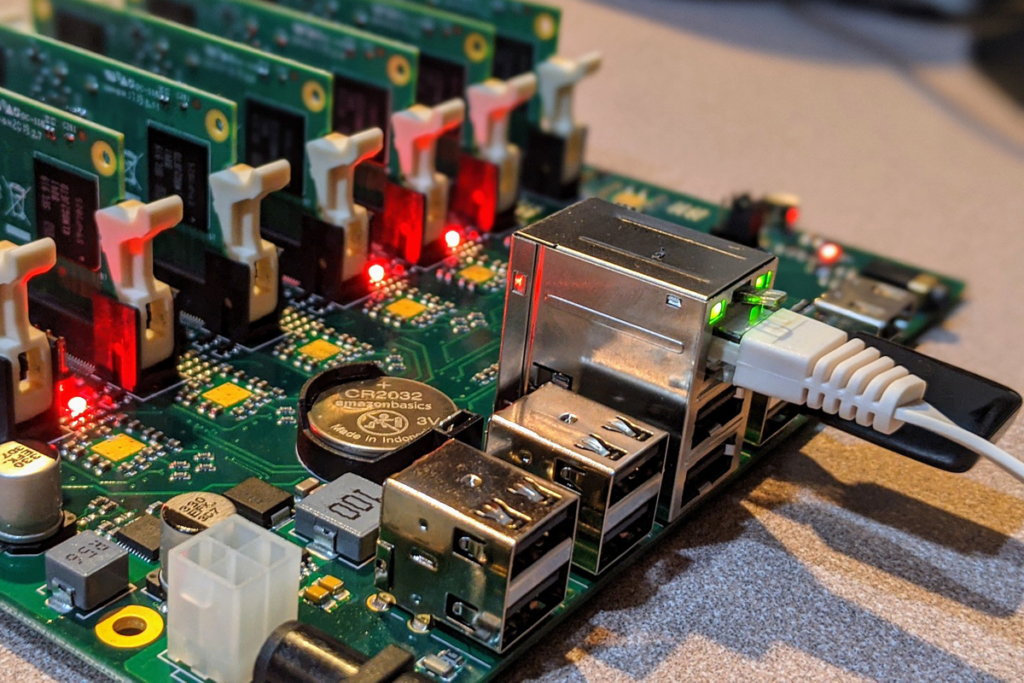
Now, your Raspberry Pi 3 will be fully awake and aware. You can tell that everything is working as it should be, because the device actually gives you the green light, meaning go, or good. However you wish to interpret it, green light is a good sign.
How Do You Shut Down the Raspberry Pi 3?
You have a few different options when it comes to the shut down of your Raspberry Pi 3.
Okay, firstly and most importantly, here is what absolutely not to do.
Don’t just unplug the micro USB power cord. It’s so tempting, we know. But, please don’t do it. You can break your Pi 3 so easily by doing this.
Yes, it is a quick and easy way to shut the whole thing down, but it can also corrupt your files, your data, and even the inner workings of the Raspbian operating system. You don’t want that to happen.
So, now we have covered what not to do, let’s move on to what is safe to do.
1. Type the shutdown command. This can be ‘sudo shutdown -h now or sudo poweroff.
This is the official shut down device command, and can be typed from your USB keyboard.
2. Use the Menu Options. This is a useful knowledge nugget for whenever you may be using your Raspberry Pi 3 without a keyboard device.
First, press start to bring up the menu bar.
On the menu bar, there is an option that says ‘shutdown’.
This is the one you want. Press it.
This is another safe way to turn off your Pi 3 without faults and repercussions.
3. SSH. SSH, or secure shell, is a way to remotely access your device from another device controlled by you.
If you set your Pi 3 up on the SSH, you can control it from afar. So, logic then follows that, while connected to the network via the SSH connection, you can shut the Pi 3 down with a remote command. You can use the same shutdown command as we saw above,
How To Turn on Raspberry Pi 3 After Shutdown
There are no complicated methods here.
If you have shut down your Pi 3 correctly and safely, then you have an easy task ahead of you. Sit back and relax.
All that you have to do is plug back in the power cable. This is of course assuming that everything we previously talked about is still in place. This includes the HDMI cable, the keyboard, mouse, and the Micro SD card.
Making Your Own Power On/Power Off Button
There is another option. It is possible, with the later models, to create your own power button for the Pi.
You will need a power button and a python code. All of which you can find on the Raspberry Pi instructional website link below.
When you have successfully installed your power button, you can switch off your Raspberry Pi 3 safely, just like all of your other electronic devices.
This may seem like the easier option overall. However, it does take a precise coding knowledge and a certain confidence. You can learn all of these skills, of course.
Final Thoughts
And this concludes our guide for how to turn on your Raspberry Pi 3 after shutdown action has been completed.
If you’re feeling particularly adventurous and tech savvy, you can make your very own power button for your Pi 3. This might save you a lot of time and hassle and give you a snappy, easy, extremely convenient way to turn your device off and on again safely.
You won’t lose any data, you won’t corrupt any files, and you certainly will not damage the Raspbian operating system.
If not, then no worries. There are options for you too. You can access your Pi 3 remotely via SSH, and enforce the shutdown command from an external device.
If you don’t have access via SSH, you can simply type the command into your keyboard that is connected to your Raspberry Pi 3 device.