
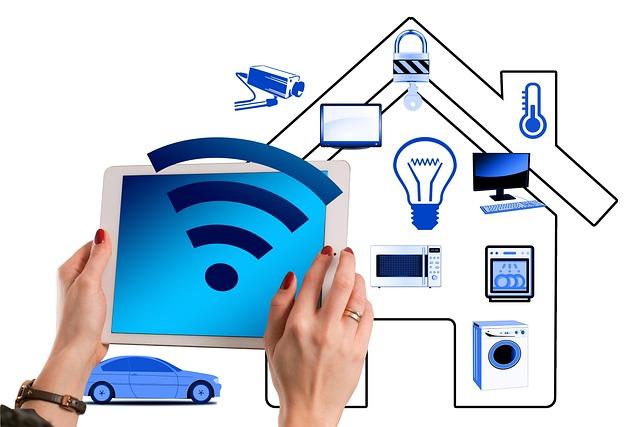
Home automation is no longer a concept of the future. With the help of smart home devices, you can streamline your routine and free up your time, from turning on the lights to regulating the thermostat. According to statistics by Mediapost, the majority (69%) of houses in the US own at least one smart-home device now.
And home automation is now more affordable than ever thanks to Raspberry Pi Z-Wave! Modern technology makes it simple to manage your home from anywhere, at any time through wireless systems.
In this article, we will explore how to set up your Raspberry Pi Z Wave and use it to control devices in your smart home.
We will be using an open-source home automation software called Home Assistant to connect and monitor the Z-wave devices with Raspberry Pi.
Let’s dive in.
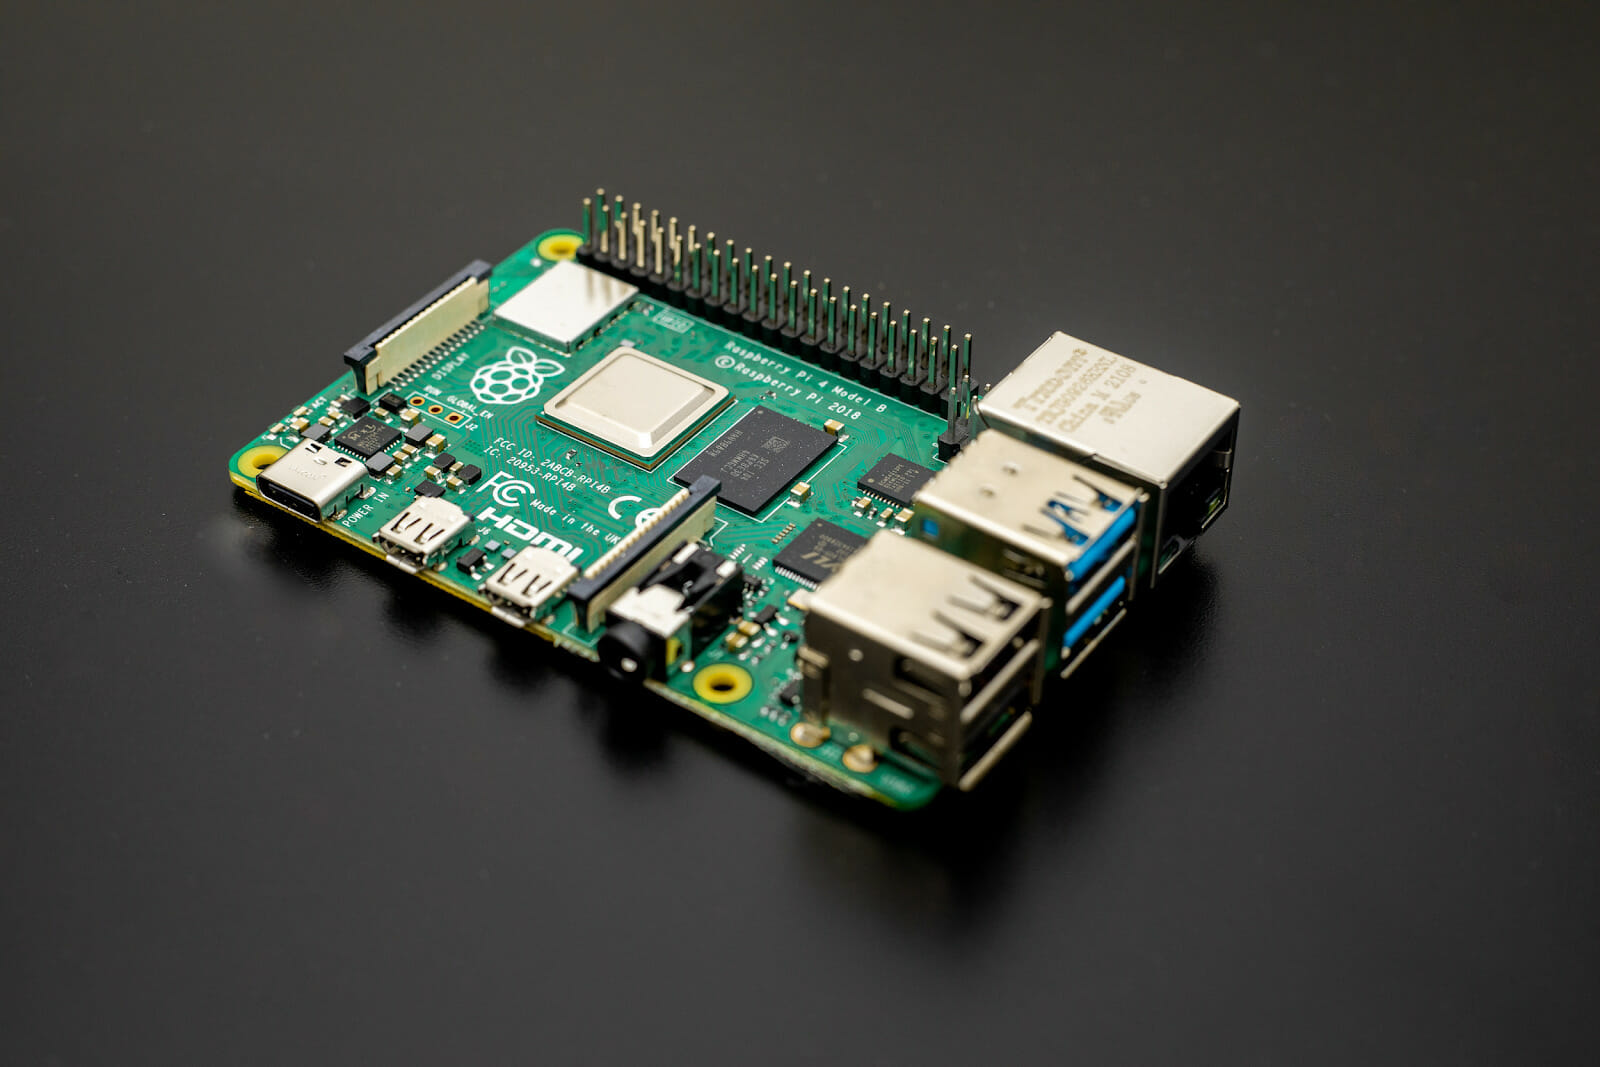
1.) Components You Will Need:
To set up a Raspberry Pi Z-Wave system, you will be needing:
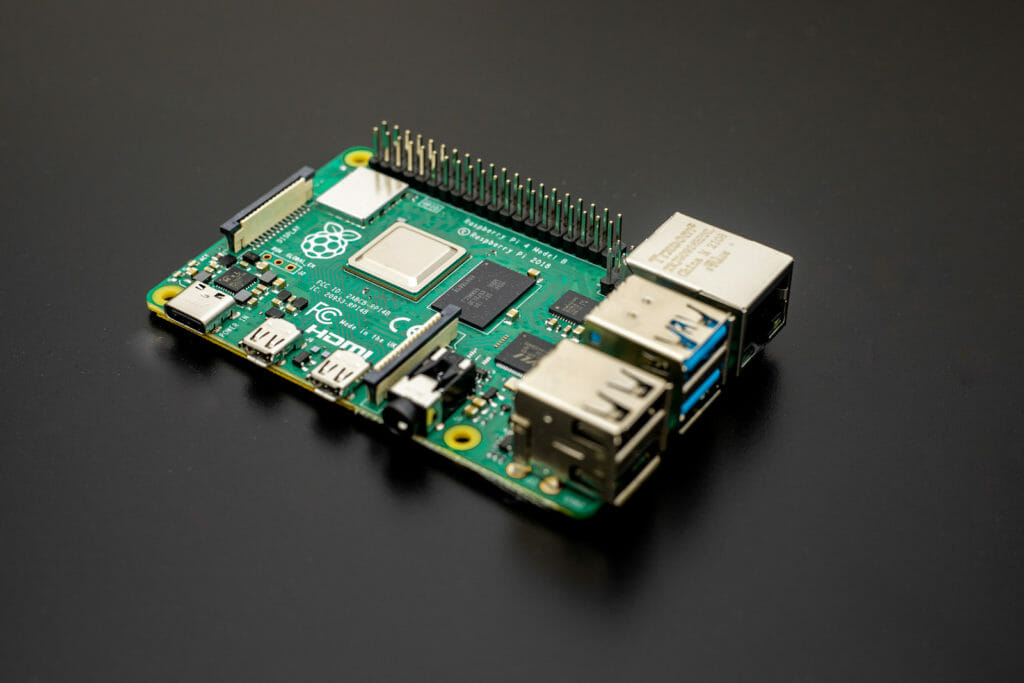
- A Raspberry Pi
- USB-C power cable with adapter
- An Ethernet cable
- An SD card and SD card reader for RPi
- Z-wave USB dongle
- Smart home appliances
- RPi case, preferably one that has cooling capabilities
Click Here For The Best Raspberry Pi Gear & Accessories!
2.) Flashing the SD card:
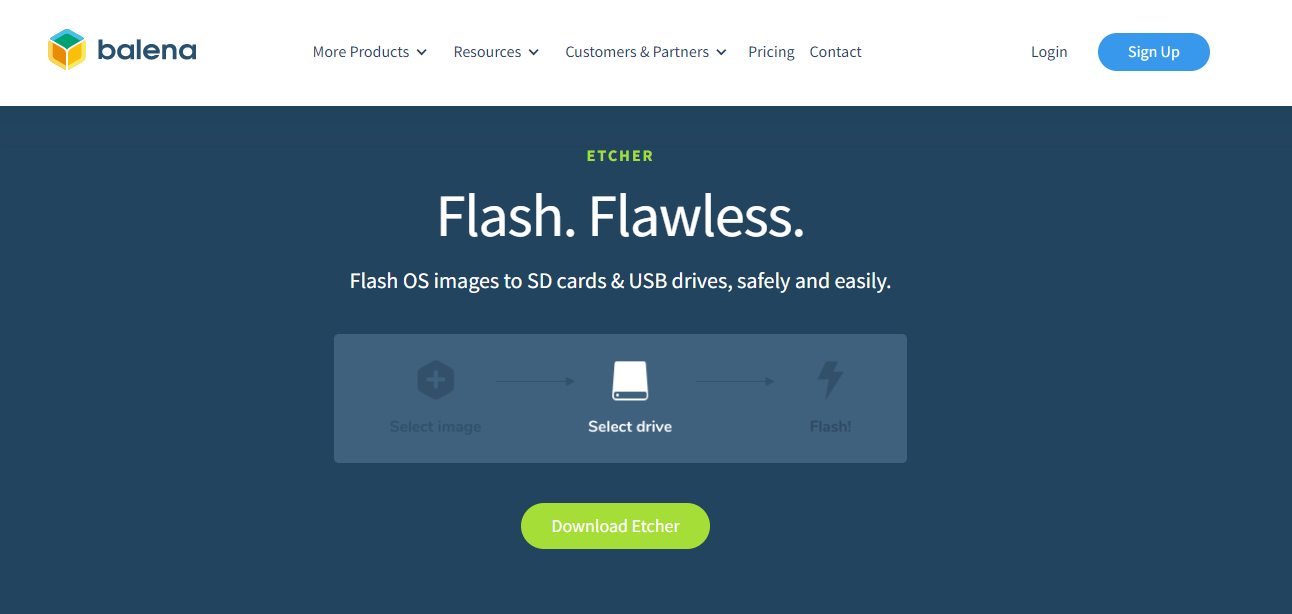
In order to get the home assistant image onto the SD card, you need a tool named “balena Etcher”.
Balena Etcher makes it possible for Raspberry Pi users to create a bootable SD card for their devices. And, the good news is, this tool is supported cross platform. (Windows, Linux and MacOS ).
To get started with it:
- Put the SD card into the SD card reader and plug that into your PC
- Next, go to google and search for “balena Etcher’’
- Click on the top link and press download Etcher
3.) Home Assistant for Raspberry Pi Z Wave:
Once you have downloaded the Balena Etcher software:
- Search for “home assistant for Raspberry Pi’’ on Google and click the link that gives information regarding the procedure to download home assistant on RPi
- Scroll down to the website to where the URL for the home assistant installation file is given
- Copy the URL for the 64-bit version of whichever Raspberry Pi model you are using

4.) Linking Balena Etcher with Home Assistant:
- Once Balena Etcher software is downloaded, open it, and click “Flash from URL”
- Paste the Home Assistant URL that you just copied in the previous step and click “ok”
Now Balena Etcher will download that home assistant image and will ask you to select the target location that it should be flashed to.
Click Here For The Best Raspberry Pi Gear & Accessories!
To select the target location:
- Click on “select target’’
- Then choose the SD card that you had connected to your computer earlier
- Now click on “flash’’ and wait for a few minutes
Once done, you will get a notification that flashing is completed, and then you can remove the SD card from your PC.
5.) Assembly and Startup
Now it’s time to assemble the Raspberry Pi.
This is a crucial step in making sure that the Raspberry Pi operates at optimal temperatures, preventing any overheating issues that could compromise the performance and stability of the device.
- First, insert the flashed SD card to the RPi and attach the ethernet cable to the Ethernet port
- Then insert the USB-C power cable to the power port
This will power up your Raspberry Pi. On your PC browser, navigate homeassistant.local:8123. Alternatively, you can login as http://xxxx:8123 (where xxxx is your Raspberry Pi IP address).
Note: If you don’t know the RPi IP address, log into your router and find it there.
- Once you are successful with navigating your IP address, you are going to see a screen indicating that the home assistant is starting for the first time
- Wait until it is complete and then create a username and password following the prompts
- Once logged in, it is going to ask you for some other basic information, fill it out and click next
TopTip: It is highly recommended to encase your Raspberry Pi device in its protective casing, as this not only offers additional durability but also has cooling capabilities that aid in the transfer of heat away from the central processing unit (CPU) and towards the aluminium casing.
Click Here For The Best Raspberry Pi Gear & Accessories!
6.) Adding Raspberry Pi Z-Wave Integrations
Congratulations – you’re almost there! With just one more step, you’ll have your home assistant up and running on your Raspberry Pi. This final step is essential, as it will ensure that your home assistant operates smoothly and efficiently.
The Z-wave features of your smart home devices are enabled and controlled through the Z-wave smart hub gateway. With Z-Wave integrations, you are able to control a Z-Wave network using the Z-Wave JS driver.
To setup Raspberry Pi Z-Wave communication you have to:
- Plug the Z-wave USB stick into your Raspberry Pi USB port
- Go to “Configuration” on the home assistant screen and press “Integrations”
- On the Integrations page, you should see that if the USB is recognized as a device for Z-Wave JS
- Press the figure and confirm if you want to use this device as the Z-wave coordinator
We prefer the Zooz 700 Series Z Wave USB stick, however, you’ll find a number of different sticks that will do the job such as the Aeotec Z-stick Gen 5, Aeotec Z-Stick 7, Zooz ZST10, GoControl HUSBZB-1 etc.
7.) Adding Devices to the Z-Wave Network
There are a large number of devices that can be connected through Z-wave, for example, lights, bulbs, weather monitors, daylight sensors and more.
- In the “Devices and Services” page click on “Configure” under Z-Wave JS integration, then follow the instructions that came with the device you want to add to trigger parent mode
- Click on “add device” and give it a few seconds for the integration to find the Z-Wave device
- If the device is detected, it will ask you to enter the pin number to verify the device’s specific key. (it is available on the device or on the manual that came with it)
- Click on “submit”
The device will now be added successfully. Once added, click on “view device” to see all the different data you can get from that device. You can also add more devices using these same steps.
And you’re done! You have successfully set up Z-Wave with your Raspberry Pi.

Key Takeaways
- Smart home devices can help streamline your routine and save time by allowing you to control various aspects of your home from anywhere.
- The Raspberry Pi Z-Wave is an affordable way to set up a smart home system.
- To get started with the Raspberry Pi Z-Wave, you will need a Raspberry Pi, USB-C power cable with adapter, Ethernet cable, SD card and SD card reader, Z-wave USB dongle, smart home appliances, and a RPi case.
- Use Balena Etcher to create a bootable SD card and download Home Assistant for Raspberry Pi Z-Wave to connect and monitor the Z-wave devices with Raspberry Pi.
- Assemble the Raspberry Pi properly to ensure optimal performance and stability, and add Raspberry Pi Z-Wave integrations.
- With the Z-Wave integrations, you can control a Z-Wave network using the Z-Wave JS driver.
- Use Home Assistant to add devices to the Z-Wave network and control them from anywhere.
With smart home devices becoming more affordable and accessible, now is the perfect time to take advantage of this technology and streamline your routine.
And – with the Raspberry Pi Z-Wave – you can enjoy the benefits of smart home automation without breaking the bank.
Next: consider reading How To Use Raspberry Pi Cluster Cases [The Complete Guide]