
Raspberry Pi offers users a lot, including the chance to learn Linux, programming, sysadmin, and many other things at a reasonable price.
However, a common issue that many people run into is that of temperature. When it comes to Raspberry Pi, you need to keep a careful eye on the temperatures of different parts of the device.
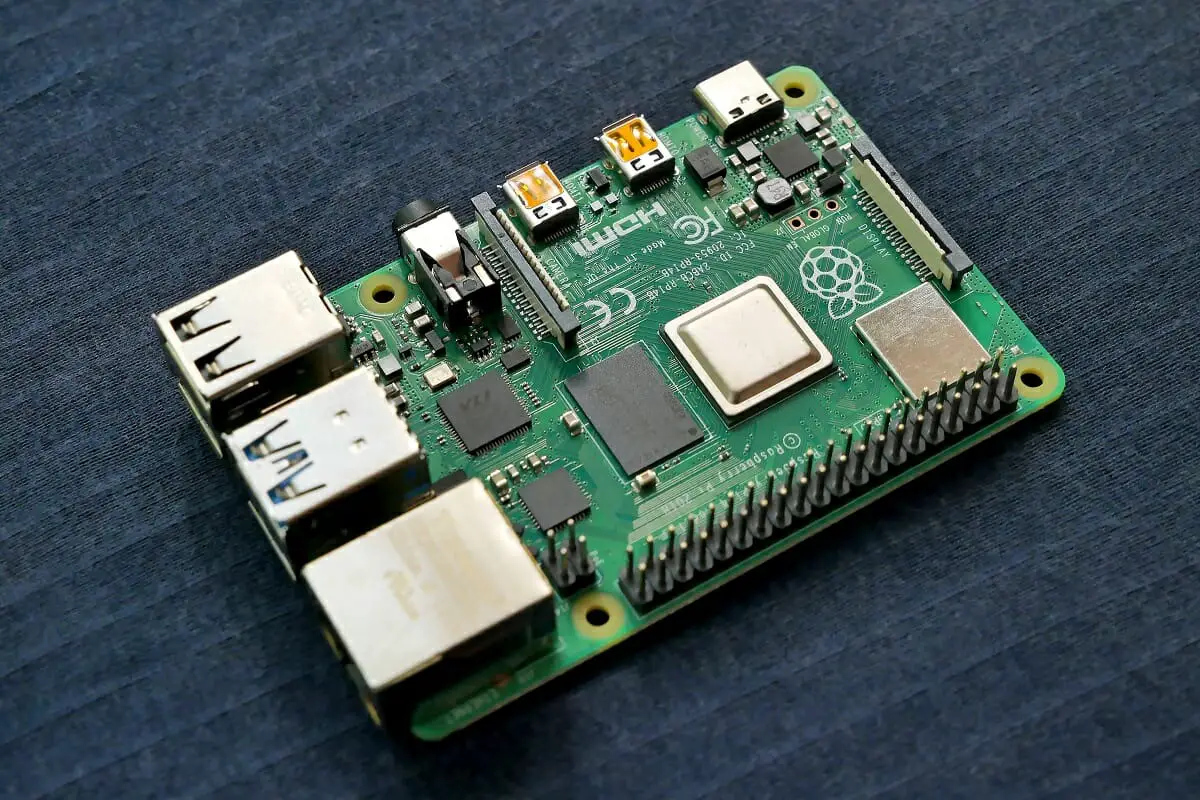
In this article, we will go through how you can find out the Raspberry Pi GPU and CPU temperatures using Linux command.
By the end of this article, you should have a solid foundation for testing this out yourself. Follow along to learn more, and see how you can apply this to your own Raspberry Pi.
Click Here For The Best Raspberry Pi Gear & Accessories!
How To Find Out Raspberry Pi GPU And CPU Temperatures
Why Is It Important To Know How To Find These Temperatures?
Although we may not think of temperatures too much when we are using our Raspberry Pi, it is an important thing to consider. This is especially the case with some models, such as the Raspberry Pi 4.
This is because this model runs very hot when compared to other versions.
While these devices will have fans that kick in when the temperature reaches 80 °C, it can still put your device at risk.
When the fan is activated, the CPU (central processing unit) performance will throttle back in order to reduce the temperature.
Nonetheless, it is always helpful to keep an eye on temperatures yourself so that you know when to expect this.
Finding The Raspberry Pi GPU Temperature With Commands
The first thing you will need to do is open the Terminal application. Once that is open, you will need to type in this command in order to view the Graphics Processing Unit (GPU) temperature:
vcgencmd measure_tempor
/opt/vc/bin/vcgencmd measure_tempThis will give you an output such as the following:
pi@raspberrypi:- $ /opt/vc/bin.vcgencmd measure_temp
temp=41.2’C
pi@raspberrypi:- $ vcgencmd measure_temp
temp=41.5’C
pi@raspberrypi:- $
pi@raspberrypi:- $
Analyzing The Temperature Of The Graphics Processing Unit
Parse the GPU Temperature Outputs by using the grep command (or egerp) and only get the number by typing in the following command:
vcgencmd measure_temp | grep  -o -E '[[:digit:]].*'
vcgencmd measure_temp | egrep  -o  '[[:digit:]].*'
You will then be able to combine the echo command or printf command by doing this:
echo "The GPU temp: $(vcgencmd measure_temp | grep  -o -E '[[:digit:]].*')"
gpu_temp="$(vcgencmd measure_temp | grep  -o -E '[[:digit:]].*')"
printf "The GPU temp: %s\n" "$gpu_temp"
Finding the Raspberry Pi Central Processing Unit (CPU) Temperature With Commands
Moving on, we can now find out what the temperature of the Central Processing Unit is. This will also be done in a few simple steps that you can follow along.
To do this, you will need to start by typing in this cat command:
cat /sys/class/thermal/thermal_zone0/tempThen you will need to divide it by 1,000 in order to get ARM CPU that will be shown in a more reliable format:
cpu=$( This will create an output that looks something like this: ``` pi@raspberrypi: - $ cat /sys/class/thermal/thermal_zone0/temp 42236 pi@raspberrypi: - $ pi@raspberrypi: - $ cpu=$_ ``` ` [Click Here For The Best Raspberry Pi Gear & Accessories!](https://link.clktrack.com/sunfounder) ### How To Continuously Measure Temperature On Your Device You can also program your device so that the temperature will consistently show on the monitor. This will allow you to keep a better track of it, and act accordingly if and when you need to. Type in this command: ``` watch -- 'vcgencmd measure_temp' watch -c -b -d -n 1 -- 'vcgencmd measure_temp' ``` We will go through what each of these letters means below: - -c = the display output in color if it is possible - -b = in the case of a non-zero exit status or error, it must beep to notify you - -d = any changes done between updates must be highlighted in a different color - -n 1 = updates are made and carried out every 2 seconds. (You can pass the -n 1 option if you want the wait in between updates to be reduced to just 1 second). - – – = this double dash means “end of command line flags”. For more information about what this double dash, what it means, and what it impacts, read [this article](https://www.cyberciti.biz/faq/what-does-double-dash-mean-in-ssh-command/). ### Putting Everything Together and Creating A Simple Bash Script Now, you have the ability to create a simple bash script. This is called “my-pi-temp.sh”, and will allow you to see the CPU and GPU temperatures of your Raspberry Pi. To do this, you will need to type in this command: ``` NAO my-pi-temp.sh ``` Or ``` vi my-pi-temp.sh ``` Then you will need to add this code: ``` #!/bin/bash # Script: my-pi-temp.sh # Purpose: Display the ARM CPU and GPU temperature of Raspberry Pi 2/3 # Author: Vivek Gite under GPL v2.x+ # ------------------------------------------------------- cpu=$( $(/opt/vc/bin/vcgencmd measure_temp)" echo "CPU => $((cpu/1000))'C" ``` Once this has been done, you will need to [save the file](/backup-your-raspberry-pi/) then close it. You should set the permission by typing in this: ``` chmod +x my-pi-temp.sh ``` Then, run it like this: ``` ./my-pi-temp.sh ``` This would be an example of a sample output: ``` Wed 7 May 08:05:22 IST 2022 @ raspberrypi ------------------------------------------- GPU => temp=43.4'C CPU => 46'C ``` This will show you all the information you need to know regarding the [temperatures of your Raspberry Pi](/do-you-need-a-raspberry-pi-temperature-monitor/) device.  ## Final Thoughts Hopefully this page has helped, and you now know how to check the GPU and CPU temperatures of your Raspberry Pi device. Please remember that this is a very important thing to do with [Raspberry Pi devices](/manage-multiple-raspberry-pi/), as temperatures will vary depending on the model you have. Some models are notoriously hot compared to others, and it’s up to you to check on temperatures to ensure they remain in proper working order. <iframe width="560" height="315" src="https://www.youtube.com/embed/IMDbCCR6Kj8" frameborder="0" allow="accelerometer; autoplay; clipboard-write; encrypted-media; gyroscope; picture-in-picture" allowfullscreen=""></iframe> `