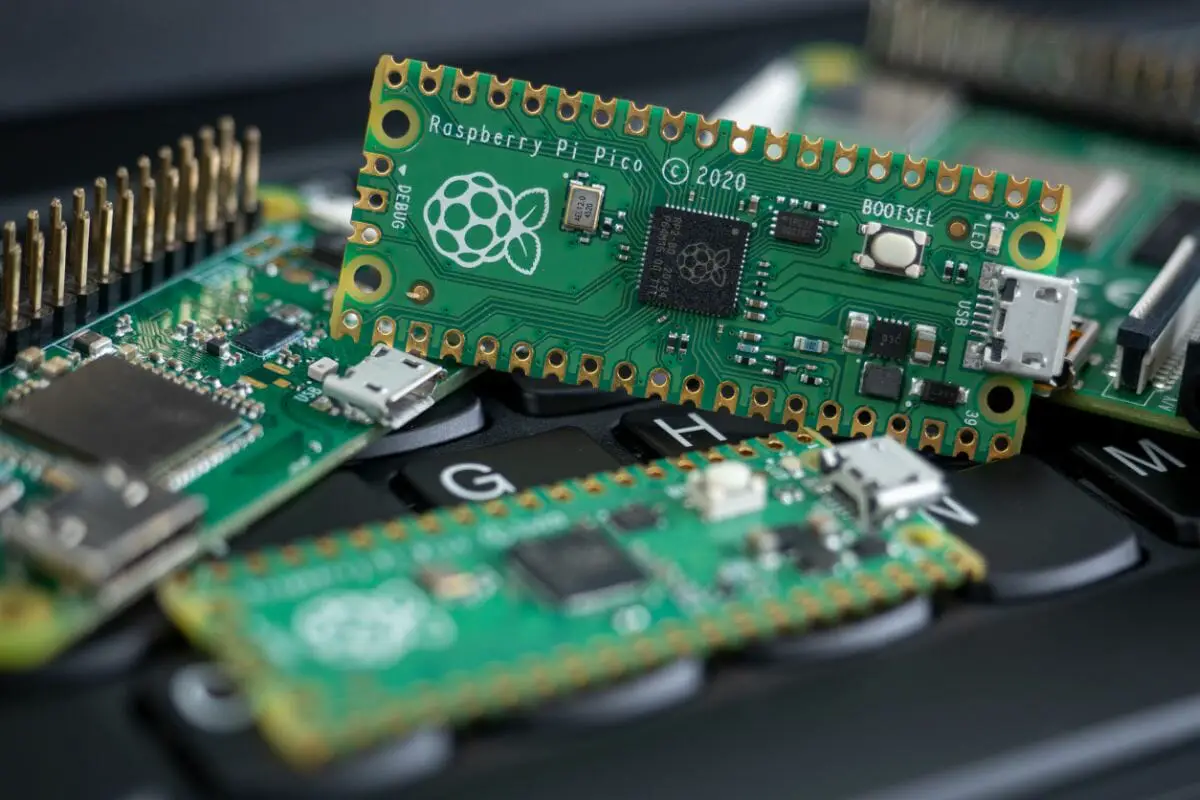
Suitable for a computer monitor or TV, a Raspberry Pi is essentially an affordable, mini-sized computer that is specifically designed to be plugged into an external device.
When used correctly, Raspberry Pi has the ability to help explore computing and learn how to program effectively, but did you know that you can use additional computers with it, too?

Put simply, a computer cluster is a group of two or more computers (which are sometimes referred to as nodes) that both run in tandem together in order to serve a specific purpose.
This then helps to alleviate the workload of just one computer and ensures that tasks can be split between nodes.
But, how do you use a cluster case, exactly?
To help you learn more about your Raspberry Pi as well as how to make the most of it with cluster cases, this guide is going to be showing you everything that you need to know.
Just read on!
How To Assemble A Raspberry Pi Cluster
Before we talk you through how you can go about using your Raspberry Pi Cluster Cases, we first think that it would be helpful to talk you through how to assemble your cluster in the first place.
As we’re sure you might very well agree, opting to build a cluster is sure to be a fun project for any data programmer or technician.
That being said, there are quite a few different ways to assemble and use a Raspberry Pi cluster, which is why we’re here to help you figure out how to do it correctly.
In this particular method that we are going to be sharing with you below, we will focus on a simple process that will help to make the assembly process as simple as can be, as well as the checkout process should you need to purchase any additional parts!
Let’s check it out below:
Step One
First things first, you are going to need to begin by preparing the area in which the cluster is going to be kept. Ideally, you’re going to want to make sure that your cluster is stored directly next to the router, otherwise, you might struggle to connect the two together.
Step Two
After you have prepared the area where you are going to be keeping the cluster, you will then need to go ahead and assemble the cluster case. You will be able to do this by building each layer of your cluster case directly from the bottom, all the way up.
To begin doing this, place your cluster case where you want to keep the cluster.
Step Three
Place the cluster case directly on top of the network switch, all the while making sure that the network switch ports are on the left, while also making sure that the Raspberry Pi ethernet ports are directly facing you, too.
Going back to step two, you’re going to need to start from the bottom and then work your way up. Carefully connect the 6-inch ethernet cable from the front network switch port, directly to the bottom of the Raspberry Pi ethernet port.
Step Four
After you have done this, go ahead and connect the last three Raspberry Pis in the same way that you have done the first, making sure that you are using a twist tie if possible to make sure that the four cables have been grouped together.
Step Five
Once you have gotten this far, you are then going to need to go ahead and connect the Raspberry Pis that you are using to form the cluster case to the internet.
As a side note, if you do not need to use the entire length of the cable, you can easily coil some of it in the mid-section to help shorten the length a little.
Step Six
Next, you are going to need to go ahead and prepare the power. To do this, you are going to need to plug in the ME925116 power strip and make sure to connect each power supply to the power strip belonging to each Raspberry Pi.
Keep in mind, the power strip will only be able to support a maximum of four power supplies. If you need an additional power strip, you can go ahead and connect one using the Network Switch.
Remember to make sure that your Raspberry Pis are left unplugged and ready to be connected to your chosen operating system.
After you have done all of the above, your Raspberry Pi cluster will be ready to begin being used in combination with your chosen computer operating system. This brings us to our next section.
How To Use Raspberry Pi Clusters

Now that you have discovered how to go about assembling a Raspberry Pi Cluster Case, we’re sure that you might now be wondering how you can use it.
In order to use your cluster case, you’re going to need to download Raspian, and you can do this by first downloading Raspberry Pi OS Lite.
Click here to download.
After you have downloaded this zip file, you will then need to go ahead and download Etcher. You can use this software to make the Raspian image for each SD card.
To do this, take the SD card adapter that you have and make sure to use the “flash fromfile” feature to select the Raspian zip.
After you have done this, go ahead and select the SD card as the chosen device, and then tap on “flash!”. As a side note, make sure that you are only using an SD card that has not previously been used, or you know is compatible with the Raspian system.
Once you have flashed, keep in mind that you might be required to unplug and then replug the micro SD adapter.
Once you have gotten this far, you can then go ahead and enable SSH (see also ‘How To SSH To Raspberry Pi Over Internet‘). To do this, you are going to need to access the SD card’s “boot” directory, and then go ahead and create the empty file “SSH”.
After you have done this, the SSH will be enabled and you will be able to proceed to eject the SD card.
Then, all you will need to do is go ahead and repeat the steps above until all of the SD cards that you are using have been SSH enabled.
Configure the Raspberry Pis
Last but certainly not least, the final step that you will need to do before you can begin using your Raspberry Pi cluster is to configure the Raspberry Pi. In order to do this, you are first going to need to determine the IP address of your router (see also ‘How to Find Raspberry Pi IP‘).
Once you have done this, connect the power supply to the Pi in order to begin booting it up, if you have downloaded Raspian correctly, you should be able to see a green light.
After you have done this, use the computer that you have connected the cluster to in order to SSH into the Pi with the command: “raspberry”.
If you are prompted to delete the server’s fingerprint, you can do so by following the on-screen instructions that should be provided to you. At this point, you might also be prompted to update the hostname for each node, which is entirely optional.
After you have done all of the above, the Raspberry Pi cluster case will be complete and you will be able to begin using it to distribute the workload of your chosen, connected operating system.
Along with that, you also have the option of using it to host a database, deploy an additional cluster or even for running an application!

The Bottom Line
There you have it. You’ve made it to the end of the guide!
Now that you have taken the time to read through all of the above, we hope that we have been able to help you discover not only how to assemble your Raspberry Pi cluster case, but also how to make the most of it, too.
Even though setting up a Raspberry Pi cluster case can seem pretty daunting, by making sure that you are following the instructions and guidance that we have given you above – you should find that you are able to set up and begin running your very own cluster in no time at all.
Thank you for reading, we hope that this guide has been helpful to you.
