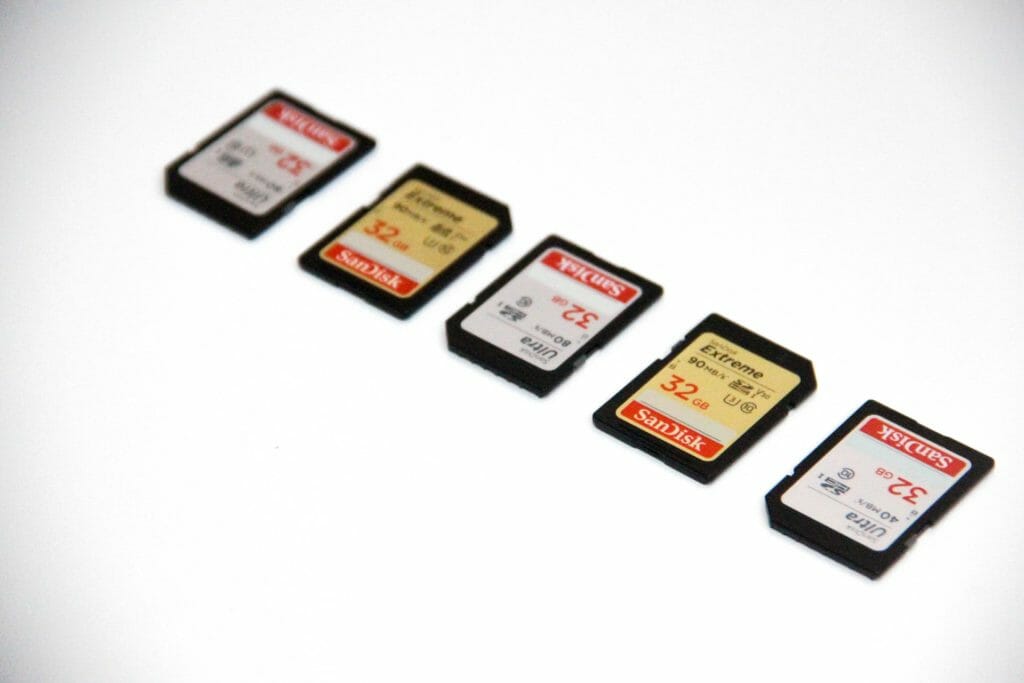
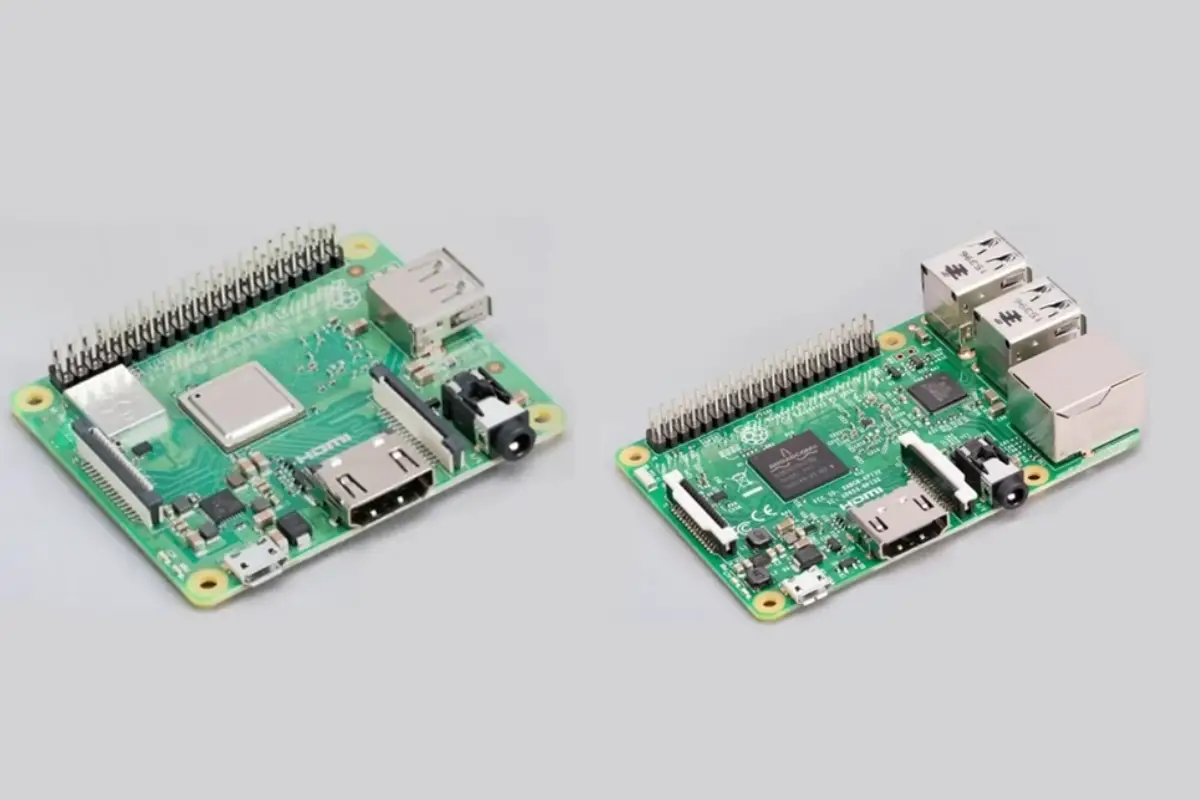
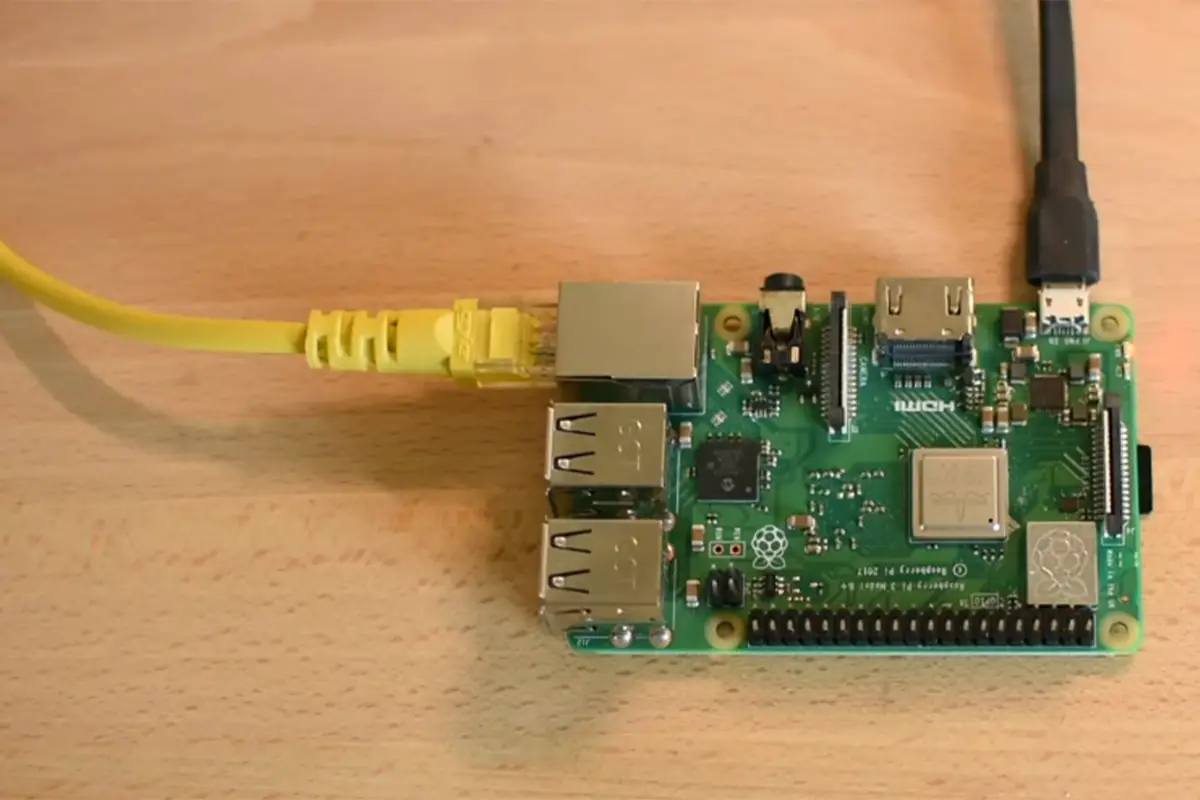
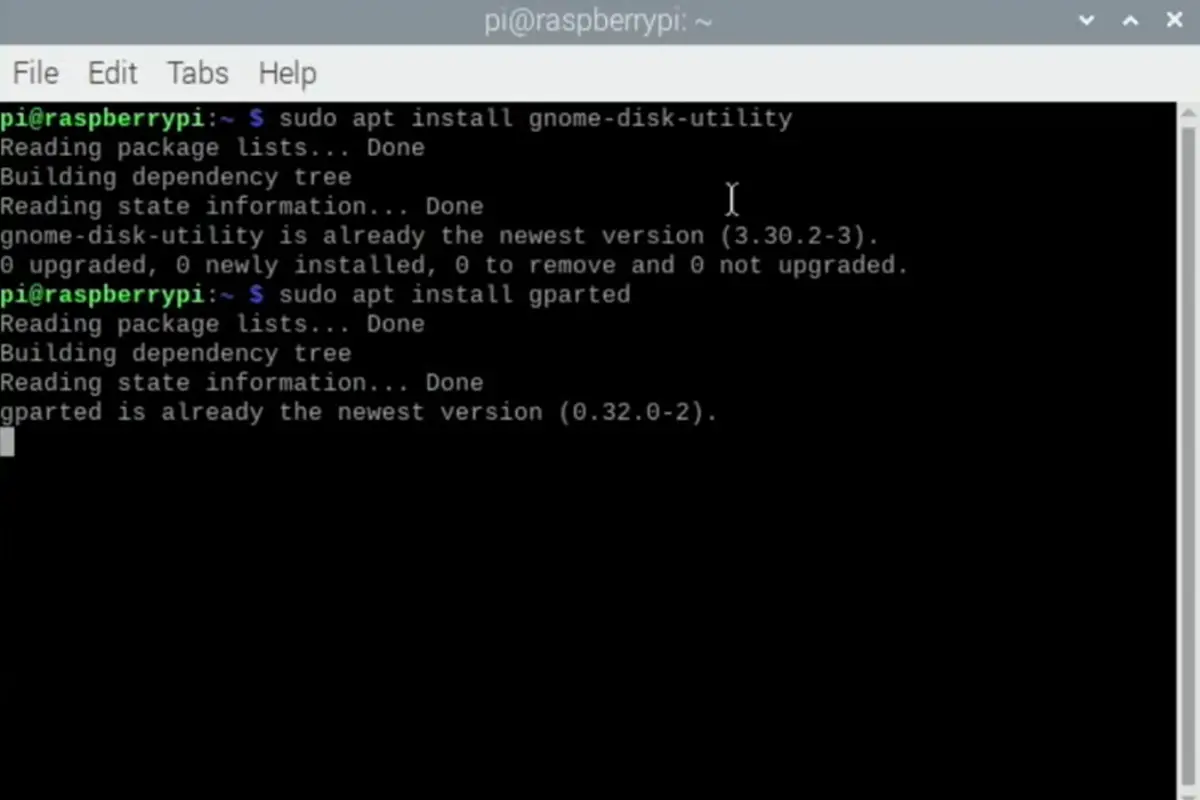
Making a backup image of your Raspberry Pi SD card can be very useful. After all, your data and system OS are on this tiny and fragile piece of plastic, which isn’t very safe.
Even if you don’t plan on ever using your backup, it’s always a good idea to have one in case something happens to your original SD card.
Luckily, creating a Raspberry Pi SD card image copy is really simple and only takes a few minutes.
In this guide, we’ll show you the step-by-step process of how to create a Raspberry Pi SD card image on major platforms like Windows, Linux, and macOS.
So, let’s get started!

Why You Should Consider Creating A Raspberry Pi SD Card Image
Before we get into the process of creating a Raspberry Pi SD card image copy, it’s important to understand why you should even bother doing this in the first place.
- For starters, a Raspberry Pi SD card image backup is an exact copy of your current SD card. This means that if something happens to your SD card like it gets corrupted or damaged, you can simply restore the image and be back up and running in no time.
- Another reason to create a backup image is if you plan on making major changes to your Raspberry Pi system (see also ‘Backup your Raspberry Pi: How To Save And Restore Files‘). This way, if something goes wrong, you can always revert back to a previous version by restoring the image.
- Lastly, having a backup image can be useful if you want to clone your current Raspberry Pi setup. For example, if you want to create an identical system but with a larger SD card, you can use the image backup to do this quickly and effortlessly.
Now that we’ve gone over some of the reasons why you should create a Raspberry Pi SD card image, let’s get into the actual process.
How To Create Raspberry Pi SD Card Image
The first thing you need to know is that the process of creating a Raspberry Pi SD card image is different for every OS.
So, make sure to follow the set of instructions for the system you’re going to be using to make an image of Raspberry Pi’s SD card.
Windows
Because Windows is the most popular operating system out there, let’s start with this OS first.
The process for creating a Raspberry Pi SD card image on Windows is actually pretty simple.
- To get started, all you need is a free program called Win32DiskImager which you can download for free from SourceForge.
- Once you’ve downloaded and installed the program, launch it and insert your SD card into your computer (you might need a USB adapter if your computer doesn’t have an in-built SD card slot). Make sure you’ve formatted your new Raspberry Pi SD card first.
- Then, find the drive partition which corresponds to your SD card and take note of the partition letter (you’ll need this later in step 5).
- Now, open Win32DiskImager and choose a name and the location for your image. Just make sure you have free space on your disk where you’re going to create the backup.
- Next, choose the device/drive partition you want to create a backup image of.
- Click on “Read” to initiate the copying process. This process can take anywhere between a few minutes to a couple of hours depending on the amount of data you’re backing up.
- Wait till the process is finished and voila! You’re done creating a Raspberry Pi SD card image on Windows.
The video below is a great walkthrough on how to do this:
Linux
If you’re running a Linux-based operating system, the process is a little more complicated. However, it’s still pretty straightforward and only requires a few commands.
First, open up a terminal window and find out which device your SD card is (see also ‘How To Format A Raspberry Pi SD Card‘). To do this, type in the following command:
- sudo fdisk -l
This will list all of the drives and partitions on your computer. Look for the entry that corresponds to your SD card.
On Linux, if you’re using a USB adapter, this could be something like “/dec/sdX.” But if your PC already has an in-built SD card reader it might be named something like “/dev/mmcblkX.”
Now after finding out the device name for your SD card, we can get started on creating the image.
To do this, type in the following command in the terminal, replacing X with your device name:
- sudo dd bs=4M if=/dev/sdX of=/home/Myimage.img
Just don’t forget to replace the destination (of for output file) and device name (if for input file) while typing in the command.
This process might take a while to complete depending on the size of your SD card. But once it’s done, you’ll have an image file on your desktop that you can use to restore your Raspberry Pi SD card.
MacOS
If you’re using a Mac, the process is similar to Linux as it’s based on Unix. However, there’s a slightly different command that you need to use.
Instead of using the “sudo fdisk-I” command that we used in the Linux terminal, here, we will need to use “diskutil list” because fdisk doesn’t work in the same way in macOS.
Other than that, the rest of the process is the same as mentioned above in the Linux part, so be sure to follow the same steps if you’re using a Macbook to create Raspberry Pi SD card images.

Final Thoughts
As you can see, the process of creating an image of your Raspberry Pi SD card is pretty simple no matter which operating system you’re using.
Just be sure to use the correct commands or programs for your OS and you’ll be able to create an image file without any issues.
And make sure to keep the backup in a safe location like an external hard drive or keep multiple copies so you always have it ready to restore your Raspberry Pi SD card anytime you want.
So if something goes wrong or you just want to start from scratch, you can easily do so without having to go through the hassle of setting up everything all over again!
- How To Uninstall Packages On Ubuntu - March 13, 2024
- How To Restart Ubuntu Using The Terminal - March 13, 2024
- What Is The Steam Deck | Experience Modern Handheld Gaming - March 12, 2024


![How To Host A Website On A Raspberry Pi: A Step By Step Guide How To Host Your Own Website On Raspberry Pi [Ultimate Guide]](https://raspians.com/wp-content/uploads/2023/02/How-To-Host-Your-Own-Website-On-Raspberry-Pi-Ultimate-Guide-1-150x150.jpg)

