
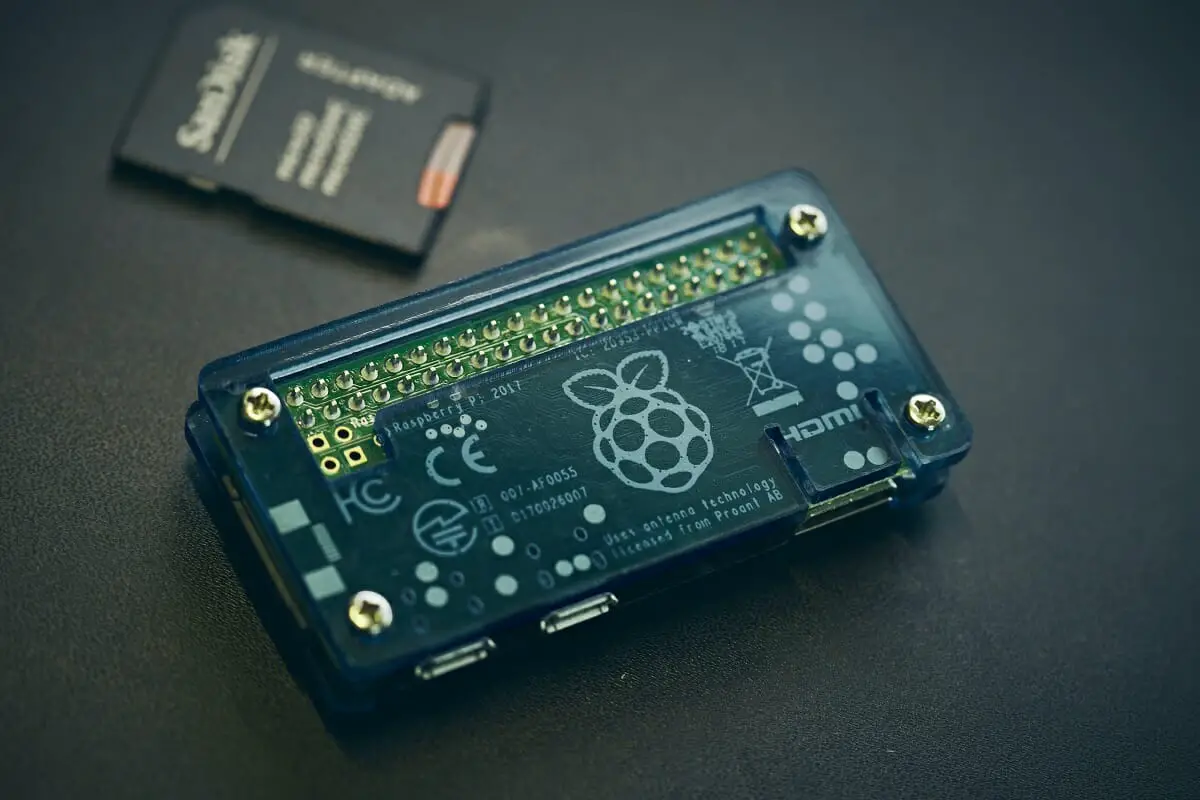
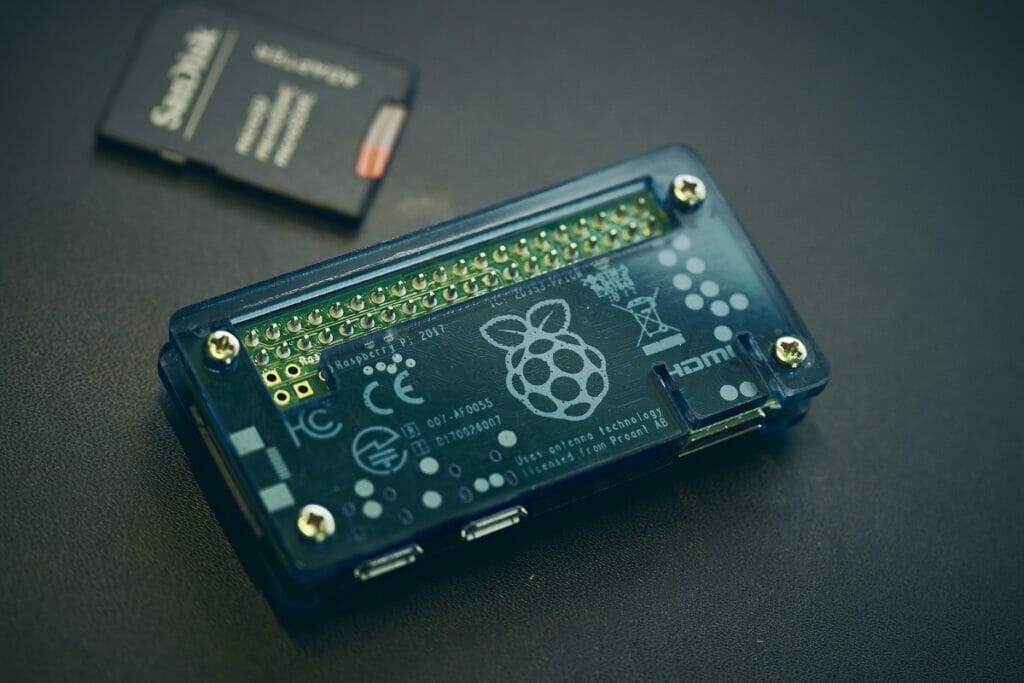
How do you format an SD card so that you can use it on the Raspberry Pi? Well, wonder no more, as this simple guide will tell you exactly how to do it!
SD Card Format
SD cards are used today for many purposes. There are three main types of SD card formats: FAT16, FAT32 and exFAT. The first two are standard SD cards, while exFAT is an extended SD card format. Standard SD cards are smaller than exFAT cards but larger than FAT16 or FAT32.
You need to format an SD card with FAT32 before installing Raspbian on the Raspberry Pi. The Raspberry Pi needs a minimum of 4 GB of space.
What’s A File System?
File systems organize files by storing them in different areas of a disk or other storage media. Files are divided into folders which are organized into subfolders. Each folder contains sub-subfolders.
There are many types of file systems used by computers. FAT32 is the most popular type of file system for portable storage devices such as USB drives.
NTFS is the default file system for Windows operating systems.
ExFAT is an open standard file system that supports large volumes of data while maintaining compatibility with existing applications.
Fat32 is an older filesystem but still widely used today. It supports files up to 4 GB and drives up to 32 GB. It’s also easy to use. However, it doesn’t support very large files or drives. You should use FAT32 because it’s compatible with the Raspberry Pi.
SD Card Size
SD cards have evolved from time as we have come of age. We have seen a lot of increases in sizes and capacities of the cards. Currently, we still have SD cards of 128 Mb, 256 Mb, 512 Mb, 1 GB, 2 GB, 4 GB, 8 GB, 16 GB, 32 GB, 64 GB, 128 GB, 256 GB, 512 GB, 1 Tb and most recently 2 Tb.
The earlier sizes of 2 GB and below have lost relevance as people’s requirements have greatly increased over time. However, the 2 Tb SD card is still rare and thus, very expensive.
You need to format your SD Card before installing the operating system. Don’t forget to back up your data before formatting.
For Windows, formatting an SD card is very easy. You can use either the Windows Explorer method or the Disk Management method to do this. There are other ways to format SD cards, but these two methods are the easiest ones.
What Hardware Do I Need?
Formatting an SD card is easy. All you need is an SD card reader (or adapter) that supports SDHC/microSDXC. This will allow you to read the SD card.
Format SD Card In Windows
Windows Explorer
- Formatting an SD card takes several minutes. You must be careful when formatting the SD card because any mistake could damage your data.
- After formatting, you should back up your important files before proceeding. You should always back up your files before formatting a drive. Formatting a drive will delete everything on it. If you don’t do this, then you will lose all your data when you install the operating system.
- In the list of disk drives, right-click on the drive that has the SD card inserted into it and select Properties. Click on the tab labeled “Format”. Select FAT32 from the dropdown menu.
- Choose a name for the card. Leave the other properties to their defaults. Press start, and the formatting process will begin. All data will be wiped.
- This could take quite a while – the bigger the card, the longer it will take. For example, an 8 GB SD card will finish formatting a lot quicker than a 512 GB SD card.
Use Command Prompt
- To format Raspberry Pi SD card, we should use the following commands:
- Insert the SD card into the computer. Open the command prompt window by pressing the Windows key on your keyboard, typing “cmd” (without the quotation marks), and pressing the enter key on your keyboard.
- Once the command prompt window has appeared, type the following command: diskpart. This will open the l. A new command prompt window will appear – this is the tool.
- In the Windows Disk Management tool, type the following command: list disk. This will show all the disks attached to this computer.
- Then, in the Windows Disk Management tool, type the following command to select the SD card: select disk n. Replace n with the number of the SD card. For example, if the SD card is sdb then replace n with sdb.
- In Windows Disk Management tool, type the following command again: list par. This will display all the partitions on the selected SD card.
- In the command prompt screen, type the following command once more: select par n. Replace n with a number representing the partition you want to work with. For example, if you want to work with the first partition, then replace n with 1.
- Type: format fs=fat32 quick. This will format the SD card using the FAT32 file system.
Rufus
- You can use Rufus to format an SD card. Clicking the “Boot selection” menu item allows you to choose whether you want to boot from the USB drive.
- Selecting “Non-bootable” formats the SD card without letting a computer boot from it. If you want to use your SD card to run your Raspberry Pi OS, then you don’t want this option.
- Your SD card should now be formatted as FAT32! You may want to rename your drive to something more meaningful.
Format SD Card In Linux
Gparted
- You can really easily format your SD Card for Raspberry Pi using GParted.
- Open Gparted, and select your SD Card from the drop-down menu given in the right-hand corner. If you have multiple partitions, delete them and create a new one.
- Select FAT32 as your file System and click on add. Confirm the changes after pressing apply. The SD is now formatted as Fat32 and is ready to be used for Raspberry Pi.
Conclusion
Hopefully this guide has helped you to learn how to format your SD card for use on your Raspberry Pi!