
No matter your budget, a Raspberry Pi is more than capable of being used as a media center.
While some might like to stick to the more budget-friendly options like a Raspberry Pi Zero or Model A, you can expect to get the best results with something like the Raspberry Pi 3 or 4.
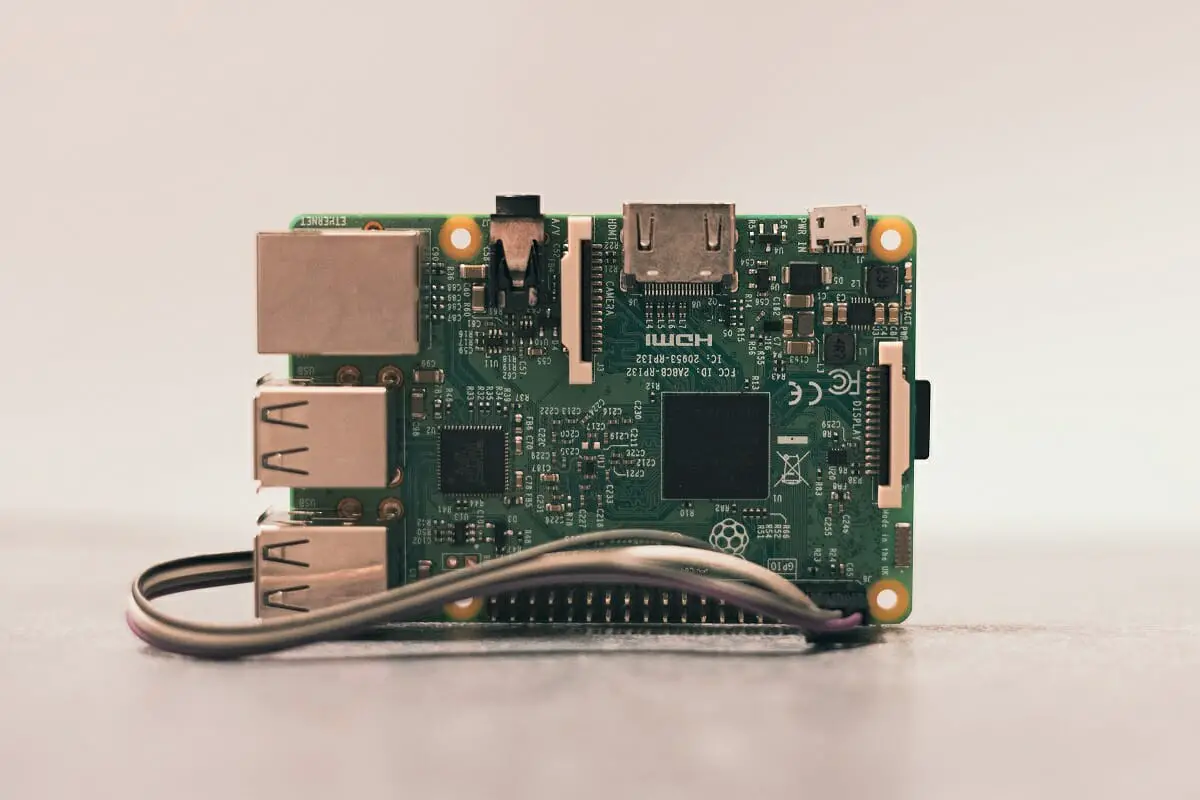
Some models will be able to offer superior performance compared to others, you can get great results with just about any available model.
These pieces of tech offer a low-power, compact, and overall affordable option for those looking to use it as a media center.
However, it’s so secret that the process of setting up your Raspberry Pi can be a painful one. If you want to learn how to set up your Raspberry Pi to be a media server, just keep reading.
We are going to cover what you need to know in the sections below.
6 Ways To Set Up A Raspberry Pi Media Server
1. Use Your Raspberry Pi Media Center As A Kodi Media Center
While Kodi’s best days might be behind it, it can still serve as a decent media server.
There are a number of Kodi builds available for Raspberry Pi, including some distros like OSMC and LibreElec, which can both be installed on all models.
Kodi can also be manually installed onto a pre-existing Pi operating system by using ‘sudo apt install kodi’.
Now, you might be thinking ‘won’t you just get a media center by installing Kodi, not a media server?’ Well, by downloading Kodi, you actually get both functionalities!
This is all thanks to the inclusion of DLNA/UPnP.
You won’t need a media server if you are already using a Kodi-based distro, since you will already have one.
If this is the case, you will need to enable it by opening: Settings > Services > UPnP, then enable “Share video and music libraries through UPnP”.
Click Here For The Best Raspberry Pi Gear & Accessories!
2. Use Plex As Your Raspberry Pi Media Server
Plex is another popular choice for creating a media server. From iOS and Android to Smart TVs, Apple TV, and Amazon Fire TV, Plex is used.
In order for Plex to work as a media server, it is crucial for you to understand that it will demand specifically-formatted files.
Doing this will allow the software to pull the necessary metadata and provide any details about the media files.
You can find out more about this by watching this video. Plex’s support page will also help with naming and organization.
Overall, Plex should be the top choice when it comes to picking a media server for Raspberry Pi.
3. Use ReadyMedia To Build Your Raspberry Pi DLNA Server
DLNA was formerly known as MiniDLNA, and it needs to be installed on the Raspberry Pi standard operating system.
You can start by mounting the disk drives that have the media data on them, and then use the following standard installation command: sudo apt install minidlna.
Following this, you will need to do some manual configuration. If you need some help with this task, check out this video that goes through everything you need to know.
After installation, MiniDLNA/ReadyMedia will be compatible with DLNA.UPnP-AV and any compatible device will be able to detect our Pi.
Click Here For The Best Raspberry Pi Gear & Accessories!
4. Pair Your Raspberry Pi Music Server With Mopidy
You achieve an audio-only media server using Mopidy, a powerful music server. Mopidy comes with support from JavaScript APIs, JSON-RPC, and Python, and can play tracks from any of the following:
- YouTube
- Spotify
- Mixcloud
- Soundcloud
- TuneIn
- A disk-based library
You can watch this video to learn how to make the most of Mopidy and Raspberry Pi.
5. Use HiFiBerryOS To Build Your Raspberry Pi Music Server
Designed to run on Raspberry Pi 3 and 4 devices, HiFiBerryOS is a reliable music streaming option. Once HiFiBerryOS is installed, you can add Bluetooth, Airplay, Spotify, and many more options to listen to your music.
You can get a great hi-fi experience, and enjoy a smooth interface that is based on Bang & Olufsen Beocreate. You can download HiFiBerryOS easily right here.
6. Use OpenMediaVault To Build Your Raspberry Pi Streaming Server
Although this is more similar to a NAS, OpenMediaVault is a good choice if you want to access your media files from any device on the same network.
The setup process is time-consuming but very simple (see the video below on how to do it).
You will get to enjoy features with a EXT3/EXT4/XFS/JFS file system support, UPS, and RAID. Not only that, but RSync, TFTP, SSH, SMB, and FTP are all supported for OMV device direct connection.
To sweeten the deal, you can get a number of plugins, and have a great home media server to use.
Bonus Set-Up Method: Pair Your Raspberry Pi with Emby To Use As A Media Server
As a bonus, you can download Emby to use as a media server for your Raspberry Pi. You can find out how to use Emby to create a media server in Raspberry Pi here.
Click Here For The Best Raspberry Pi Gear & Accessories!
Frequently Asked Questions:
Does Raspberry Pi Make A Good Media Server?
Yes! They made great media servers no matter the model, and are relatively easy to set up. Check out our article on several ways to set up your Raspberry Pi as a media server.
Can You Use Raspberry Pi As A Media Player?
Yes! VLC is among the best options to use for your Raspberry Pi because it can play almost anything, no matter the audio or video format.
Can You Use Raspberry Pi For Netflix?
Yes! You can use your Raspberry Pi to run and stream Netflix, so you can always keep up with your favorite releases.

Final Thoughts
There are a number of great routes to go down if you want to create a media server using your Raspberry Pi. You can use any of the following software options to get the job done:
- Kodi
- Plex
- ReadyMedia
- Mopidy
- HiFiBerryOS
- OpenMediaVault
- Emby