


UniFi is a range of networking equipment made by Ubiquiti, with various models of routers, switches, WAPs (wireless access points), security cameras, VoIP phones, and more!
The UniFi range sits between enterprise-grade and more cost-effective home networking equipment. It offers users more flexibility and features but lacks the expense and complexity of true enterprise solutions.
In this article, we cover everything you need to know to learn how to install the UniFi Controller on the Raspberry Pi, and have created a step-by-step process for you to follow.
What You Need Before You Get Started
- Your Raspberry Pi ready to use
- A Micro SD Card
- A trustworthy Power Supply
- A capable Ethernet Cable or Wi-Fi adaptor
Optional Things To Make Your Life Easier
- A Raspberry Pi Case to keep the device safe
- A USB Keyboard to input commands
- A USB Mouse to properly use the device
- A HDMI Cable
Click Here For The Best Raspberry Pi Gear & Accessories!
How To Install UniFi Controller On A Raspberry Pi
Follow this in-depth but simple and step-by-step guide to installing the UniFi controller on your Raspberry Pi and you will be up and running in no time!
Step 1 – Getting Your Pi Ready For The UniFi Controller
Make sure the Raspberry Pi is running all the correct, up-to-date packages. Update all the packages with this command:
sudo apt update
sudo apt upgrade
Install rng-tools to improve the UniFi controller software startup speed. This package will be utilized:
sudo apt install rng-toolsThe rng-tools configuration needs to be changed slightly. Start editing by running this command:
sudo nano /etc/default/rng-tools-debianInside this file, find this line:
#HRNGDEVICE=/dev/hwrngand replace it with:
HRNGDEVICE=/dev/hwrngAfter the change has been made, you will need to save the file. Do this by pressing CTRL + X then Y, followed by ENTER
Restart the rng-tools service. Do this by running this command:
sudo systemctl restart rng-toolsAfter the service has completed the restarting process, you’re ready to move onto Part 2.
Step 2 – Installing LibSSL 1.0
Becuase of the version of Mongo DB that you will be using, you will need to download a pervious release of LibSSL.
You can download this release by using the typing the below into command terminal.
wget http://ports.ubuntu.com/pool/main/o/openssl/libssl1.0.0_1.0.2g-1ubuntu4_arm64.deb -O libssl1.0.debOnce the package has been downloaded, install it by running the below command.
sudo dpkg -i libssl1.0.debYou Might Like: Set Up A Raspberry Pi AirPlay Receiver
Step 3 – Installing MongoDB
In order to use the UniFi Controller, you will need to install MongoDB, the database server that UniFi uses to store their data.
First, downloand the latest version of Mongo DB 3.6 to your Pi.
wget https://repo.mongodb.org/apt/ubuntu/dists/xenial/mongodb-org/3.6/multiverse/binary-arm64/mongodb-org-server_3.6.22_arm64.deb -O mongodb.debInstall it by running the follwing command.
sudo dpkg -i mongodb.debSet MongoDb to start when your Raspberry Pi boots.
sudo systemctl enable mongodThen run the following command to start MongoDB.
sudo systemctl start mongod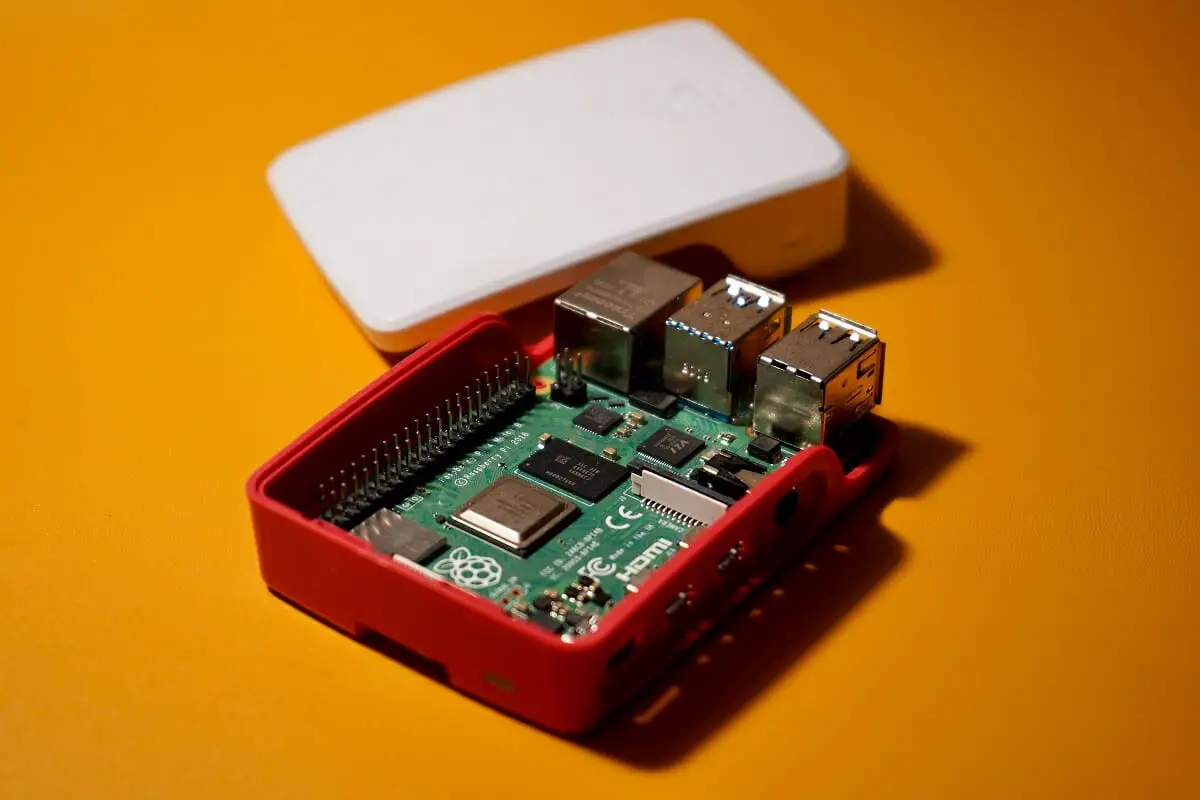
Click Here For The Best Raspberry Pi Gear & Accessories!
Step 4 – Installing The UniFi Controller On Your Raspbery Pi
Now, we are going to need to install the UniFi Controller! Follow the steps laid out below to do this easily.
First, we will need to add the UniFi repository to the sources list. Do this by typing in the following command:
echo 'deb [arch=armhf signed-by=/usr/share/keyrings/ubiquiti-archive-keyring.gpg] https://www.ui.com/downloads/unifi/debian unifi-7.4 ubiquiti' | sudo tee /etc/apt/sources.list.d/100-ubnt-unifi.listAdd the repositories GPG key. Use this command to do it:
curl https://dl.ui.com/unifi/unifi-repo.gpg | sudo tee /usr/share/keyrings/ubiquiti-archive-keyring.gpg >/dev/nullUpdate the repository by running this command.
sudo apt updateNow you can install version 8 of the OpenJDK runtime, along with the UniFi software. Do this using this command.
sudo apt install openjdk-11-jre-headless unifiYou Might Like: Is Crypto Mining Possible On A Raspberry Pi?
Step 5 – Booting Up The UniFi Controller
This section will focus on all the important initial configuration that you will need to do, step by step. Let’s go through what you need to know:
The first thing you are going to need to do is to retrieve Your Raspberry Pi’s local IP address.
You can use the following command if you have terminal access to the terminal.
hostname -IOnce you have your Raspberry’s IP address at hand, you will need to go to this web address in the browser of your choosing.
https://[YOURIPADDRESS] : 8443Don’t worry if you run into a certificate error, as you already know which device you are connecting to.
Name your Raspberry Pi powered UniFi controller, agree to the terms and conditions, and end-user license agreement, then click the checkbox.
Click “next” to continue.
Now, you need to sign in to your Ubiquiti account or register at the official Ubiquiti website. After this is done, click “next”.
Make any changes to the settings page so that it suits your needs, and you are happy with it. Once done, click “next”.
On this screen you can connect your Pi UniFi Network controller to any of the other devices on the network, then click “next”.
Name your new Wi-Fi network and give it a strong password to make it secure. Once this has been done, click “next”.
On the last screen, you will see all of your settings and be able to review them. Make sure that you set the country and timezone before you do anything else.
Click Here For The Best Raspberry Pi Gear & Accessories!
Final Thoughts
In this article, we have learned how to install and configure the Unifi controller on a Raspberry Pi, a low-cost and energy-efficient device that can manage multiple Unifi devices on your network. We have followed these steps:
We have also seen how to access the web interface of the Unifi controller and how to update it when needed. By installing the Unifi controller on a Raspberry Pi, you can enjoy a powerful and flexible network management tool without spending too much money or resources.
To get more of a look at setting up the UniFi controller on a Raspberry Pi, check out the video below by the guys over at CrazyLogic.
READ NEXT: Raspberry Pi Or Jetson Nano. What’s The Difference?