
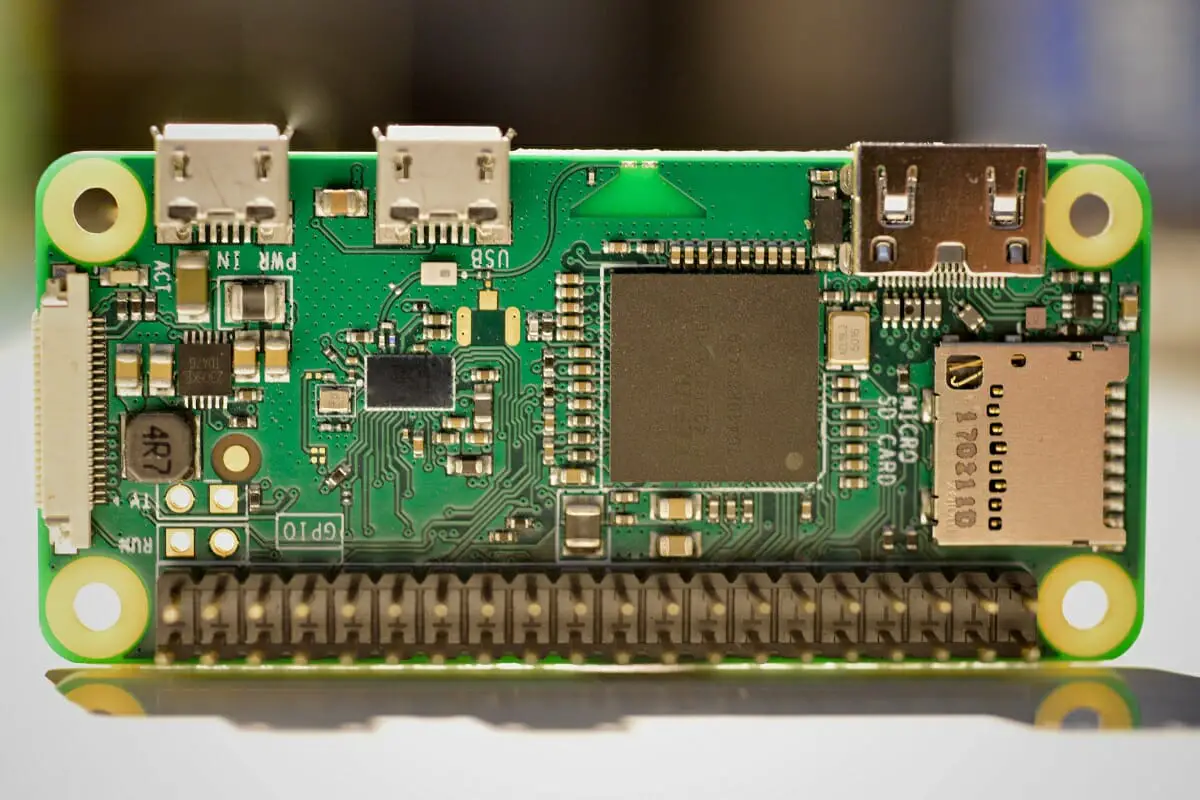
A Raspberry Pi is a cheap, tiny computer that you can plug into a TV or general monitor, and has easy adaptability with other standard accessories like keyboards and mice.
It is often used by people to learn and explore computing in a simple way, and is especially good to learn simplistic programming languages like Python or Scratch.
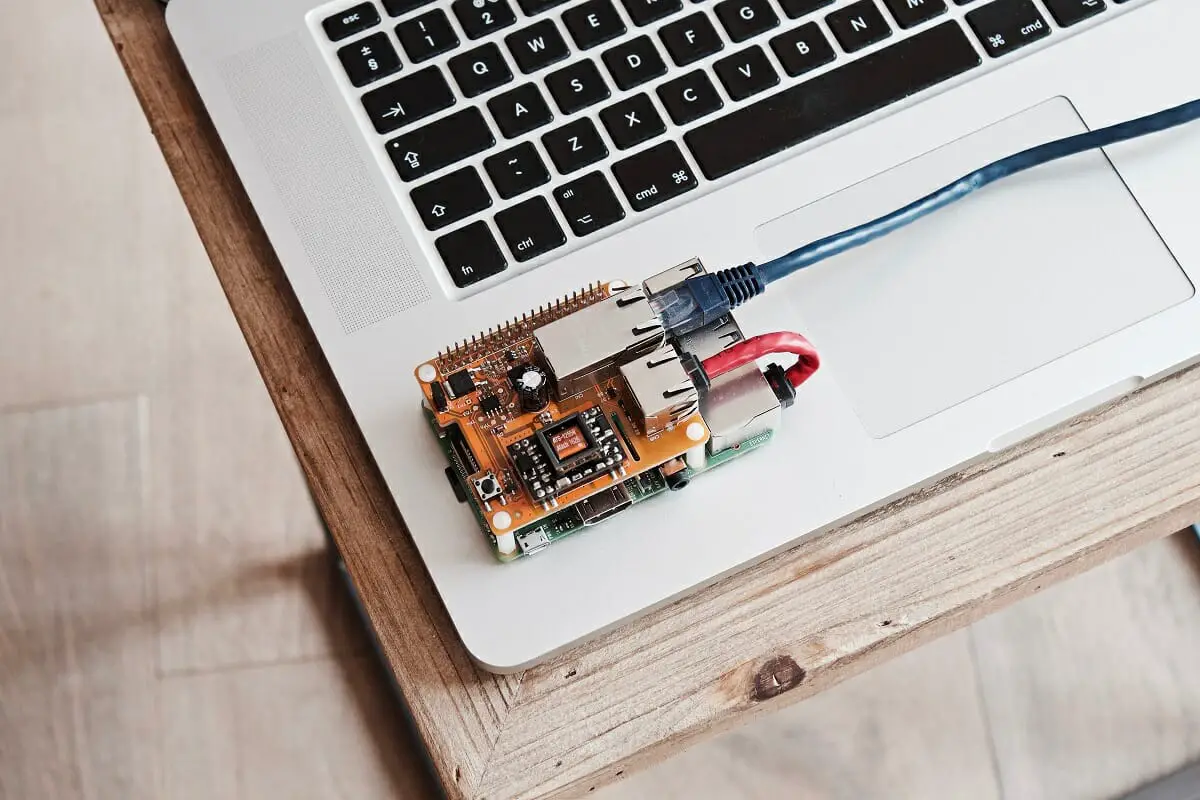
One of the problems with Raspberry Pi computers is their limited internet connection options. Because of this, many users choose to build their own with their Pi and operating systems such as OpenWrt.
OpenWrt is a great system, however, can be a bit intimidating if you’re new to Pi computing. How hard is it to install? What are the steps I need to take to install OpenWrt on my Raspberry Pi?
Click Here For The Best Raspberry Pi Gear & Accessories!
Well – if these are some of the questions you’re wondering about, then you’ve come to the right place. In this article we’re going to take you through everything there is to know about Raspberry Pi and OpenWrt.
We’ve also made sure to include a short FAQ section to help define some of the more technical terms used in this article.
So let’s get right into it!
Why Use OpenWrt On A Raspberry Pi?
There are a few main reasons why the router on a Raspberry Pi isn’t great unless you use additional hardware. The first is that it comes with a small WiFi chip, which means you won’t get total WiFi coverage.
The second is that you’ll notice Raspberry Pi’s only come with 1 Gigabit Ethernet Port, meaning that you can only ever have one connection. Even though this is a difficult thing to overcome, there are a few ways you can broaden the horizons of your tiny PC.
Many users decide to use additional hardware to fix this problem, strapping their Raspberry Pi up to an external router. However, with this solution comes another problem—you need some form of distribution software to make it all run smoothly. This is where OpenWrt comes in.
What Is OpenWrt?
OpenWrt is an embedded Linux distribution that can be installed on different routers. Linux (see also ‘Does Linux Need Antivirus?‘) users choose it as a way to power routers and manage network traffic.
It’s particularly useful for smaller systems such as the Raspberry Pi that use Linux and don’t come with the best default firmware (see also ‘How To Update 8BitDo Firmware‘) to allow you smooth internet browsing.
OpenWrt comes with a web interface that allows you to configure different options and customize them for your own needs. One thing to note here is you might something see OpenWrt referred to as ‘LEDE,’ but this is just the previous name of the software.
Click Here For The Best Raspberry Pi Gear & Accessories!
How To Install OpenWrt On A Raspberry Pi
If you’re building your own router with a Raspberry Pi, then you’re going to need a few things before you get started. You’ll need a Raspberry Pi, some kind of storage card (for example a USB stick or a Micro SD card), and a network connection.
You can use your Raspberry Pi’s built-in Wifi/Gigabit Ethernet Port, or an additional dongle. You’re also going to need another computer of some kind that will allow you to format the storage card of your choice.
A quick note here: we’re only going to be dealing with the installation of OpenWrt, not how to build an entire custom router. With these components in place, you can begin to install OpenWrt on your Raspberry Pi. We’re going to break this down into a few simple steps.
Download The Correct Install Image For Your Raspberry Pi Model
The first thing you’re going to need to do is to install OpenWrt on a Raspberry Pi from the right install image. You can find this by following the link here and navigating down to the right Pi model.
Download Raspberry Pi Imager
Next up, you’re going to need to download Raspberry Pi Imager from this link here. This will give you the correct operating system that will allow your Raspberry Pi to work.
There are a few different options here (Windows, macOS, and Ubuntu) so make sure you pick the right one and install it.
To install the Pi imager onto Raspberry Pi OS, type the following command into a terminal window:
sudo apt install rpi-imager
Click Here For The Best Raspberry Pi Gear & Accessories!
Open Raspberry Pi Imager
From here you’ll get a small interface that will include three distinct options. The first will say ‘CHOOSE OS’ under ‘Operating System.’ The second will say ‘CHOOSE STORAGE’ under ‘Storage’ and the third will give you an option to ‘WRITE.’
For now, all you need to do is select CHOOSE OS and select the ‘Use Custom’ option.
Find The Install Image You Downloaded Previously
Next up, we’re going to direct the imager to use the image that we downloaded during the first step of our guide. Find the install image and ensure it’s the right one before moving on to storage.
Select Storage
Remember the USB stick or SD card we mentioned earlier? This is the step where this comes in. Under the ‘Storage’ section of the interface, click on the ‘CHOOSE’ option and direct the interface to your preferred storage device.
A quick note here—you need to make sure that you select the right one, as any data on your storage device will be wiped when you select it.
Confirm And Final Steps
So from here, you’re going to need to check over all the configurations you’ve done and make sure you’ve selected the correct storage device and operating system. Once this is done, click on the ‘WRITE’ option, and OpenWrt will begin to install onto your device.
Once this is done, the storage device will have OpenWrt installed, and you can slot it into your Raspberry Pi to begin using it.
Using OpenWrt
We’re not going to go into great detail on how to use OpenWrt and the options it gives you, but once you’ve slotted your storage device into your you can access it within your web browser of choice (check out our guide on downloading Firefox for Raspberry Pi).
You need to first ensure that your Raspberry Pi is connected to your internet network via an ethernet cable, in-built WiFi, or external dongle. From here, you’re going to need to connect it to this address:
From here, you’ll find a login screen that will allow you to configure additional network settings.
Click Here For The Best Raspberry Pi Gear & Accessories!
Frequently Asked Questions :
What Are Some Of The Main Benefits Of OpenWrt?
OpenWrt is a great tool to use if you want additional stability for your internet connection. Users of OpenWrt often report increased network throughput, and significantly reduced latency.
This is especially important for a Raspberry Pi, as many users find the latent internet capabilities lacking.
How Good Is The Security Of OpenWrt?
While it might not be as robust as other systems, OpenWrt has been created with some inherent security. The basic settings are enough to give you decent web security, but you might want to consider looking up some additional tutorials to make it even safer.
Which Is Better: pfSense Or OpenWrt?
Both are good options, but they have slightly different pros and cons. These are some of the best-operating systems you can choose for improving network connection and security.
One of the big reasons to use pfSense is that it is much older and has a large community with a lot of support if you take a look online.
What Is Linux?
Linux is an operating system that is seen as a good alternative to the most popular duo of Windows and Mac OS. Aside from these, it is the most popular operating system around.
Linux allows you to have a lot more control over the way your computer works, and as a result, it has been chosen by many people who are enthusiastic about PCs and want to better understand and customize them.
Raspberry Pi computers exist within the open source world and you can install Linux onto them as a main alternative to the smaller scope Pi OS.

Final Thoughts
So from there, you‘re going to be able to start using OpenWrt to power your WiFi. There is a lot you can do with OpenWrt, and we’re not going to get into that now, but installing is relatively simple and can be done without a lot of expensive hardware.
We hope that this article has explained the basics of how to install OpenWrt onto your Raspberry Pi and that you’re now more confident in the whole process.
Raspberry Pi computers are great, inexpensive gadgets that can help you learn the basics of computing. We wish you the best of luck and hope that you get everything running smoothly!