

The Raspberry Pi 5 is a powerful, compact computer that’s perfect for all kinds of hands-on projects. If you’ve ever thought about lighting up a room with a colorful LED display or adding some eye-catching visuals to your smart home setup, this guide will help you make that a reality. We’ll take you through the entire process of connecting and programming an LED strip with your Pi, making it easy to create stunning effects and patterns in no time.
What You Need to Drive an LED Strip with Raspberry Pi 5
Essential Equipment
- Raspberry Pi 5: This latest version of the RPI series is a robust single-node computer perfect for hardware projects.
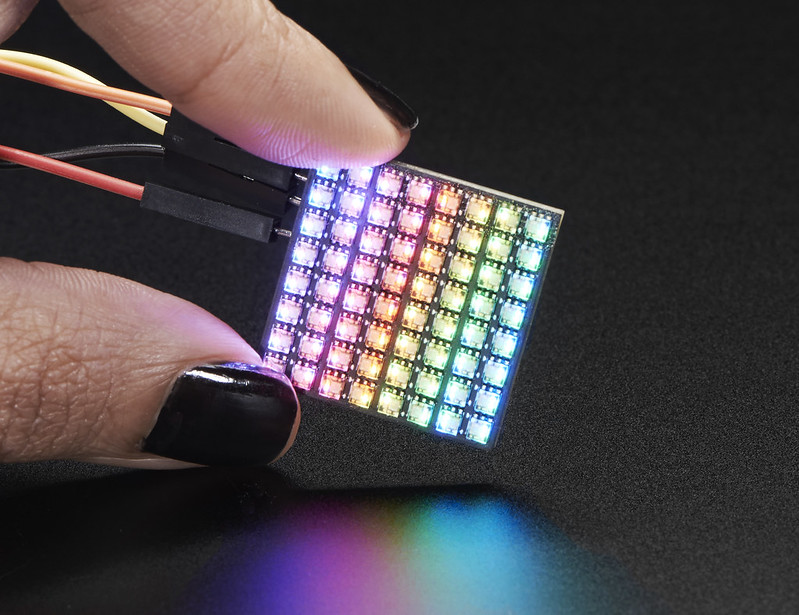
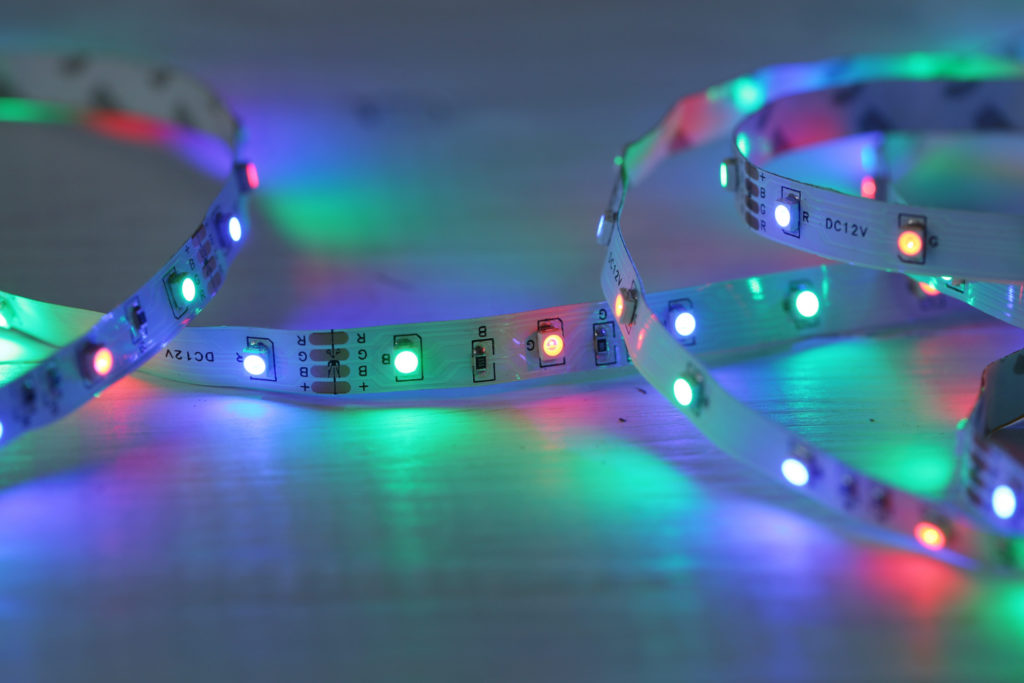
- LED Strip (WS2812B or APA102): Popular options for creating colorful, vibrant displays.
- Power Supply: A reliable 5V source is crucial for stable performance.
- Jumper Wires & Breadboard: To make all necessary connections.
- Logic Level Converter: Needed if there’s a voltage mismatch between your Raspberry Pi’s GPIO pins and the LED strip data line.
Recommended LED Strips
Consider using WS2812B for cost-effective projects or APA102 if you need smoother, synchronized lighting effects. Both types are supported by Python libraries, which can make coding simpler.
Click Here For The Best Raspberry Pi Gear & Accessories!
Understanding RGB LED Strip Types
WS2812B LED vs. APA102 LED
WS2812B LED Strips: Known for its simplicity, using just one data line. Perfect for small setups but struggles with longer runs.

APA102 LED Strips: Has separate clock and data lines, making it ideal for complex patterns or longer strips.
Choosing the Right Power Supply
Using a suitable 5V power source is critical. A high-current power supply ensures your LEDs operate at full brightness without flickering.
Click Here For The Best Raspberry Pi Gear & Accessories!
Wiring Your LED Light to the Raspberry Pi 5
GPIO Pin Connections
To interface with your Raspberry Pi’s GPIO pins, connect the LED data line to a pin like D18 (commonly used for WS2812B LEDs). Always ensure your Raspberry Pi and LED strip share a common ground.
Setting Up a 5V Power Source
Don’t power your LED strip directly from the Raspberry Pi’s 5V pin; instead, use an external supply. Proper grounding ensures data stability and overall safety.
Preventing Common Mistakes
- Always use a logic level converter if your data line requires 5V.
- Double-check that all grounds are connected; skipping this could cause data issues.
Installing the Necessary Software
Updating Your Raspberry Pi OS
Before you start coding, update your Raspberry Pi OS for the latest libraries:
sudo apt update && sudo apt upgradeInstalling Python and Libraries
To control RGB strips like WS2812B, you’ll need Python and the rpi_ws281x library:
sudo pip install rpi_ws281x adafruit-circuitpython-neopixelMake sure to configure the SPI interface if required, using raspi-config.
Writing Python Code to Control LED Strips
Basic Python Setup
Here’s a simple Python script to get you started:
import board import neopixel # Initialize LED strip: board.D18 is your GPIO pin, and 30 is the number of LEDs pixels = neopixel.NeoPixel(board.D18, 30, brightness=0.5)Coding to Adjust LED Colors and Patterns
To change the colors on your RGB LED strip:
pixels[0] = (255, 0, 0) # First LED is red pixels.show()Experiment with different RGB values and patterns to make your setup unique.
Testing Your Setup
Run your code to test the LEDs. If issues arise, check your wiring and ensure the GPIO pin number in your script matches your physical setup.
Click Here For The Best Raspberry Pi Gear & Accessories!
Enhancing Your LED Strip Project
Using Sensors for Dynamic Effects
Integrate sensors like PIR for motion or a microphone for sound-activated lighting. This adds interactivity and can be easily handled by Python scripts.
Troubleshooting Tips
- LEDs Not Lighting Up: Check connections and ensure adequate power supply.
- Color Mismatches: Verify your data line is securely connected and matches your code’s configuration.
- Data Issues: Double-check that all grounds are properly connected and that your GPIO pin is correct.
Connecting Multiple LED Strips
If you plan to control multiple strips, ensure each has a suitable power source. This may involve managing several GPIO pins and properly scaling your power setup to handle the load.
Click Here For The Best Raspberry Pi Gear & Accessories!
Final Thoughts and Tips
Setting up an RGB LED strip with a Raspberry Pi single-node computer can be a rewarding experience, especially as you explore different patterns and interactive effects. Always prioritize safety and manage your power sources correctly. If you’re planning more advanced setups, consult additional resources like the official documentation or community forums. Also, be sure to check the privacy policy of any software you download to ensure your project is secure.