


Configuring a static IP address on your Raspberry Pi is key to ensuring seamless remote access, file sharing, and local network functionality. When your Raspberry Pi has a static IP, you won’t have to check its IP address every time you reboot it or reconnect to the network, making it especially helpful for projects that require consistent access. Here, we’ll guide you through the steps to set a static IP address using various methods compatible with different versions of Raspberry Pi OS.
Why Set a Static IP Address on Raspberry Pi?
Assigning a static IP address is particularly useful for those who frequently use SSH to control their Pi, run networked services, or host a web server. Without a static IP, your Pi will likely receive a new IP each time it connects to the network, which can cause confusion and disrupt established connections.
Dynamic vs. Static IP: Understanding DHCP and Static Configuration
By default, Raspberry Pi OS uses Dynamic Host Configuration Protocol (DHCP), which assigns IP addresses dynamically from the router. With DHCP, the Raspberry Pi’s IP address may change each time it connects. By setting a static IP, you’re telling the network to reserve a specific IP address for your Pi, allowing it to be easily located on the network each time.
Requirements for Setting a Static IP Address
To configure a static IP on your Raspberry Pi, you’ll need to gather a few essential pieces of network information and choose the appropriate network interface (Ethernet or Wi-Fi) for your setup.
Essential Network Information to Gather
Here’s what you need to collect before setting a static IP:
- Current IP Address of Your Pi: The simplest way to find this is by typing hostname
-Iin the terminal, which will display the current IP address. - Router IP Address: This is the default gateway for your network, typically something like
192.168.1.1or192.168.0.1. You can find it through your router’s admin settings or by checking on another device. - DNS Servers: For most setups, you can use your router’s DNS, but Google DNS servers (
8.8.8.8and8.8.4.4) are common alternatives if you prefer.
Choosing Between Ethernet (eth0) and Wi-Fi (wlan0) Interfaces
Decide whether your Raspberry Pi will connect over Ethernet or Wi-Fi. Each has a unique identifier (eth0 for Ethernet and wlan0 for Wi-Fi), which you’ll need to specify in your configurations. For maximum stability, Ethernet is generally recommended, but Wi-Fi works just as well for many projects.
Click Here For The Best Raspberry Pi Gear & Accessories!
Method 1: Setting a Static IP Address Using dhcpcd.conf
Editing the dhcpcd.conf file is a common method for setting up a static IP on Raspberry Pi OS, as it works across different versions and is relatively straightforward.
Editing the dhcpcd.conf File
Open the terminal on your Raspberry Pi.
Edit the dhcpcd.conf file by entering:
sudo nano /etc/dhcpcd.confConfiguring Static IP for Ethernet and Wi-Fi
In the dhcpcd.conf file, scroll to the bottom and add the following lines, adjusting for your chosen interface and IP preferences. For Ethernet:
interface eth0 static ip_address=192.168.1.100/24 static routers=192.168.1.1 static domain_name_servers=8.8.8.8 8.8.4.4For Wi-Fi, replace eth0 with wlan0. Ensure the IP address (192.168.1.100) is within your router’s range but not in the DHCP pool to avoid conflicts. Use /24 to set the subnet mask to 255.255.255.0.
Testing the Configuration and Rebooting
Once you’ve saved the changes, reboot your Pi to apply the configuration:
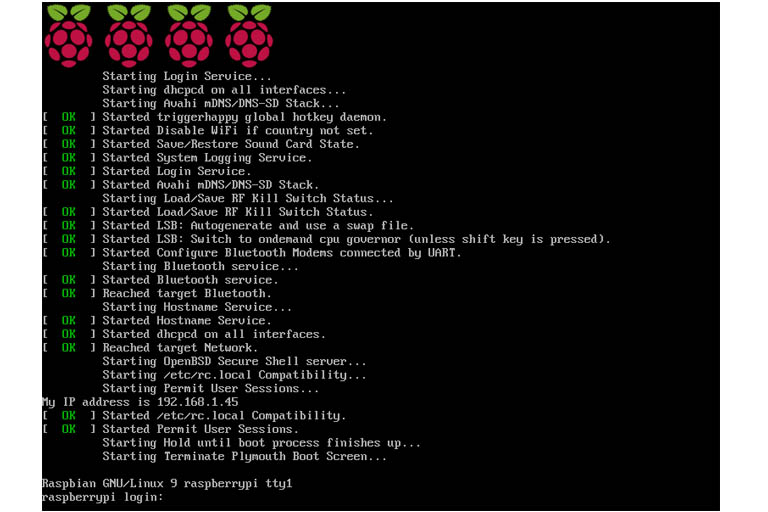
sudo rebootAfter rebooting, check the IP address with:
hostname -IIf the output matches your static IP settings, the configuration was successful.
Method 2: Setting a Static IP Using Network Manager (Bookworm and Later Versions)
For Raspberry Pi OS versions Bookworm and later, the Network Manager utility provides another approach to setting a static IP.
Using nmtui to Set a Static IP
Launch the Network Manager Text User Interface by typing:
sudo nmtuiIn the nmtui menu, select Edit a connection, choose your network connection (either Ethernet or Wi-Fi), and navigate to IP settings.
Change the IP configuration to Manual, then enter your chosen IP address, router IP, and DNS servers.
Configuring DNS Settings
Network Manager allows you to specify DNS servers. If you prefer to use Google’s DNS, enter 8.8.8.8 and 8.8.4.4, or use your router’s IP for internal DNS routing.
Verifying the Static IP Address
After saving your settings, restart the network manager service:
sudo systemctl restart NetworkManagerTo confirm the IP address, check with:
ip addr showIf the assigned IP appears in the output, your static IP configuration is complete.
Click Here For The Best Raspberry Pi Gear & Accessories!
Method 3: Setting a Static IP on Your Router (MAC Address Binding)
Another method to assign a static IP is by binding your Raspberry Pi’s MAC address to a specific IP address on the router. This keeps network configurations on the router, simplifying the setup on the Raspberry Pi.
Benefits of Router-Level Static IP Configuration
Router-based static IP configuration has advantages, especially if you frequently reconfigure or reinstall your Raspberry Pi’s OS. This method keeps network settings consistent and centralizes IP management.
Finding the Raspberry Pi’s MAC Address
To find your Pi’s MAC address, use:
ip link showLook under eth0 or wlan0 for the MAC address (a series of hexadecimal characters), which you’ll need for the router setup.
Setting Up Static IP on Your Router
Each router’s interface is slightly different, but most offer a “DHCP Reservation” or “Static IP” option under the network settings. Enter the MAC address of your Raspberry Pi and assign it a unique IP address.
Testing and Troubleshooting Your Static IP Setup
After configuring a static IP using any method, it’s essential to test the setup to ensure everything is functioning as expected.
Verifying the Static IP Configuration
To test if your static IP is active, use the ping command from another device on the same network:
ping 192.168.1.100Replace 192.168.1.100 with your assigned IP. If you receive a response, the static IP is working correctly.
Troubleshooting Common Static IP Issues
- IP Conflicts: If another device on your network has the same IP, it can cause connectivity issues. Make sure your static IP is outside the DHCP range.
- DNS Configuration: If you encounter connectivity issues, check your DNS settings in the
dhcpcd.conffile or Network Manager. Google’s DNS or your router’s IP usually works well. - Correct MAC Address: For router-level configurations, ensure that the MAC address matches the Pi’s network interface (
eth0orwlan0).
Click Here For The Best Raspberry Pi Gear & Accessories!
Closing Thoughts
By following this guide, you can easily configure a static IP for your Raspberry Pi, enhancing its connectivity and usability for various network-based tasks. Whether you prefer editing dhcpcd.conf, using Network Manager, or setting up the static IP on your router, this setup provides a consistent connection, making it easier to access and manage your Raspberry Pi from anywhere on your network. Enjoy your stable, reliably connected Raspberry Pi!