
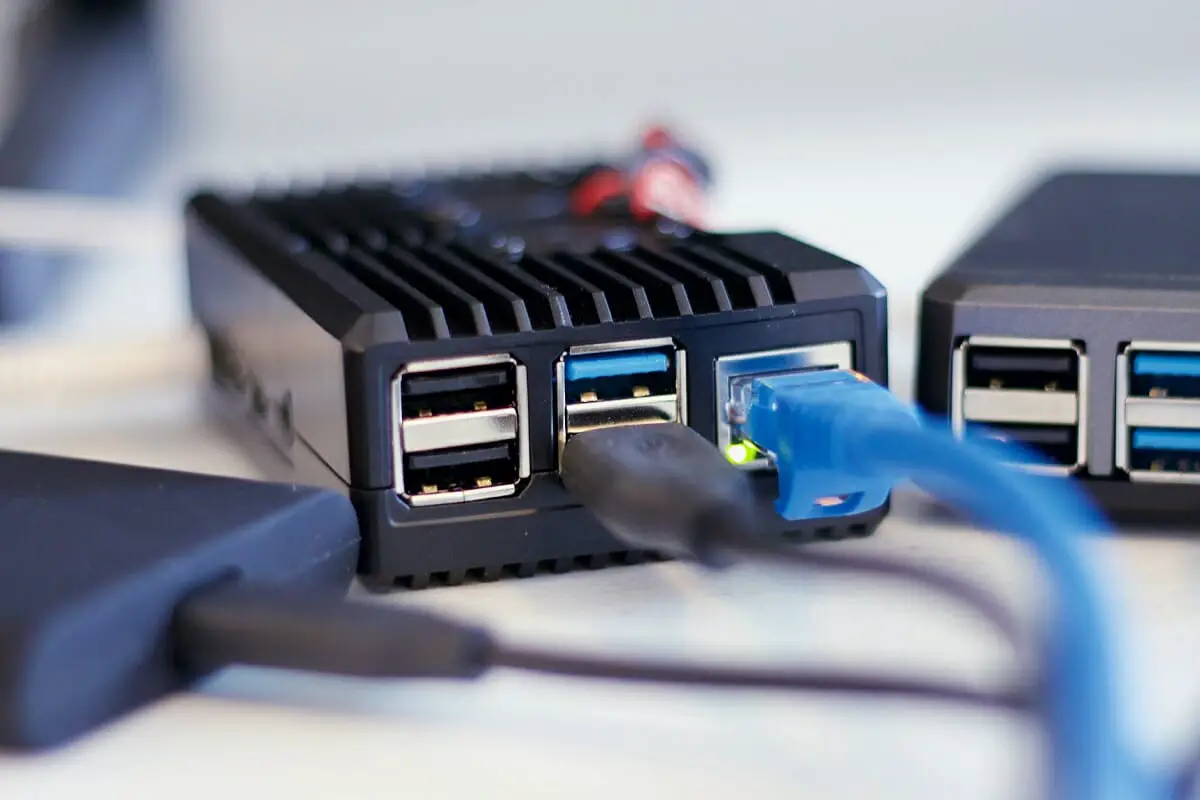
If you love the more customizable aspects of personal computers, then it is very likely that you have heard of the immensely popular Raspberry Pi computers.
These compact and super-portable mini-computers are renowned for their customizability and how they can be used to learn coding and programming in a safe and cost-effective manner.
Raspberry Pi computers are used in countless different ways, from building portable entertainment libraries to creating extra computational power that can assist a larger computer unit.
Some coding and programming tasks on the Raspberry Pi are incredibly easy, while some are a little bit more difficult than others.
Today, we are going to take you through you everything you need to know about setting up your own Raspberry Pi DNS server.
Click Here For The Best Raspberry Pi Gear & Accessories!
What Is A DNS Server?
In order to really tell what it takes to build the perfect DNS server, it is pertinent to remind ourselves of what exactly a DNS server actually is.
DNS stands for ‘Domain Name System’, and this is responsible for translating domain names that can be read by humans into IP addresses that can then be read by a computer to render a website on a web browser.
This helps to greatly improve the efficiency of a website, and also makes it much easier to manage a website.
Let’s say an individual manages multiple websites under their own business, using a DNS server makes it much easier to manage all of the websites because they can simply remember the server name rather than having to remember the coded IP Address.
What Do You Need To Set Up A DNS Server On The Raspberry Pi?
In order to set up a DNS server on your Raspberry Pi computer, make sure that you have access to the Raspberry Pi itself as well as a Micro SD card that is formatted to work with Raspberry Pi.
Aside from those, all you will need is a way to interface with the device, such as a mouse or keyboard, and a power supply and ethernet cord or wifi connection.
How Do You Set Up A DNS Server On A Raspberry Pi?
Step 1 – Update Your Raspberry Pi
Any time you plan to make major changes to your Raspberry Pi, you should make a point of updating the operating system of the unit itself beforehand.
It’s very easy to do this. Simply head to the command terminal on the Raspberry Pi and enter the code ‘sudo apt update’, and then on the line underneath that, enter the code ‘sudo apt upgrade’. This will update the system and then restart it to apply all update changes.
Step 2 – Download The DNS Set-Up Package
Once your Raspberry Pi is ready, it is time to download the package needed to install the DNS server. We recommend using DNSmasq.
To install DNSmasq, all you need to do is head to the command terminal and enter the code ‘sudo apt install dnsmasq’.
Step 3 – Start Configuring
Now that you have the necessary package to start setting up your DNS server, you can begin configuring it to get the most out of it.
To get your Raspberry Pi to start working as its own DNS server, head to the command terminal and enter ‘sudo nano /etc/dnsmasq.conf’.
Click Here For The Best Raspberry Pi Gear & Accessories!
Step 4 – Makes Some Changes
Now that you have run the DNS command you can begin looking through the code to make some changes to allow the Raspberry Pi to run more efficiently as a DNS server.
Head to the command terminal and find the command ‘#domain-needed’, and change it to ‘domain-needed’.
Doing this will cause the DNS server to only pick out names that contain a ‘.com’ or similar names. This helps to keep the list of domains hosted on the DNS server much simpler and more organized.
If you want to ensure that your DNS server is incredibly safe and that none of your IP addresses get leaked, then you should head to the command terminal and find the command line that reads ‘#bogus-priv’, and then replace that line with ‘bogus-priv’.
Step 5 – Finishing Up
Now that you have the DNS server installed on your Raspberry Pi computer, there are countless other ways you can make changes and optimize the use of the platform for your personal needs to create the perfect DNS server for your websites and domain names.
Head online to have a look for other ways that you can make changes to your DNS server, there are so many ways to change it that we would have a troublesome time trying to recount them all here!
To Wrap Up
There you have it. Setting up a DNS server on your Raspberry Pi computer is actually incredibly easy, and thanks to the simple command terminal on the Raspberry Pi, it is just as easy to make changes to the DNS server further down the line.
We hope that this guide proved enlightening and that you now feel ready to head out and set up your own DNS server to make your domain management tasks much simpler.

Frequently Asked Questions:
Can I Build My Own DNS Server?
Yes. It is totally possible to build your own DNS server using your own code, this allows you to get your own experience from the server as you see fit.
Do Hackers Use Dns?
Hackers can use DNS to parody certain websites, which is why it is important to optimize DNS servers to prevent this.
Does DNS Hide Your Ip?
No. VPNs are responsible for hiding your IP address.