
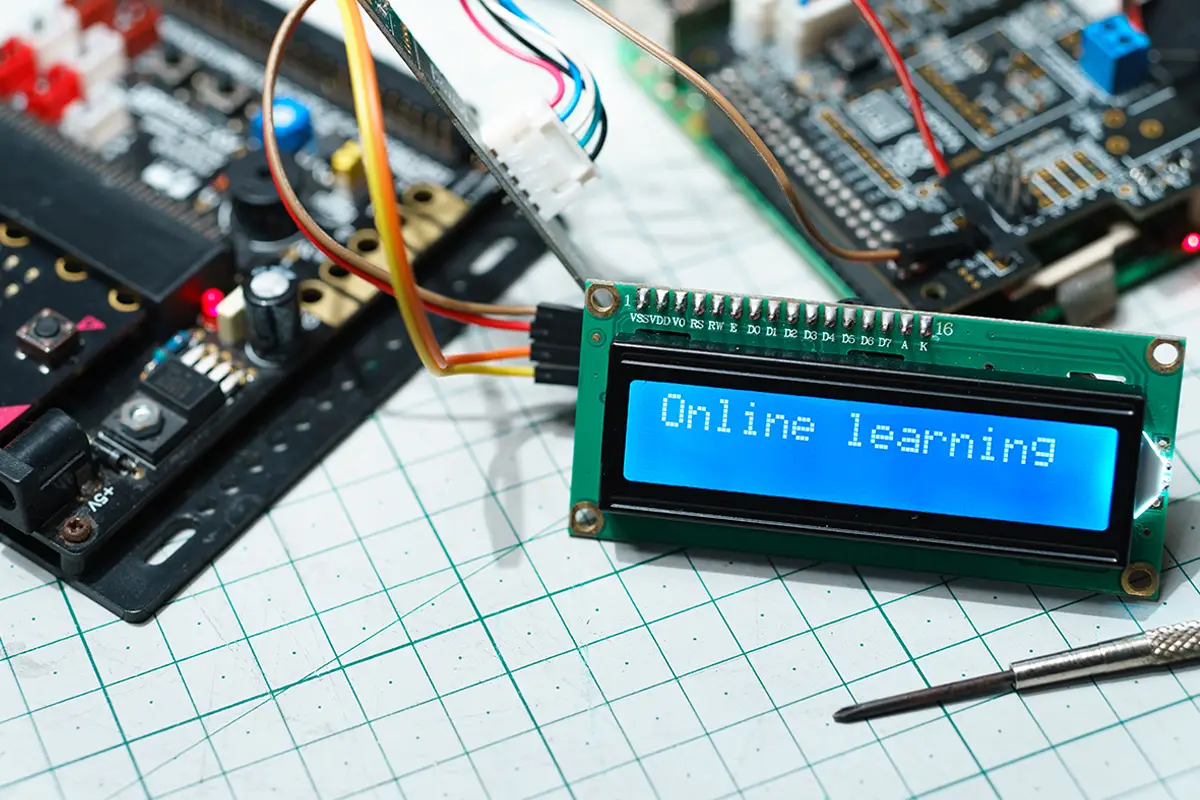
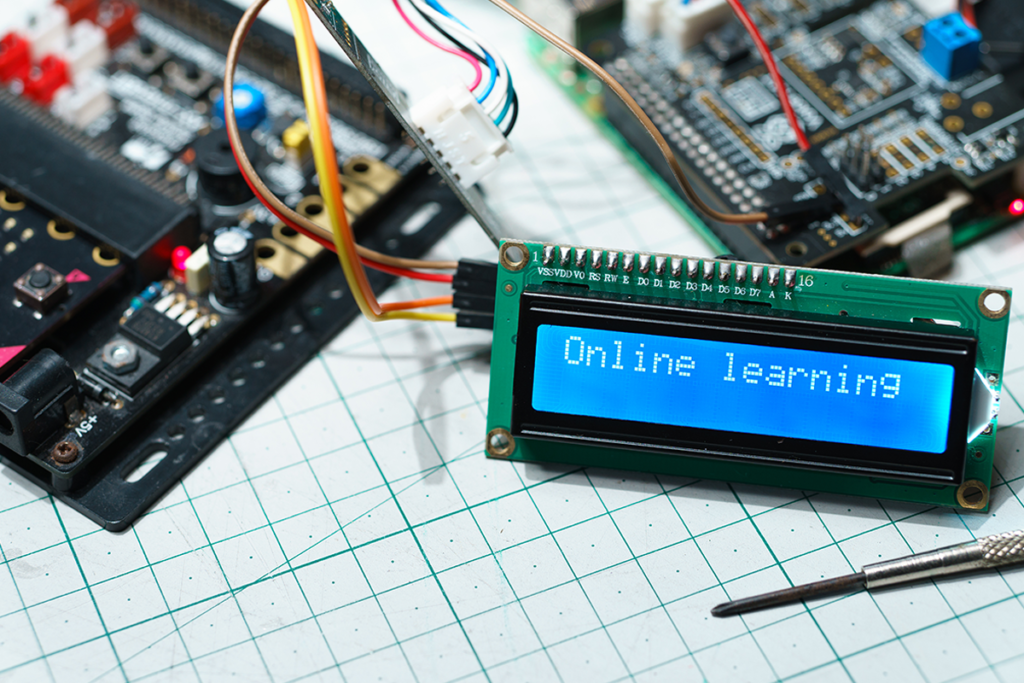
The Raspberry Pi is an affordable, tiny computer that is most commonly connected to computers and televisions.
It’s popular for its intuitive design that allows anyone, regardless of their background in tech, to explore the world of computing and learn programming languages, like Python and Scratch.
But if you don’t have access to an HDMI display, how do you connect this pocket-size PC to a laptop? Suddenly your nifty piece of tech is little more than a brick, and no matter what you try, you can’t use this and connect it to your laptop!
Well, no more, we are here to help! The following article will break down all you might need to know about connecting your Raspberry Pi to your laptop.
What Is A Raspberry Pi 3?
If you are here, you likely already have some knowledge about what a Raspberry Pi 3 is.
However, for those who do not know, a Raspberry Pi 3 is an inexpensive computer that plugs into the USB port of your computer and runs Raspbian, which is based on Debian GNU/Linux. It’s a great way to learn more about computers without spending a lot of money.
Equipment Needed To Connect A Raspberry Pi To A Laptop
To connect a Raspberry Pi to your laptop, there are several things you’re probably going to need. These include the Raspberry Pi (surprised?), an ethernet cable, a power adapter, and an SD card.
For setting up the Raspberry Pi for the first time, you’ll likely need an HDMI/AV display and a keyboard and mouse as well.
How To Connect A Raspberry Pi To A Laptop On Windows
The first step to connecting a Raspberry Pi to a laptop running on Windows is to make sure that the board of the Pi is turned off, and that neither the motors nor the batteries are connected.
Ensure that the SD card is securely inserted inside the Pi, and then plug the wifi dongle into one of the USB ports on your Pi.
Next, connect your Pi to your laptop via the ethernet cable. If your laptop doesn’t have a slot for an ethernet cable, you’re going to need to acquire an ethernet to USB adapter.
Connect your power adapter to your Raspberry Pi, then plug it into your wall and switch it on. As soon as the power has been connected to your wall, the Pi will turn on.
At this point, you should head to your laptop and open up PuTTY (if you don’t already have PuTTY downloaded on your laptop, you’ll find it on the PuTTY official website). On PuTTY, enter your Host Name as the following: ‘raspberrypi.local’. Then click on ‘open’.
If everything’s working correctly, you should now receive a security warning regarding a potential breach, which will inform you that ‘The server’s host key does not match the one PuTTY has cached in the registry.
This means that either the server administrator has changed the host key’. Simply click yes on this prompt, and then a terminal will open up, requesting your username and your password.
The username they’ll be looking for is ‘pi’, while the password will be ‘raspberry’. Once you’ve entered the correct credentials, you’ll be logged in to the terminal for the Pi.
Once you’ve reached this stage you’ll be very nearly all set; all you need to do now is configure the Wifi connection, the process for which we’ll be outlining a little further down.
But first… what if you’re using a Mac?
How To Connect A Raspberry Pi To A Mac
The steps required for connecting your Raspberry Pi to your Mac aren’t all too different from the steps required for Windows (see also ‘How To Connect Raspberry Pi To Cloud‘).
Just like on a Windows laptop, you’re going to first make sure that the board of the Pi is completely turned off, and that the SD card has been firmly inserted in the Pi.
Next, insert the wifi dongle into one of the USB ports on your Pi.
Then, connect the Pi to the Mac via an ethernet cable (or, if you’re using a Macbook Air and don’t have an ethernet port, then use an ethernet to USB adapter). Connect your power adapter to your Pi before plugging it into your wall and turning on the power.
Open your Mac’s terminal, which you’ll find within the folder for Applications and Utilities (or you can just search for it by clicking on the spotlight, which looks like a magnifying glass at the top right of the Mac’s screen- alternatively you can press Command + the spacebar, and select the icon that brings up the terminal).
Enter ‘ssh [email protected]’ into the terminal and execute the command.
At this point, you’ll be asked to verify that you’re attempting to log in to a Raspberry Pi, so type ‘yes’, and once again hit the return button. As with Windows, the password will be ‘raspberry’.
Once you’ve entered the right credentials you’ll be logged in to the Raspberry Pi.
How To Set Up Wifi For A Raspberry Pi Connected To A Laptop
Setting up wifi will allow you to use the Raspberry Pi without it needing to be connected to your laptop (and plugged into your wall) every time you want to boot it up.
If you’ve already connected your Pi to your laptop, the wifi dongle will be connected to the Pi already. Head to this page: ‘https://www.realvnc.com/download/vnc/’, find the version suitable for your laptop or Mac, and hit ‘Download’.
Once your VNC file has been downloaded, open it within a browser and click ‘Continue’, and then ‘Continue’ again, then ‘Agree’ on the popup, and then ‘Continue’ again.
You’re only needing the VNC Viewer, so deselect the VNC server (see also ‘How To Enable VNC On Raspberry Pi‘). Then click ‘Continue’ once more, and ‘Install’, at which point, you’ll receive a message informing you that the installation was a success.
Close this popup and head to Finder, then Applications, then RealVNC, and then VNC Viewer. This will open up the VNC Viewer. Within the VNC Server box, enter ‘raspberrypi.local:1’. Hit ‘Continue’ on the warning popup.
At this point, you’ll be required to access your SD card. The password will be ‘raspberry’, so enter this and click ‘OK’.
You’ll now see an icon on your desktop entitled ‘WiFi Config’, so click this and then click ‘Manage Networks’, then ‘Scan’. Select the network that your laptop is using and then you’ll enter your password for said network.
Close the Scan window, select the Current Status tab, and then select the right network. If the process is successful you’ll see an IP address, and your connection should be all set.
Frequently Asked Questions
What Are The Advantages Of The Raspberry Pi?
There are many reasons why people use Raspberry Pis (see also ‘How To Install Chrome On Raspberry Pi‘). Some of the most popular ones include:
- Learning how to program: You can easily write code on a Raspberry Pi and learn how to create programs. This makes it easy to get started programming.
- Playing games: Many games are compatible with Raspberry Pi. For example, Minecraft (see also ‘How To Update Spigot‘) is playable on the Raspberry Pi.
- Making music: You can make music on a Raspberry Pi.
- Watching videos: You can watch videos on a Raspberry Pi. Also, you can stream videos from YouTube or Netflix.
Can I Leave My Raspberry Pi On Constantly?
While Raspberry Pis are designed to be used for long periods of time, it is not recommended that you leave them on all the time.
This is because Raspberry Pi uses a lot of energy when running. This will result in you having high energy bills. Plus, it will have a higher carbon footprint.
Therefore, you should turn off your Raspberry Pi after you’ve finished using it.
Do I Need To Buy Anything Else?
No. You don’t need any additional hardware to use a Raspberry Pi. However, if you are planning to connect more than one device to your Raspberry Pi, you might want to purchase some extra cables.
Final Thoughts
Connecting your Raspberry Pi to a system that doesn’t have an HDMI port (or even a port for an ethernet cable) may seem like a more complicated process than just connecting a Pi to your computer, but if you follow the steps we’ve laid out in this article, you shouldn’t have any issues.
Note that during this process, whether you’re on Windows or using a Mac, there will be at least one security warning. This is nothing to worry about- just part of the process.