

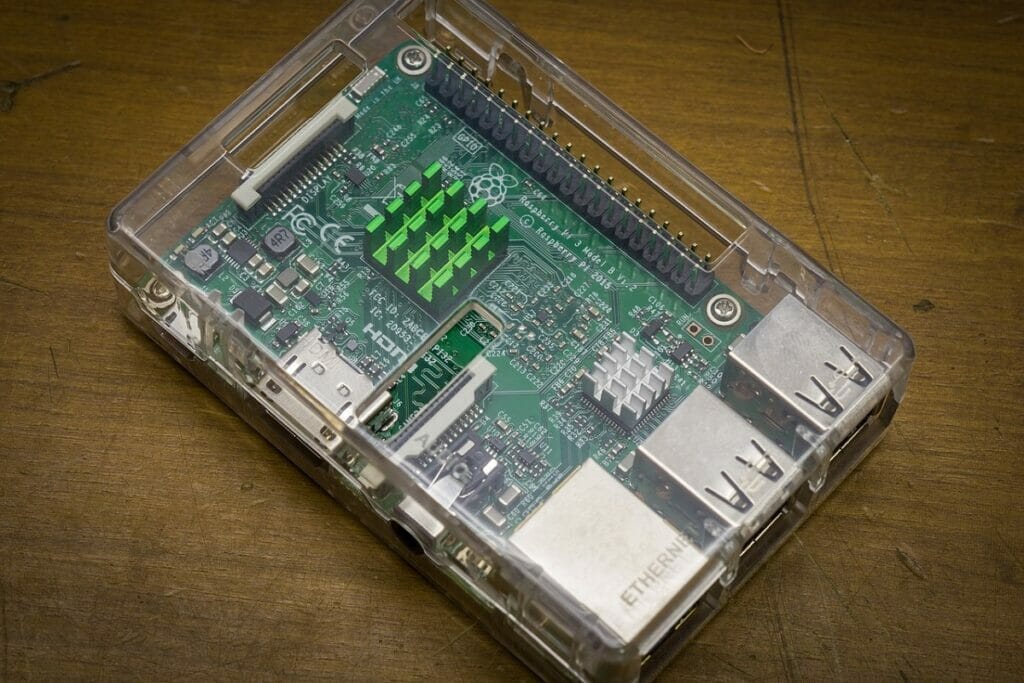
The Raspberry Pi is a fantastic little computer. It is cheap, fast, and easy to use. It can easily run many types of Linux-based operating systems including OSMC. OSMC is based off of Kodi, which allows you to watch movies, listen to music, and view photos (see also ‘What Is A CTG File?‘).
In this guide, we’ll introduce you to OSMC. We’ll show you how to install OSMC on your Raspberry Pi. We’ll walk you through common customization options. We’ll discuss the pros and cons of OSMC vs. other OS options.
What Is OSMC?
OSMC is quite similar to others such as LibreELECs and OpenELECs (see also ‘How To Install OpenELEC On Raspberry Pi 3‘). It’s a lightweight Linux distribution that supports Kodi installations.
Openelec and LibreElecs were built to be installed onto a large variety of devices such as the Raspberry Pi, odroids and wetek devices. In contrast, osmc was built specifically for the Raspberry Pi and vero streaming boxes.
OSMC is more feature-packed than OpenELEC or LibreELEC. It retains more of the base Debian Linux operating system, so its functions can be expanded more easily, but if you’re interested in running Kodi on your Raspberry Pi, then OSMC is an excellent choice. Despite the fact that Kodi development has been discontinued, OSMC is still a viable option.
The installation process is very simple. All you need is a Raspberry Pi, a power supply, and a microSD card.
SD cards are portable memory devices used by digital cameras, camcorders, cell phones, MP3 players, PDAs, and other electronic equipment. SD stands for Secure Digital, as opposed to Compact Flash. SD cards come in different sizes, including 2 GB, 4 GB, 8 GB, 16 GB, 32 GB, 64 GB, 128 GB, 256 GB, 512 GB, 1 TB, and more.
Bootable SD card
It’s possible to create a bootable SD card using OSMC. For best results when using OSMC, use a high-speed SD card. This will help with overall system performance, as well as making it faster to store and retrieve data from the card.
To create a bootable SD card, you must first download the OSMC software onto your computer. You’ll then be prompted to insert your SD card into your computer. Once inserted, open up the OSMC program.
From there, select the option to make a new image file. Select the size of the image you want to create (for example, 4 GB). Then, choose the location where you’d like to save the image file. Finally, press Create Image File.
When the process is complete, you should see a message saying that the image was successfully created. Now, you can remove your SD card from your computer and insert it into your Raspberry Pi. Connect your Raspberry Pi to your TV or monitor using HDMI cable.
Plug your USB keyboard into your Raspberry Pi. Turn on your Raspberry Pi by pressing the power button located on the side of the unit. Select the OSMC icon from the desktop. A menu screen should appear. Choose the option to boot from the SD card.
Your Raspberry Pi should now start up and load the OSMC operating system.
Back To The Pi
After you burn your disk image onto your SD card, safely remove it from your computer’s SD Card Reader. Plug your Raspberry Pi (RPi) into your monitor or TV via an HDMI cable. Connect the power supply, Ethernet cable, and Wi-Fi adapter to your RPi.
Insert your SD card into the USB port of your computer. Boot up your system, and you should see this screen. Congratulations! Now, it’s time to boot up OSMC, and get started with Kodi!
Boot Up
Congratulations! You have successfully installed OSMC onto your Raspberry Pi!
Kodi Add-Ons
Adding repositories is easy. You can enter a URL to your desired repository, and continue. Your repository should be added successfully. You can follow the instructions above to install add-ons from this repository.
Why Use OSMC? The Pros And Cons
OSMC is an open source operating system for the Raspberry Pi. It’s a simple and easy to install operating system. It’s not for everyone though because you need to know how to program.
Pros
- OSMC is an open source media center software based on XBMC. It is easy to use and install.
- OSMC is a great system because it’s very customizable. Users can customize the appearance of the OSMC program to their liking. OSMC can also run other Linux programs like BitTorrent clients, VPNs, and many other Linux applications.
Cons
- OSMC is an operating system based on Debian Linux (see also our article on Proxmox). It runs great on newer devices but may be slow on older ones.
LibreELEC
LibreELEC is an open source system based on Linux. It’s designed to be easy to use and customize. It’s also regularly updated with the latest versions of Kodi.
Both LibreELEC and openELEC run vanilla Kodi. But there are some differences. For example, LibreELEC uses a different GUI (graphical user interface). And OpenELEC is based on Linux, while LibreELEC is based off of FreeBSD.
Kodi VS OSMC
There are two ways to watch movies, television shows, and live sports online: Kodi and OSMC. Both systems offer similar features. However, they do differ in certain aspects. Here are some key differences between Kodi and OSMC.
Kodi
Kodi is a free and open source media player application. It has been around since 2010. It supports most popular video formats, such as MP4, MKV, MOV, AVI, FLV, WMV, etc. Kodi users can download videos from the internet and play them back through the Kodi application. They can also stream content directly from websites, including Netflix, Hulu, Amazon Prime Video, YouTube, Vimeo, Pandora, Spotify, and others.
OSMC
Open Source Media Center (OSMC) is an open source media center software based on XBMP. It is easy to install and configure. It’s a great system because it’s very customizable. Users can customize the look and feel of the OSMC program by changing themes, skins, and backgrounds. OSMC can also load other Linux programs like BT clients, VPN servers and many other Linux apps.
Conclusion
Hopefully this guide has helped you learn how to install OSMC!