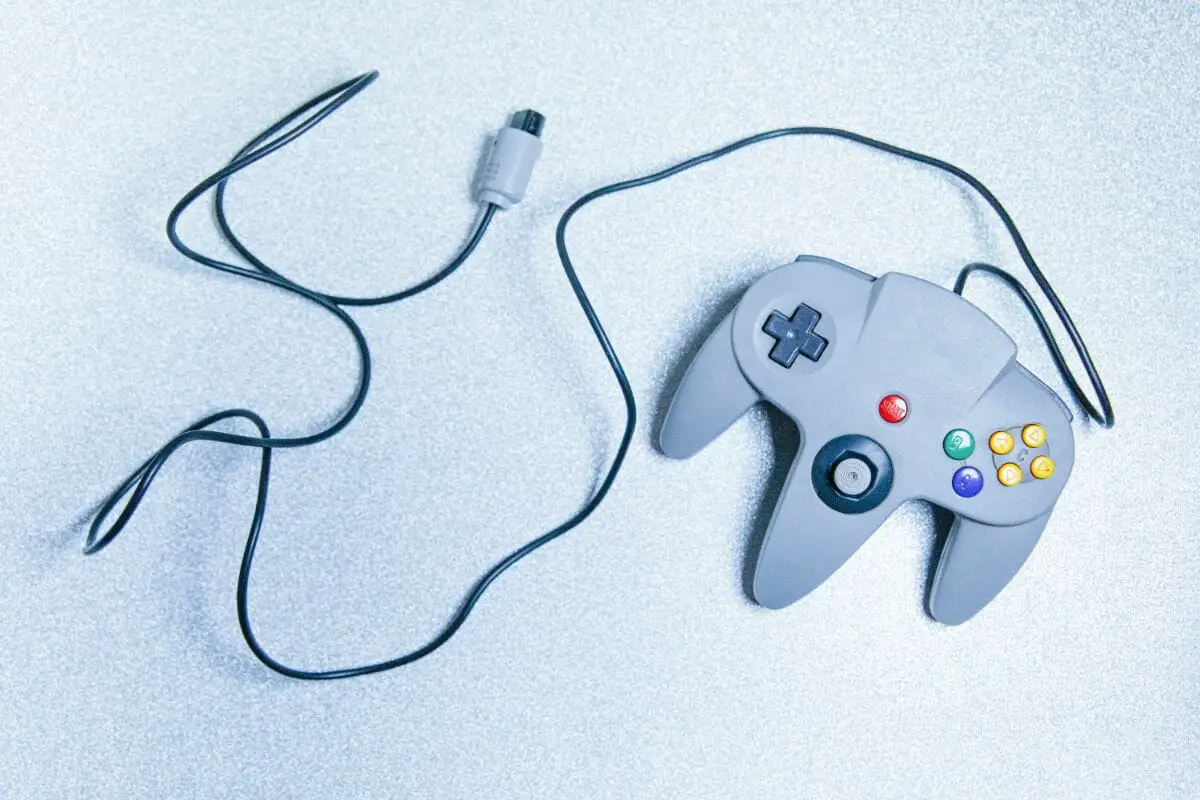
You get your pick of over 100,000 games on RetroPie, which is enough to keep seasoned gaming veterans busy for life, but even the most voracious button bashers need to take a break every now and again.
Sometimes, a long, passive TV-watching session is exactly what you need to recharge the batteries in preparation for another mammoth gaming session, and thanks to Kodi, that’s totally possible.

However, many run into some problems when trying to update to the latest Kodi iteration, limiting viewing potential.
There just isn’t much official information online regarding this topic, which is why I’m laying things out in black and white, right here, right now!
Updating Kodi On RetroPie: Can It Be Done?
Installing and updating Kodi is possible on RetroPie, but a new Kodi update is only available in very specific circumstances. Here’s how it works…
RetroPie sources Kodi files from a 3rd party repository rather than the developers themselves, and, typically speaking, these repositories are “unmaintained”, meaning they’re rarely kept up to date with the latest Kodi iterations.
When you attempt to update Kodi (which I’ll explain how to do in a moment), you’re always pulling from the same repository, and as it’s unlikely that it will be updated, at least for a while after the newest Kodi release, you’re just going to receive the same old Kodi.
Which Repository Does RetroPie Use To Install Kodi?
As it stands, RetroPie sources its Kodi tech from PiPplware, a repository with the installation files for Kodi 18.7, so that’s what you’ll get if you install or update Kodi on a recent RetroPie iteration.
The problem is that Kodi 18.9 and 19 have been out for a while now, and people are hungry to snatch up those boosted specs, but until the PiPplware repository is updated with the latest Kodi format, unfortunately, it’s not possible to do so.
When the update has been made available on the repository, you can absolutely upgrade your current Kodi, so it’s worth running the update protocol every now and again just to check if it’s possible.
The protocol goes a little something like this…
Updating Kodi On RetroPie
- Step 1 — First thing’s first, fire up RetroPie, but don’t be tempted by all those shiny ROMs you’ve got saved; The Legend of Zelda and Mario Kart can wait.
- Step 2 — Once you’ve booted RetroPie, press the start button if you’re using a controller or the Enter key if you’re using a keyboard. This will summon the main menu.
- Step 3 — Head down to the bottom of the main menu and select “Quit”. This will open a deeper shutdown menu.
- Step 4 — On this second level menu, select the second option, “Quit EmulationStation”. This will take you to the terminal in which you can type script commands.
- Step 5 — Type and action the command “sudo apt update”, and you will be presented with a list of up-to-date files in the repository, some of which may have been upgraded since you initially downloaded them.
- Step 6 — If any files have been updated, all you have to do is type and action the following command, “sudo apt upgrade”. This will automatically trigger the download of the upgraded files.
Do however bear in mind that if you don’t already have an older version of Kodi installed, an updated version will not automatically download to your RetroPie.
Kodi is an optional add-on, meaning it’s not included as a standard feature of RetroPie, so let’s take a look at how you’d go about installing Kodi.
Installing Kodi On RetroPie
Thankfully, installing Kodi on RetroPie is a pretty easy task…
Step 1 — Again, fire up RetroPie.
Step 2 — Open the main menu and select “Quit”, just as we did in the update guide.
Step 3 — Select “Quit EmulationStation” from the secondary shutdown menu to open the RetroPie script terminal.
Step 4 — Now you need to type the command, “sudo apt-get install kodi”. Once actioned, the latest version of Kodi hosted by the repository will be installed. It may take a few minutes, but Kodi is on the way!
Step 5 — To launch Kodi, type in the keyword, you’ve guessed it… “kodi”.
Step 6 — Complete Kodi setup by configuring controls, etc.

A Note On Kodi And Raspberry Pi Generation
Kodi 18.9 is backwards compatible with Raspberry Pi3. Pi3 runs on legacy drivers, which Kodi 18.9 is fine with, but Kodi 19 makes the shift from legacy to FKMS (Fake/Firmware Key Management System) / KMS (Key Management System).
Thus, Pi3 cannot run Kodi 19, even if it’s available in the source repository.
To take advantage of this state-of-the-art version of Kodi, you’ll need a Raspberry Pi4 system, as it’s the only one that runs on FKMS.
Unfortunately, full-fat KMS is still a while off for RPi, but it’s no doubt something we can expect to see as a feature in future releases.
How To Change Raspberry Pi OS
RetroPie installs different versions of Kodi based on the Raspberry Pi operating system you use, meaning your OS could pose a problem when attempting to update Kodi — Boo!
For instance, historically, RetroPie installed Kodi 17.6 on Raspbian Jessie, while Raspbian Stretch users were treated to Kodi 18.
But the good news is that you can switch up your operating system in a flash!
Step 1 — Boot Raspberry Pi then hold the Shift key down for 2 seconds as soon as you see the raspberry image on the GUI screen.
Step 2 — Uncheck your current OS.
Step 3 — Check your new OS.
Step 4 — Select language and controls towards the bottom of the screen.

Final Thoughts
Updating Kodi on RetroPie isn’t always possible, as we’re all at the whim of the host repository (which is currently PiPplware).
But when the repository itself gets updated, we can indeed snag the newest iteration of Kodi simply by typing in a couple of commands in the script terminal — Hooray!
You may run into a few roadblocks, namely your RPi OS and possibly outdated legacy drivers, but now you know what the problems can be, you’ll know exactly what to do to solve them!
