

Raspberry Pi is by far one of the most popular and well-loved types of small board computers (SBC), and it is perfect for working on software development, networking, and cybersecurity.
With cybersecurity, in particular, Raspberry Pi is amazing for controlling cameras in live time.
Basically, you can use Raspberry Pi to boot up a camera, and control it, most of the time by putting a motion sensor in place that triggers the booting up of the system.
It’s pretty simple as a setup and highly efficient. Not to mention that having a motion sensor to trigger the Raspberry Pi, means that it can be off on standby mode until needed, which can save a lot of power in the long run.
The problem is that, as a general rule, Raspberry Pi takes around 20 to 25 seconds in order to boot up. That is the standard average, which works fine most of the time.
But, if you want to control a camera through a motion sensor system, and it is to possibly capture footage of a wild animal, or something that is passing by, 20 to 25 seconds simply isn’t fast enough.
By the time the system is up and running, whatever triggered the motion sensor will be gone.
However, there is a solution: to fast boot Raspberry Pi. Or in other words, to make a few slight adjustments to the system, so that the booting-up time is a lot faster. As in, up to under 5 seconds kind of faster, which is a significant difference!
And how can that be done, you might be asking yourself. Well, we’ve got the answers. We’re going to guide you through the process, step by step, so you know exactly how to do it.
Does that sound good? Then let’s get right into it!
What You Will Need in Order to Fast Boot Raspberry Pi
Before you get started on the process of fast booting your Raspberry Pi, there are a few things you need to check.
Firstly, you will be using the official Raspberry Pi OS, so this needs to be installed before you proceed to the fast booting. (make sure you are installing the official one!)
Next, you might want to get rid of the GUI, by establishing an SSH connection. This will save time on booting.
And finally, if you need access to the internet, make sure the system is connected to the ethernet, as the use of WiFi adds time onto the booting, which is what you want to reduce.
Once you have done these things, check how long it takes for your Raspberry Pi to boot up and start working. Is it still taking too long for what you need it for? Then proceed onto the next section, for our step-by-step guide on how to fast boot!
How to Fast Boot Raspberry Pi – A Step-by-Step Guide
Once you’ve double-checked that you don’t have anything unnecessary within the setup that is slowing down your Raspberry Pi boot up, it’s time to adjust it so that the average booting-up time will be drastically reduced.
If you’ve never done this before, the process might seem a little complicated at first, but we’ve broken it up into steps that are all simple and easy to follow, so hopefully, you should be able to follow along without any issues!
These are the steps for fast booting Raspberry Pi:
Edit the /Boot/Config.txt File
The first thing you need to do is to configure within the /Boot/Config.txt file, in order to make some adjustments. You can do this by either inserting the Raspberry Pi SD card into your Pc, and making the changes from there, or by accessing the file remotely through the SSH within your Raspberry Pi. Up to you!
To open the file, find the config.txt within the /boot directory.
Now, as for the changes in the configuration that you have to make, you need to add a few lines to the bottom of the config.txt file. The lines are the following:
disable_splash=1: (this line will disable the rainbow splash screen that usually appears when you are booting the Raspberry Pi OS, which is unnecessary and take sup booting up time)
dtoverlay=disable-bt: (this line will disable the Bluetooth connections within the system, so if you don’t utilize that for the project in question, it’s best to get rid of it in order to save some time in the booting)
boot_delay=0: (unless you add this line, the default delay time will be of 1 second)
Overclock The Operation of the System
As a general rule, the Raspberry Pi will be set to a default operation of 1500MHz. If you want to speed that up, you can do it by overclocking the board operation, bumping it up to a speed of around 2400MHz, which will be a lot better for booting it up faster.
You can overclock the operation system in a few different ways, but the easiest and most effective is by adding a few lines into the configuration file.
Here is what lines you should add:
over_voltage=6
arm_freq=2147
gpu_freq=750
Once you do this, close the file up and check that it has made a difference.

Reduce the Kernel Verbose on Boot
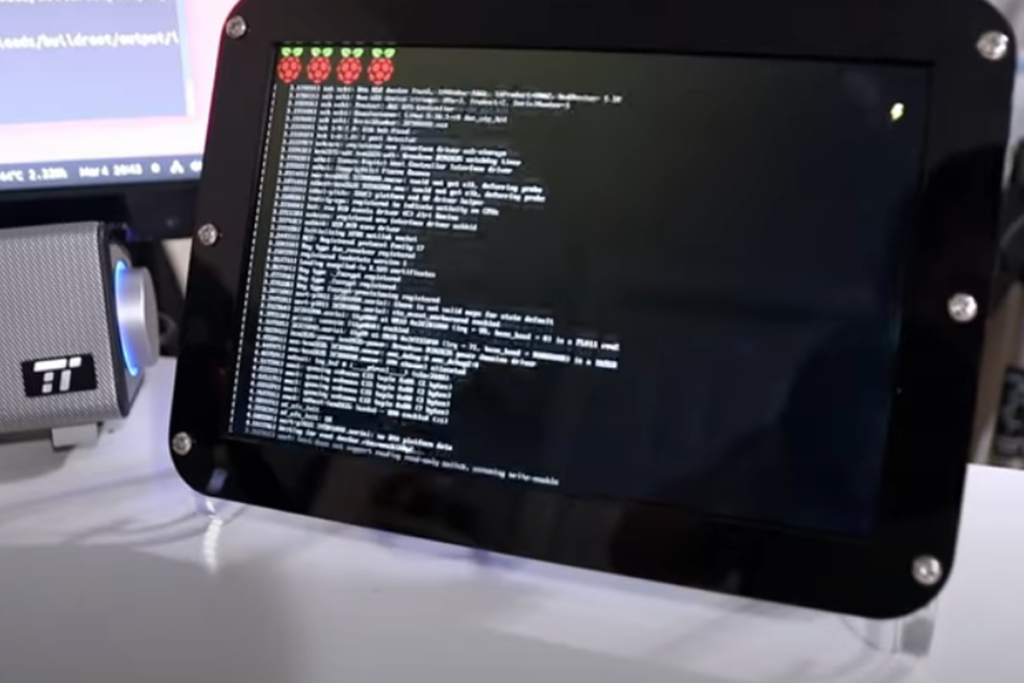
Usually, when you boot up the Raspberry Pi while having it connected to a display monitor, the code lines will be displayed on the screen while it is booting, to show you some useful information.
This is the kernel verbose, and it can be great for when you are troubleshooting an error or issue. However, in order to reduce the booting time, you can get rid of this by skipping it altogether.
In order to do this, you will have to edit the configuration within the /boot/cmdline.txt file.
You can do this by inserting the SD card into your PC and accessing the information there, or by accessing the SD through the SSH. (Alternatively, you can also use a command line, although this is a less popular method).
Now, word of warning, you need to be very careful when editing this file, as you could easily corrupt the entire process, and essentially mess it up. When you enter the file, you will see that the default setting is displayed as follows:
console=serial0,115200 console=tty1 root=PARTUUID=71a81b7a-02 rootfstype=ext4 elevator=deadline fsck.repair=yes rootwait splash plymouth.ignore-serial-consoles
(This is the standard default, it might be slightly different at times, don’t worry about it if it is).
Anyway, in order to edit this, you should very carefully do the following:
Delete the parameter “splash”
Add the parameter “quiet” instead
(This parameter replacement should take place after the “rootwait,” in a single line.
Once you do this, the display should show the following:
console=serial0,115200 console=tty1 root=PARTUUID=71a81b7a-02 rootfstype=ext4 elevator=deadline fsck.repair=yes rootwait quiet plymouth.ignore-serial-consoles
Make sure to double check it so that you have only changed that one parameter, or as we mentioned, you might accidentally corrupt the entire booting up system!
Apply the Systemd-Analyze Blame
Once you have done all of the configurations we have gone through in the previous steps, you need to figure out what services within the system are slowing down the booting system. And then, you can deactivate those that you don’t need.
To do this, execute the following command:
Systemd-analyze blame
You should get a list of all the services. You can then look through them and disable all of the ones that you don’t need. (make sure to know beforehand which ones are required in order for your project to run smoothly!)
If you’re not sure which ones to disable, here are some examples of services that you can disable that, as a general rule, will not affect the operation when removed:
Sudo systemctl disable dhpcd.service
Sudo systemctl disable networking.service
Sudo systemctl disable ntp.service
Sudo systemctl disable dphys-swapfile.service
Sudo systemctl disable keyboard-setup.service
Sudo systemctl disable apt-daily.service
Sudo systemctl disable wifi-country.service
Sudo systemctl disable hciuart.service
Sudo systemctl disable raspi-config.service
Sudo systemctl disable triggerhappy.service
Again, make sure that you are disabling services that are not required by your project.
Re-compile the Linux Kernel
Next up, you need to re-compile the linux kernel, as there are things there that could be causing the booting to take longer than necessary.
For this, you can use config_printk_time and config_kallsyms in order to analyze all of the unnecessary items and tasks that are located there, and you can then take them out or disable them so that they will no longer slow down the process.
Add your task as a service within the system:
To further speed up the booting process, we recommend turning the task or code that you want to run in your Raspberry Pi, into a service. Seriously, it makes it run a lot faster!
You can do this by adding the code into the system directory, as a service.
Remove Plymouth
Finally, as the last step, you’re going to remove Plymouth, in order to disable the systemd init messages. This will further reduce the booting time.
To do this, execute the following command:
Sudo apt purge –remove Plymouth
And that’s it! There are a few more things you can do to speed up the boot, but generally speaking, the steps we went through are more than enough and they will make a huge difference.
You will have essentially gotten rid of anything unnecessary that was slowing down the process so that the Raspberry Pi can function at top speed, with no distractions.
Final Thoughts
If you’ve never played around with the configuration of your Raspberry Pi, this entire process might seem a little complicated, and you might have to go away to find some tutorials explaining some of the details.
However, all in all, this shouldn’t be too hard to accomplish, as long as you take your time and are careful with how you input all of the coding information.
It’s really important to go about it slowly, because a single letter out of place can corrupt the functionality of the entire system, causing major issues!
But, once you have finished fast booting Raspberry Pi, you will be able to utilize it at a much faster speed compared to its default setting.