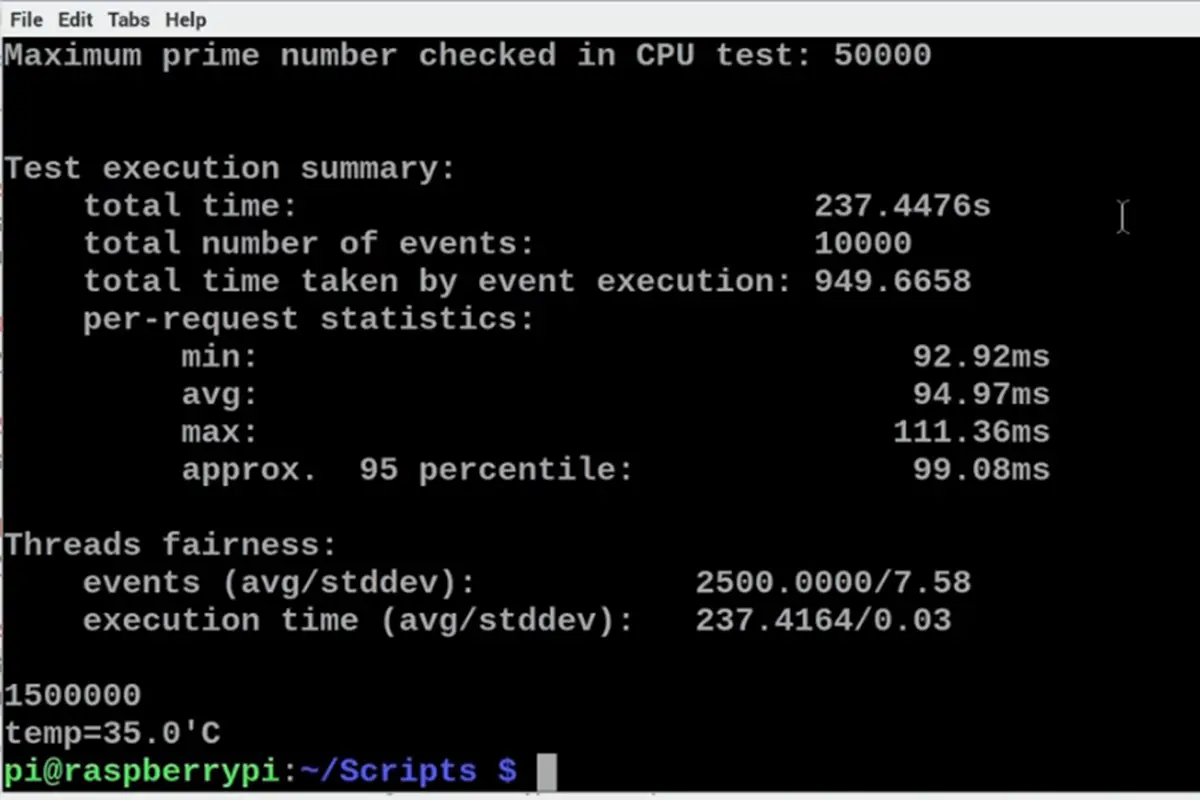
Raspberry Pi computers are something of a technological rabbit hole, which makes them, as well as compatible OSs and programs, rather difficult to glean for beginners.
Even simple stuff like turning on emulation OS RetroPie after a shutdown can be a headache-inducing task if you’re new to the technology.
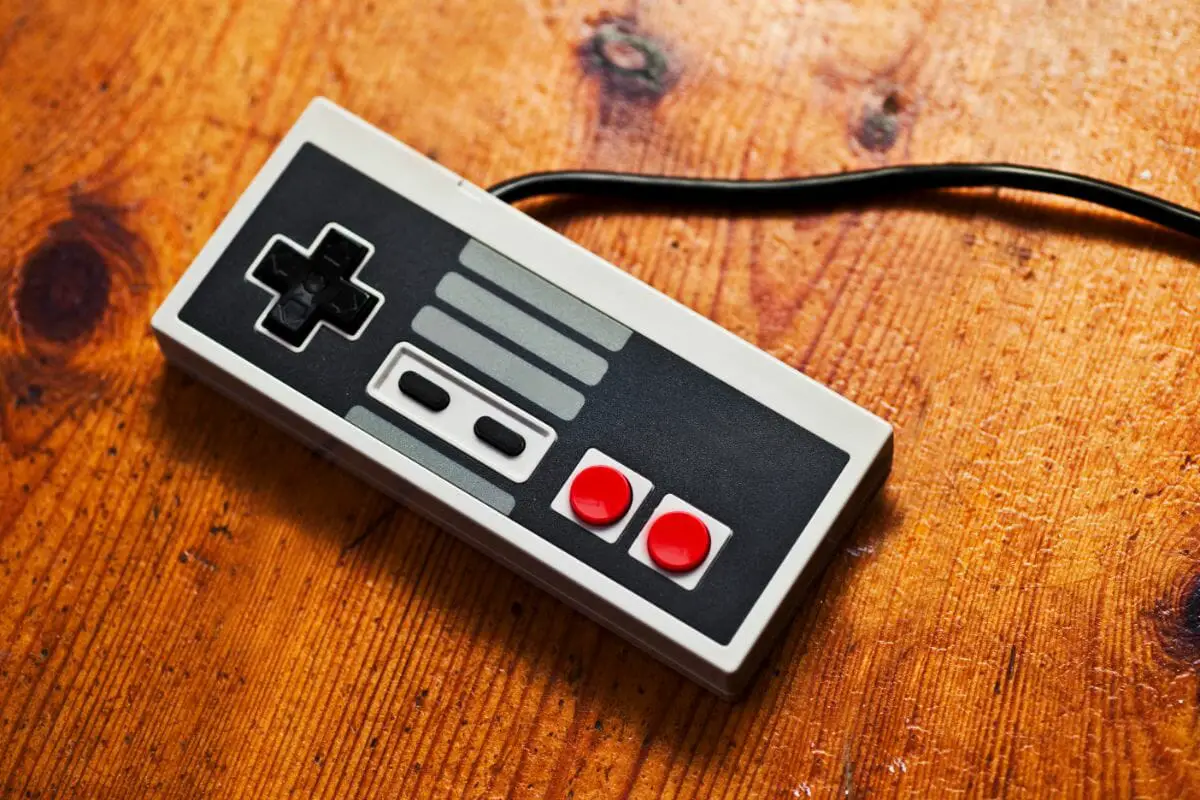
The good news is that, if you made it to this stage, you’ve already done all the tricky stuff.
Once you’ve installed your Raspberry Pi unit, loaded RetroPie onto your SD, formatted the files, configured controls, and learned how to shut the system down correctly, booting it back up is as easy as, well… pie.
Even so, to ease any concerns you may have about going it alone, I’m going to walk you through the process below, so you can continue reliving your bygone gaming days with confidence!
How To Turn On Raspberry Pi After System Shutdown
I’m assuming that if you’ve shut down RetroPie, you’ve also shut down your entire system, meaning before you load RetroPie back up, crack a lukewarm bottle of Mountain Dew, and get down to some hardcore retro gaming, you’ll need to turn on your Raspberry Pi.
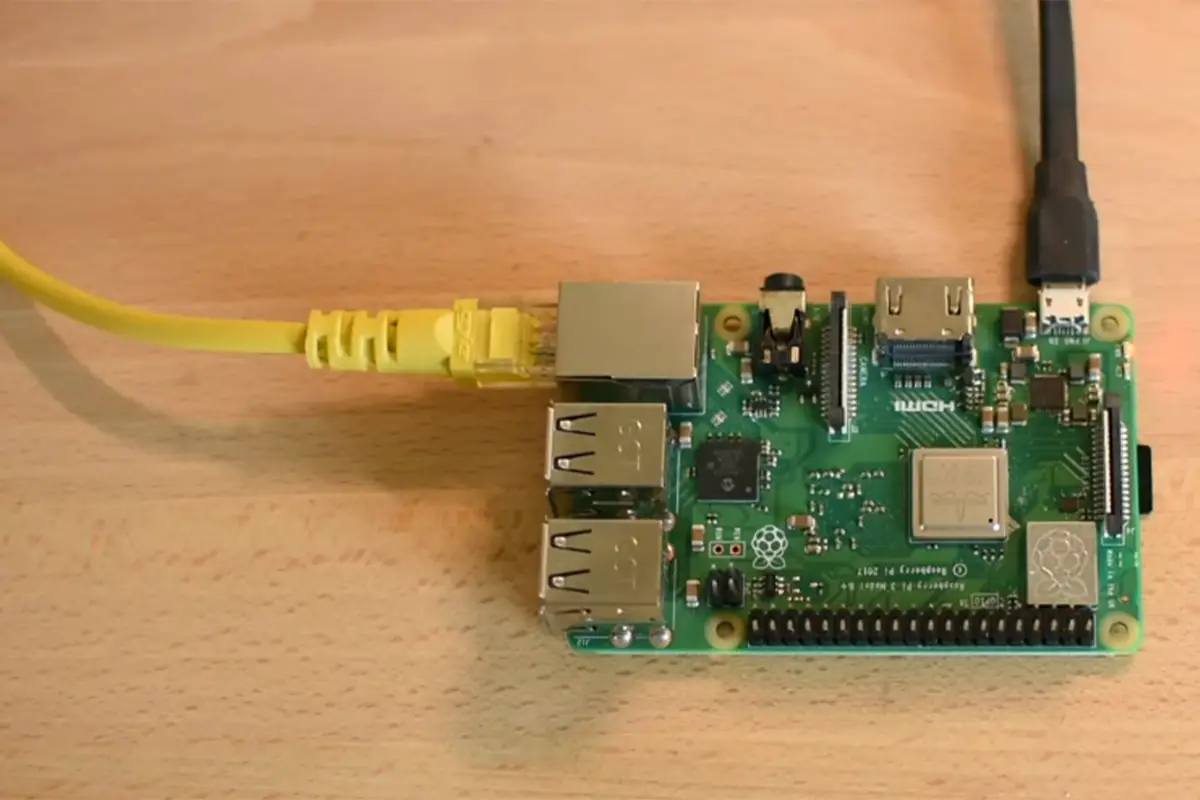
One of the things about Raspberry Pi computers that stumps a lot of newbies is the lack of a dedicated power button, yet despite this dubious absence, it’s relatively easy to fire these things up.
Here’s how it’s done…
- Step 1 — Link your HDMI cable to your display of choice.
- Step 2 — Hook up your peripherals.
- Step 3 — Connect to your Wi-Fi or use an Ethernet cable to link to your router.
- Step 3 — Plug your power adapter into an outlet.
- Step 4 — Use a USB-C cable to connect your power supply to the Raspberry Pi. This only applies to the Raspberry Pi4 format. Any older variants use a micro-USB cable.
On the RPi4, you’ll find the USB-C input to the left of the HDMI ports and beneath the Raspberry Pi logo. It’s slightly larger than the HDMI ports, nestled into the corner of the PCB.
- Step 5 — Wait for the red LED to illuminate. You should then see a rainbow-themed screen on your display followed swiftly by the RPi desktop OS.
That’s literally all there is to it!
How To Boot RetroPie
Booting up RetroPie is an absolute cakewalk. As long as all the essential setup elements have been completed, all you need to do is plug your RetroPie SD into your Raspberry Pi while powered on, then either boot from the command line or have it boot automatically.
How To Boot RetroPie From Linux Command Line
- Step 1 — From the Raspberry GUI, select “Exit to command line”.
- Step 2 — Once the command line menu has loaded, simply type in the command “emulationstation” to trigger the RetroPie boot.
How To Boot RetroPie Automatically
- Step 1 — Access the RetroPie setup menu via “sudo RetroPie-Setup/retropie_setup.sh”.
- Step 2 — Click on “Configuration / tools”
- Step 3 — Select “Autostart”.
- Step 4 — Choose to “Start Emulation Station at boot”.
- Step 5 — Reboot.
How To Shut Down RetroPie Correctly
I know you’ve already handled at least one shutdown, but just to make sure you’re doing it correctly, let’s run through how it’s done.
- Step 1 — While using RetroPie, press the Start button on your control, or if you’re using a keyboard, the Enter key, to load the main menu.
- Step 2 — Select “Quit”, which is the bottom option.
- Step 3 — A new shutdown menu will appear. Once again, you’re looking for the last option on the list, “Shutdown System”.
- Step 4 — Next, a prompt will appear on-screen asking if you’re sure you wish to shut your system down. Click “Yes” to confirm, and voilà; that’s RetroPie booted down, but remember, RetroPie and Raspberry Pi are discrete programs, so booting down RetroPie won’t shut down your RPi.

How To Shut Down Raspberry Pi Correctly
As all you have to do to power your Raspberry Pi up is plug it into a 5 V power supply, you’d be forgiven for thinking that all you need to do to power it down is the reverse, but before you yank that USB-C cable from your supply, you should know that this is a big no-no!
To shut down your Raspberry Pi correctly, you need to…
- Step 1 — Click the RPi menu button.
- Step 2 — Select “Shutdown”.
- Step 3 — Give your Raspberry Pi a minute or two to wrap things up. DO NOT pull the power as soon as you click the shutdown option.
Wait for the shutdown to reach its natural conclusion and for the LED light (see also ‘How To Program LED Lights‘) on your Raspberry Pi to fade out. Only then can you uncouple the USB-C cable from the power supply.
You can also shut down your Raspberry Pi directly from the command line menu by…
- Step 1 — Opening the command terminal in Linux.
- Step 2 — Using the following syntax to express the shutdown command: “shutdown [options] [time] [message].
In the options field, you can type in what kind of shutdown you want. It can be a reboot, a halt, or, of course, a total shutdown.
The time field allows you to shut down your Raspberry Pi at a very specific point in time. Just type in when you want it to go down. To shut down immediately, simply type in “+0” or “now”.
The message field gives you the option of sending a shutdown message to all other logged-in users on the Linux system.

Final Thoughts
Turning on RetroPie (see also ‘How To Back Up RetroPie‘) after shutting down the software as well as your Raspberry Pi is possibly the easiest part of this type of computing.
Really, all you need to do is power up your Pi, then insert the SD card with all the RetroPie files into the Pi’s SD slot.
From there, you just need to type in the command “emulation station” into the Linux command line, and you’re off!
For easier future boots, you can also set RetroPie to boot automatically when you power on your Raspberry Pi, but you’ll need to do a little menu diving to do so!
But that’s enough from me. Now you know how to get RetroPie back up and running, it’s time for you to enjoy some old-school games!
- How To Uninstall Packages On Ubuntu - March 13, 2024
- How To Restart Ubuntu Using The Terminal - March 13, 2024
- What Is The Steam Deck | Experience Modern Handheld Gaming - March 12, 2024



![How To Host A Website On A Raspberry Pi: A Step By Step Guide How To Host Your Own Website On Raspberry Pi [Ultimate Guide]](https://raspians.com/wp-content/uploads/2023/02/How-To-Host-Your-Own-Website-On-Raspberry-Pi-Ultimate-Guide-1-150x150.jpg)
