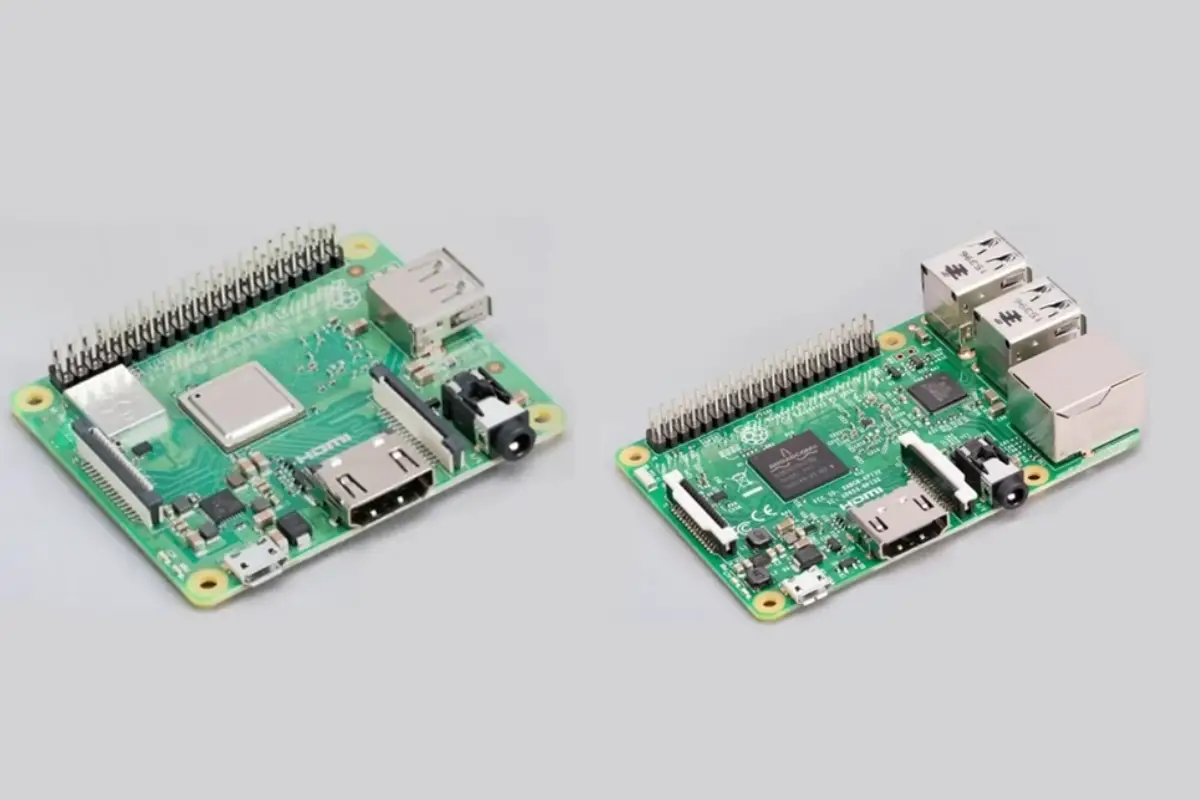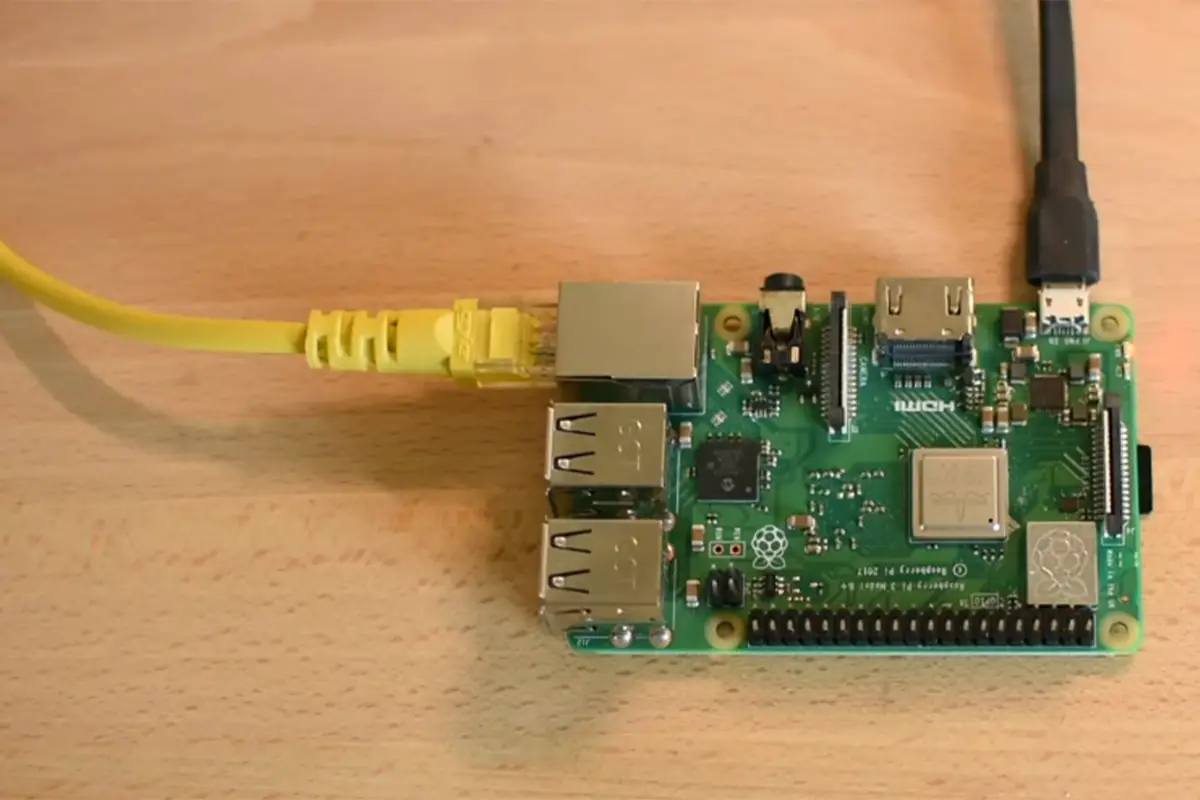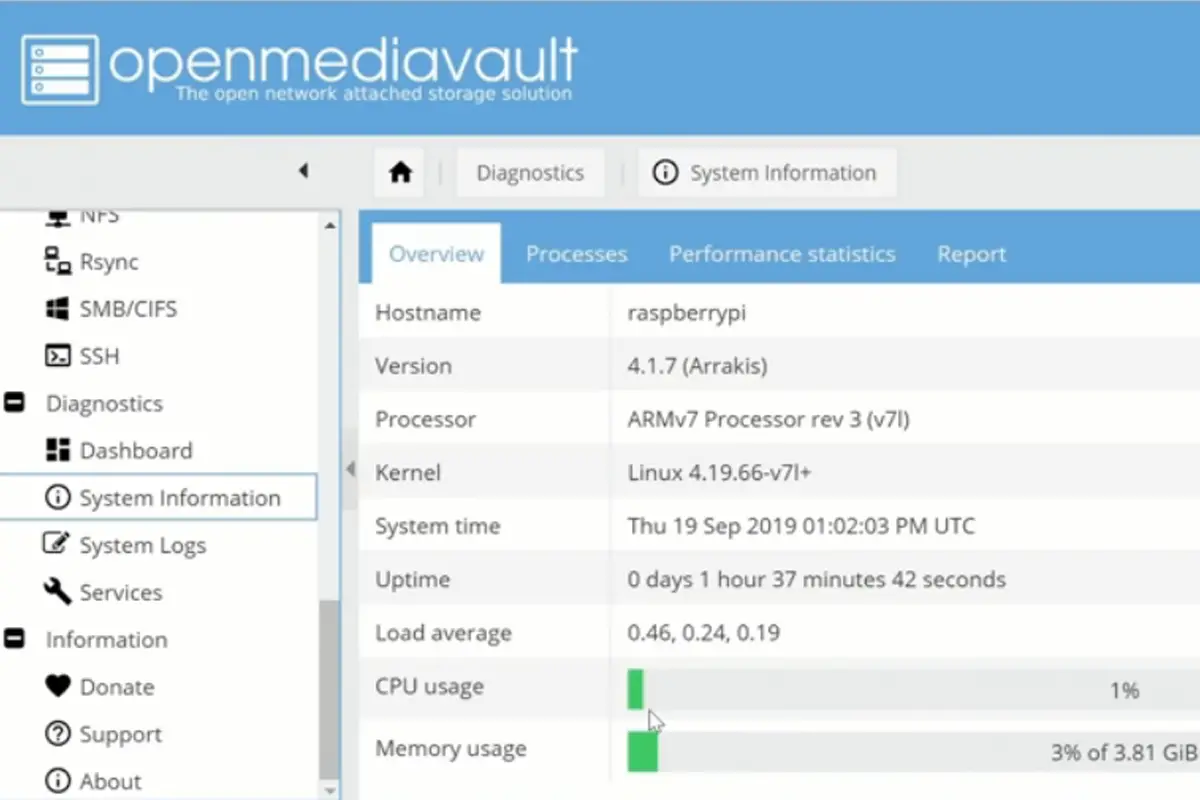
Apache is among the most popular web servers that are available for Raspberry Pi. Overall, this web server actually makes up 44% of all the servers in the world!
Alone, this web server can serve HTML files over HTTPS and HTTP web protocols. It can serve dynamic content with various additional modules, like PHP, giving users great experiences.
In this article, we are going to cover everything you need to know about installing Apache on your Raspberry Pi, and also set it up fully.
How To Install Apache On Raspberry Pi
If you decide that you want to go ahead with installing Apache on your Raspberry Pi, great! Just know that we will not be covering how to set up MYSQL, PHPMyAdmin, or WordPress on your Raspberry Pi in this article – these will be covered in other posts.
Let’s get started with installing Apache.
What You Will Need
To get the job done, you are going to need the following pieces of equipment:
- Raspberry Pi
- Power Supply
- Micro SD Card
- Wi-Fi or an Ethernet Cable
Additional equipment you might want to source to make your life easier include the following:
- Monitor
- USB Keyboard
- Raspberry Pi Case
- USB Mouse
- HDMI Cable
The Steps
1. Make Sure The Package List Is Up-To-Date
Before you can even think about installing Apache to your Raspberry Pi, you will need to make sure that the package list is fully up-to-date. This is straightforward and can be done in a moment.
Run these two commands:
- sudo apt-get update
- sudo apt-get upgrade
2. Install Apache 2
If the package list is up-to-date, you can move on and install the Apache2 package to the device. All you need to do is input this command in the terminal:
- sudo apt install apache2 -y
3. Install PHP To Your Raspberry Pi
Now that Apache 2 has been installed, you will have a super basic web server running already. However, this server will be unable to provide HTML files and other dynamic content.
As such, we will need to extend the basic Apache web server. This is done by installing PHP to the device.
You should check to make sure that Apache is running on your Raspberry. Do this by entering the IP address of the Raspberry Pi into a web browser. A webpage with some simple text should be returned on the server.
Alternatively, if you don’t know your IP, the hostname command can be entered into the terminal so that you can retrieve it.
Type in this command:
- hostname -I
4. Enter The Raspberry Pi’s IP Address
You should now enter the IP address of the Raspberry Pi in a web browser. This should make the web connect and load a very simple default page, then you can move on.
5. Set Up Your Permissions
You will need to set up a few permissions in order to make changes to the files in the /var/www/html. The first thing you need to do is add the user pi to the www-data group, which is Apache2’s default group.
Next, you will need to give the www-data group ownership of all the folders and files in the /var/www/html directory.
Input the following commands to get his job done:
- sudo usermod -a -G www-data pi
- sudo chown -R -f www-data:www-data /var/www/html
After inputting the commands, make sure to log out, then log back in to ensure the changes happen.
6. Make The Required Changes To Your Default Page
Now you will be able to make necessary changes to the default web page. Use the nano text editor to modify the index.html file, and all files in the /var/www/html can be served by the web server.
Use this command to carry out this step:
- sudo nano /var/www/html/index.html
Set Up PHP7 For Apache

1. Make Sure You Are Running Raspberry Pi OS Bullseye AT LEAST
Installing the necessary packages is super quick and easy, but it is necessary before you go any further.
Run this command to install the required PHP packages onto the Raspberry Pi:
sudo apt install php7.4 libapache2-mod-php7.4 php7.4-mbstring php7.4-mysql php7.4-curl php7.4-gd php7.4-zip -y
2. Test To Ensure It’s Working Properly
Configuration is done automatically when Apache is detected, so you won’t need to worry about that.
You can quickly make sure PHP is working correctly by creating a file in the /var/www/html directory, which will allow it to be processed then displayed in a web browser.
We’ve labelled the file as “fileexample” here.
Run this command:
sudo nano /var/www/html/fileexample.php
3. Add In PHP Code
Next, add these lines of PHP code in the file:
<?php
echo “Today’s date is “.date(‘Y-m-d H:i:s’);
This will give you enough information to ensure the PHP is working properly – all it will do is print out the date.
4. Save The File
Now, you will need to save the file. Do this by pressing down CTRL + X, then press Y, and hit ENTER.
5. Go To The Web Browser
Go to http://192.168.1.103/example.php in your web browser, but ensure that you replace the numbers with your Raspberry Pi’s IP address.
You should then get a display that will tell you the day’s date and time. That’s all there is to it!
Set Up The Apache VirtualHost

1. Run A Command To Get Started
Within the /etc/apache2/sites-available folder, create a simple host file – use a domain name if you have one or are planning on using one.
Type in this command:
sudo nano /etc/apache2/sites-available/example.com.conf
2. Enter This Text In The File And Check The Coding
The coding should end up looking something like this:
<VirtualHost *:80>
ServerName example.com
ServerAlias www.example.com
DocumentRoot /var/www/example.com/public_html
ErrorLog ${APACHE_LOG_DIR}/example.com_error.log
CustomLog ${APACHE_LOG_DIR}/example.com_access.log combined
</VirtualHost>
Make sure everything is in line with your chosen names and other personal information regarding your Raspberry Pi and Apache.
Now, you will need to save the file. Do this by pressing down CTRL + X, then press Y, and hit ENTER.
3. Create A Folder To Store HTML Files
Create a folder where you will store your HTML files, and take ownership of the file in the www-data group.
Run this command:
sudo mkdir -p /var/www/example.com/public_html
sudo chown -R www-data:www-data /var/www/example.com/public_html
4. Activate VirtualHost
Now it’s time to activate VirtualHost. Do this by running this command:
sudo a2ensite example.com.conf
5. Reload Configuration
Finally, all you need to do now is reload the configuration for the file to be loaded in
Type in this command to do the job:
sudo systemctl reload apache2
At this point, you can point a DNS to the public IP of the Raspberry Pi, but you will need to set up port forwarding. Other than that, you should now have Apache running on your Raspberry Pi, and you can enjoy it!

Apache Alternatives:
Apache isn’t the only web server you can use – another popular alternative is an Nginx web server. These are usually seen to be much quicker at some tasks than Apache, but they also have their cons too.
Consider the kinds of tasks you will be performing and do some additional research on both Apache and Nginx. Both can be good options – the final decision for what to use is completely up to you.
Final Thoughts
Hopefully, this article helps you to get up and running with Apache, PHP7, and VirtualHost.
Good luck!
- How To Uninstall Packages On Ubuntu - March 13, 2024
- How To Restart Ubuntu Using The Terminal - March 13, 2024
- What Is The Steam Deck | Experience Modern Handheld Gaming - March 12, 2024


![How To Host A Website On A Raspberry Pi: A Step By Step Guide How To Host Your Own Website On Raspberry Pi [Ultimate Guide]](https://raspians.com/wp-content/uploads/2023/02/How-To-Host-Your-Own-Website-On-Raspberry-Pi-Ultimate-Guide-1-150x150.jpg)


