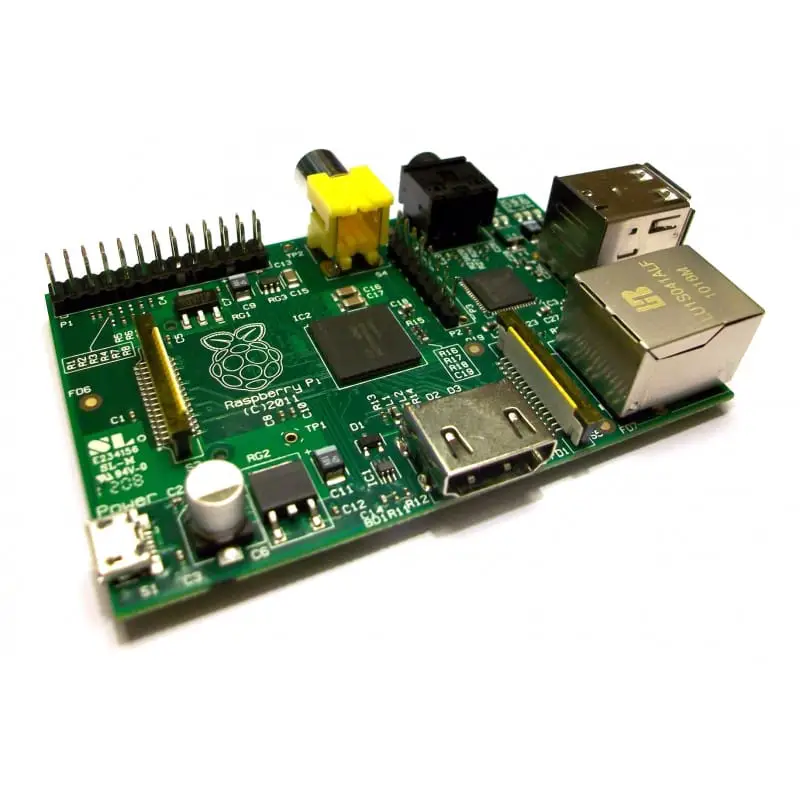
Embarking on the journey of web development can be daunting, but with the powerful duo of Raspberry Pi and WordPress, it’s as enjoyable as it is educative. Let’s dive into the world of website creation by setting up WordPress on the Raspberry Pi – the mini-computer that packs a mighty punch!

Why WordPress on Raspberry Pi?
WordPress, the world’s leading Content Management System (CMS), powers a whopping 60+ million websites! From personal blogs to giants like TechCrunch, its flexibility is unmatched. Now, imagine combining WordPress’s immense capability, with the Raspberry Pi’s renowned efficiency. One easy use case for this combo would be for a development server – it’s nimble and offers a quicker response compared to setups like XAMPP.
Equipment List
The essentials:
Optional, but handy:
Before You Start
Before the WordPress installation, make certain you’ve configured Apache, PHP, and have a MYSQL server up and running. Oh, and keep that MYSQL root password handy; you’ll need it!

Step By Step Guide On How To Install WordPress on A Raspberry Pi
1 . Download & Extract WordPress:
To start, we need to download and extract WordPress to our `/var/www/html` directory on our Raspberry Pi.
We will also need to take ownership of the /var/www/html folder with the www-data user and group. Doing this will allow PHP to process WordPress without running into any permission errors.
To achieve all of this, we will run a few commands, just type each line below into the terminal.
   cd /var/www/html
   sudo wget http://wordpress.org/latest.tar.gz
   sudo tar xzf latest.tar.gz
   sudo mv wordpress/* ./
   sudo rm -rf wordpress latest.tar.gz
   sudo usermod -a -G www-data pi
   sudo chown -R -f www-data:www-data /var/www/html
You Might Like: Check Out The Raspberry Pi 5!
2. Log In To MySQL Server:
Once you have downloaded and extracted WordPress, we will need to set up a database to store its information.
First, we will use the MySQL command to log in. Make sure to use the -p flag for the password and the -u flag for the username. Remember, write your password right next to -p without any spaces.
sudo mysql -u root -p3. Create Database:
After successfully logging into the MYSQL server, we can execute a straightforward command to establish a database for WordPress
CREATE DATABASE: wordpress;4. Create A New User For The Database
For safety, we are going to create a new user for this database. While you are still in MySQL, type the following command.
CREATE USER 'new_user'@'localhost' IDENTIFIED BY 'new_password' ;Obviously, you will need to change new_user and new_password to your own details. Be sure to remember them as we will need them both when we set up WordPress.

5. Allowing Permissions
Now that you have a new user set up, you need to give them permission to manage the new database. This is done with the below command. Again, swap out new_user with your chosen username from before.
GRANT ALL ON wordpress.* TO 'new_user'@'localhost'; 6. Quit My SQL Command Interface
We have now created the database and the user that will be using it. Now we need to quit MySQL by simply pressing CTRL+ D
You Might Like: Check Out Our Handy Raspberry Pi Pinout Guide
7. Finish Setting Up WordPress
It’s time to finish setting up WordPress on your Raspberry Pi. Start by going to your Pi’s IP address in a web browser.
Once you select a language, the next screen will give you the details of what you need to have on hand to install WordPress. These will be:
- Database Name – We set this up in Step 3 and called it
wordpress. - Database Username – This is the user we created in Step 4.
- Database Password – This was also created in Step 4. Make sure you get these two correct.
- Database Host – Leave this at the default setting.
- Table Prefix – Keep this at the default setting too.
8. Finalize The Installation
Once you’ve ensured that all the entered details are accurate, go ahead and hit “Submit” to kick off the software installation. Simply follow the subsequent prompts to wrap up the installation process.
You’re All Set Up With WordPress On Your Raspberry Pi!
With that, your Raspberry Pi is now a powerful WordPress server! This setup is not only economical but also a fantastic way to delve into web development basics. As you explore further, you can experiment with WordPress themes, plugins, and more.
If you are more of a visual learner, Tom Teaches Tech has put together a great explainer video walking through the process of installing WordPress on a Raspberry Pi. Check it out below.
Encountered a hiccup? Drop a comment, and the Raspberry Pi community is always here to help. Happy coding!
