
The best thing about Raspberry Pi computers is that they are incredibly portable, which allows you to take them from place to place with minimal difficulty.
This makes them great for acting as personal digital archives of digital content, or even as mini arcade machines, full of classic game emulators.
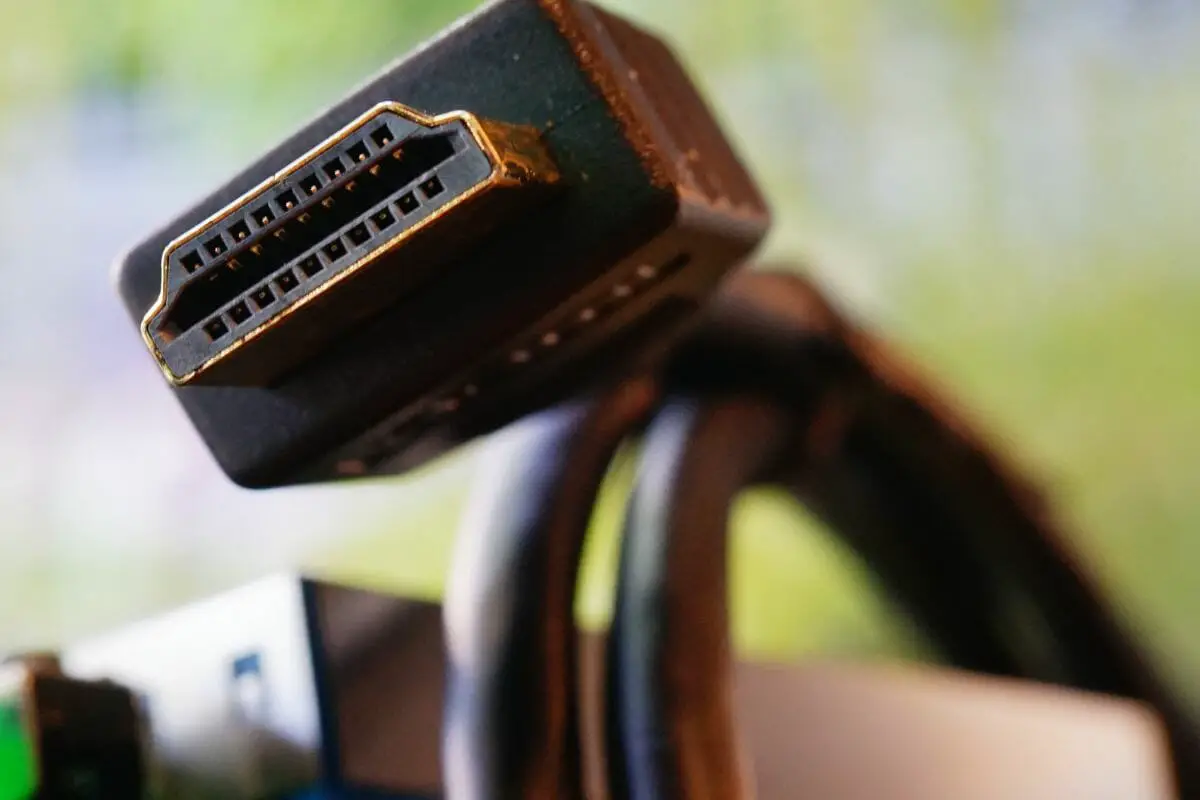
However, in order to enjoy the benefits of a Raspberry Pi for your visual media, you are going to want to hook up the computer to a display. But this often poses a challenge to some, as it can be difficult to tell how to connect a Raspberry Pi to an HDMI cable to get the best image quality.
Can You Connect An HDMI Cable To A Raspberry Pi 4?
Definitely. Though it is not immediately clear how to connect an HDMI cable to a Raspberry Pi 4 model, it can be done.
But how do you actually do it? Let’s find out!
Click Here For The Best Raspberry Pi Gear & Accessories!
How Do You Connect An HDMI Cable To A Raspberry Pi 4?
In order to connect your Raspberry Pi 4 to an HD monitor, you will want to make sure that you have both an HDMI cable, and an appropriate monitor that can be hooked up to HDMI.
You will also want to make sure that you have your Raspberry Pi 4, and a good keyboard and mouse that you can use to control the device.
All Raspberry Pi 4 models come with 2 Micro HDMI ports as standard, meaning you won’t have to hook up any extra modules just to connect your computer to an HDMI-compatible monitor.
However, you will need to make sure that your HDMI cable is able to connect to Micro HDMI ports.
Such cables can be purchased very inexpensively online, and allow you to connect Micro HDMI outputs to standard HDMI inputs on an HD monitor.
amzn_assoc_tracking_id = “raspians-20”; amzn_assoc_ad_mode = “manual”; amzn_assoc_ad_type = “smart”; amzn_assoc_marketplace = “amazon”; amzn_assoc_region = “US”; amzn_assoc_design = “enhanced_links”; amzn_assoc_asins = “B09XNYGM36”; amzn_assoc_placement = “adunit”; amzn_assoc_linkid = “4bdbc0953cb04607ed312bfd64decd29”;
In most cases, this is enough to have the graphical display of the Raspberry Pi 4 interface displayed in HD. However, in some cases, you may need to put in a little bit of extra work to have the Raspberry Pi 4 output graphical images in HD quality.
If your chosen monitor does not have an HDMI port, do not fret, because you can still easily hook it up to your Raspberry Pi 4 by using an HDMI to VGA adapter. This allows you to convert the output from an HDMI port into a signal that can be read by VGA inputs on your chosen monitor.
If you are connecting your Raspberry Pi 4 to a VGA monitor using an HDMI cable, you will need to do a little bit of playing around in the settings of your Raspberry Pi 4 to get the right experience. Let’s find out how to do it.
How To Configure Raspberry Pi 4 To Display From HDMI On A VGA Monitor
Simply start by hooking up your Raspberry Pi 4 to its power source, as well as the chosen monitor, and then boot the system up. Once the system is booted, head to the command terminal and search for the following code:
“#hdmi_force_hotplug=1
#hdmi_drive=2”
Once you have found this code, simply erase both of the “#” symbols, and save your changes. This will cause the resolution output of the Raspberry Pi 4 to be fixed at 640x480P.
You can also change the values within the code to directly change the output resolution of the Raspberry Pi4, to cater it to specific monitors and specific VGA inputs.
At this point, we recommend rebooting your Raspberry Pi 4 to ensure that your changes have been put into place. You should see that your resolution changes are put into place right away as soon as the Raspberry Pi 4 boots up!
Click Here For The Best Raspberry Pi Gear & Accessories!
Can You Connect Raspberry Pi 4 To Two HDMI Monitors?
Yes! You may have noticed while hooking up your Raspberry Pi 4 to an HDMI cable that there are actually two Micro HDMI ports that you can access. This means that you can easily hook up the Raspberry Pi 4 to two monitors, which is a very attractive prospect to many computer lovers.
Simply place your desired monitors onto your desk in the chosen position. From there, you simply need to hook up each monitor to the correct port.
Connect the monitor that is on the left to the port that is on the leftmost side of the Raspberry Pi 4 motherboard. Connect the monitor on the right to the port on the right side of the Raspberry Pi 4 motherboard.
You can also alter the layout of each of the screens on the Raspberry Pi 4 itself, such as if you find yourself in a position where you want to swap the monitors around.
This can be done by heading to the preferences screen of the Raspberry Pi 4 menu and then heading to the ‘Screen configuration’ menu option that will allow you to drag and drop each monitor into your chosen positions.
Frequently Asked Questions:
Does It Matter Which Hdmi Port I Use On Raspberry Pi 4?
Provided you are only hooking up to one monitor, it does not matter which HDMI port you connect to.
Why Does Raspberry Pi 4 Have 2 Hdmi Ports?
The reason that there are two HDMI ports on the Raspberry Pi 4 motherboard is to allow you to hook up to two monitors simultaneously.
Will There Be A Raspberry Pi 5?
Though there has still yet to be any announcement of a Raspberry Pi 5, there is little doubt that one will eventually be released, enabling users to access greater processing power.

To Wrap Up
As you can now see, hooking up an HDMI cable to a Raspberry Pi 4 is actually incredibly easy, thanks to the inclusion of two Micro HDMI ports, found on the side of the motherboard. We hope that this guide has proven enlightening and useful for you!