
One of the very best things about Raspberry Pi devices is that they can be used to easily emulate and run retro games, allowing you to easily build a portable collection of retro games that could easily rival any arcade. But what if you could actually make your Raspberry Pi look like an arcade machine?
If you’ve always wanted to build your own Raspberry Pi arcade machine that will totally rival a traditional arcade, then you have come to the right place. Today, we are going to take a close look at how you can build yourself a Raspberry Pi arcade machine, full of classic games, preserved in the best quality for years to come.
So, what are you waiting for? Read on down below to find out how you can create your very own Raspberry Pi arcade machine!
Of course, there are two important things that you are going to need to do in order to build the perfect Raspberry Pi Arcade machine: the actual Raspberry Pi, full of your favorite games, and the arcade unit that will display the games.
Let’s start this article by taking a look at how you can easily build a Raspberry Pi that is chock full of emulated retro goodness.

What You Need To Make Your Arcade Machine
Raspberry Pi
The first thing you are going to need to do is to ensure that you have all of the correct components. Of course, you will want the most up-to-date Raspberry Pi you can get ahold of, for the best performance.
HDMI Module
Next, you will want to grab an HDMI module that can be installed onto the motherboard, to allow you to display the games on your screen.
Power Adapter
You will also want to get a hold of an adapter that will allow you to hook up your Raspberry Pi computer to the power source. Raspberry Pi computers use very little power, but if you plan to use the Raspberry Pi as an arcade emulator, then you will not want to be relegated to powering it via hooking it up to a computer.
Display Screen
You will obviously need to acquire a display to show your games on. You will want to aim for the perfect size and shape of the screen, as, if you plan to build a cabinet around the screen, you will want to make sure that it fits, and looks like a regular arcade machine!
Controls And Keyboard
You will also want to pick up equipment that allows you to interface with the Raspberry Pi itself, to keep the arcade machine running efficiently. Of course, you are going to need to decide on your control scheme for your arcade machine.
Luckily, arcade buttons and arcade sticks can easily be purchased for low prices and then installed into your machine itself.
We also recommend grabbing an appropriate keyboard that you can directly hook up to the Raspberry Pi that you can then use to directly interact with the interface of the Raspberry Pi if you need to perform any troubleshooting once the arcade machine has been built.
Storage
Finally, you are also going to need to grab yourself some storage, such as an SD card to store your games in.
Click Here For The Best Raspberry Pi Gear & Accessories!
How Do You Install RetroPie On Raspberry Pi?
There are a number of emulator programs that can safely run on a Raspberry Pi computer, however, we strongly recommend making use of the RetroPie emulator program, which is a comprehensive emulator program that can actively run games from numerous systems, stretching all the way back to the Atari 2600.
The most advanced console that RetroPie can emulate is the Sony Playstation Portable.
Once you have the right components, all you then need to do is install RetroPie onto your completed Raspberry Pi computer. All you need to do this is the application itself, as well as an SD card writing tool on your PC that you can use to add RetroPie to your Raspberry Pi’s storage.
Check out this article for an in-depth guide to installing RetroPie and games.
Step 1 – Download RetroPie
This can easily be done by heading to the RetroPie official website, which will allow you to directly download the program.
Step 2 – Use Your SD Card Writing Tool
You cannot simply drag and drop RetroPie from your PC onto your Raspberry Pi, so you will need to use your SD card writing tool to make the program compatible.
Using your SD card writing tool will compress the program down, which allows it to be stored on an SD card, ready to be accessed by your Raspberry Pi.
Step 3 – Enjoy Retro Gaming With RetroPie!
From here, you can activate and run RetroPie on your Raspberry Pi hardware whenever you want. You can also easily store all of your game ROMs on your SD card, making them accessible with just a few clicks when using your arcade machine.
Click Here For The Best Raspberry Pi Gear & Accessories!
How Do You Build A Raspberry Pi Arcade Cabinet?
Now that you have your completed RetroPie emulator, you may find that you want to complete the look of your new retro gaming console by making it actually look like an actual arcade machine.
Provided you have the right components, some suitable building materials, and a “can do” attitude this can actually be done quite easily, so let’s see how.
Step 1 – Choose Your Design
There are numerous plans that can be followed online to help you to get a perfect size and shape with each cut of wood, and to make all of the cuts of wood easy to fit together into the perfect shape. We strongly recommend using the plans on The Geek Pub, as, while they may cost a pretty penny, they are absolutely perfect.
Step 2 – Gather Your Materials
Timber makes for a great material when building an arcade cabinet, as wood is easy to manipulate and cut into the required shapes and sizes, while still being incredibly durable. You may want to use some extra materials such as plastic or paper to add embellishments to the cabinet itself, but for the most part, plywood, MDF or other sheet material is all that you will need!
Of course, you will also need other building materials, such as hinges, screws, L-brackets, nails, glue, and some paint to complete the look.
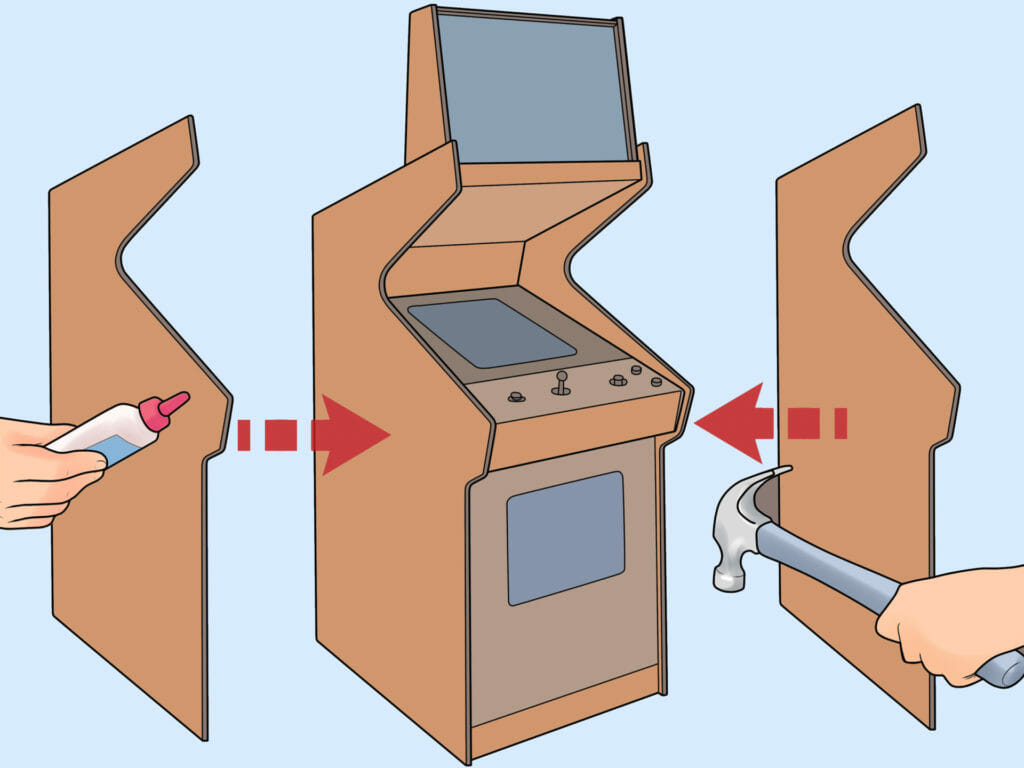
Step 3 – Start Building – Follow The Instructions!
Once you have got all of the right materials, and the perfect plans, simply follow the instructions stipulated on the plans. Be sure to follow them as closely as possible to get the perfect look, and to ensure that the arcade cabinet is able to withstand some heavy use.
Step 4 – Get Decorating
At this point, you should have your cabinet fully built as per the plans you have chosen, so next comes the exciting part. At this point in the process, you should begin planning out the design you want to have on the side of your arcade cabinet.
Make sure to consider color and the overall aesthetic of the cabinet. We recommend going for a design that has a retro or vintage look to it, in order to drive home the fact that the cabinet is full of classic games from yesteryear.
Don’t be afraid to also seek out some inspiration from the internet by looking at some classic arcade cabinet designs. If you want your cabinet to focus on a specific type of game, such as fighting games, then you may want to opt for a design that is reminiscent of Street Fighter or Mortal Kombat to create the right vibe as players approach the machine.

Final Thoughts
Building a Raspberry Pi Arcade machine can be quite a time-consuming and costly endeavor, however, as with all DIY projects, it can also be very rewarding.
We hope that this guide has helped you to feel more confident in building your own Raspberry Pi arcade machine!
Check out this video from Byte Sized Engineering for a comprehensive look at how they created their perfect arcade cabinet using a Raspberry Pi.
Frequently Asked Questions
Can You Make An Arcade Machine With A Raspberry Pi?
Yes! With the right components and some creative cabinet design, you can create your very own arcade machine that looks just like it has leaped right out of the 80s and 90s.
However, you will need to ensure that you have all of the right components to pull it off, so bookmark this post for later!
Is It Legal To Emulate Games?
Yes. It is totally legal to emulate video games and to operate emulators. However, the act of actually uploading individual game ROMs is illegal.
What Type Of Wood Is Best For Making Arcade Cabinets?
Sustainably sourced plywood is probably the best option. It is readily available, comes in a range of natural finishes, and is extremely durable.
MDF is also a great material for creating arcade cabinets, though it can swell when wet so you may not want to keep it somewhere that isn’t fully weather proof.