
Are you a Raspberry Pi enthusiast like me, who enjoys experimenting with the endless possibilities this versatile little device offers?
Recently, I was trying to find a way to stream my favorite YouTube videos on my Raspberry Pi, only to realize that using the native browser wasn’t giving the best results. The videos were often choppy and the audio quality was subpar.
Frustrated with my experience, I started researching different ways to install and use YouTube on Raspberry Pi and discovered a few effective methods to make it happen.
And they’ve really helped make my streaming experience much better as a whole on the Raspberry Pi.
That’s why I decided to put together this comprehensive guide, so you too can enjoy your favorite Youtube videos on Raspberry Pi without any hiccups.
Let’s dive in!
3 Different Ways To Watch YouTube On A Raspberry Pi
There are a bunch of ways to use YouTube on Raspberry Pi, however, the three most popular methods include using Chromium, OMXPlayer, and YouTube-dl.
So, let’s talk a bit about each of these methods and how to use them to stream YouTube on your Raspberry Pi.
Click Here For The Best Raspberry Pi Gear & Accessories!
What You Will Need
- Raspberry Pi 2 or newer
- Power Supply
- SD Card – 16GB+
- USB Keyboard
- USB Mouse
- HDMI Cable
- External Monitor
Method 1: Using Chromium Browser
Source: peppe8o.com
Chromium is a popular open-source web browser that often comes pre-installed on Raspberry Pis and can be used to stream YouTube videos.
However, it’s important to note that using a browser like Chromium can lead to heating issues if you’re continuously streaming high-definition (HD) videos. This is because in-browser processes are not hardware accelerated by the Pi’s GPU.
Put simply, this means when Chromium streams a video, it first downloads the video data and then decodes and renders it using the Pi’s CPU, instead of the GPU.
This can put excessive loads on the Raspberry Pi’s main processor – leading to overheating and performance throttling.
That being said, if you still prefer using Chromium to watch Youtube, here’s what you’ll need to do:
-
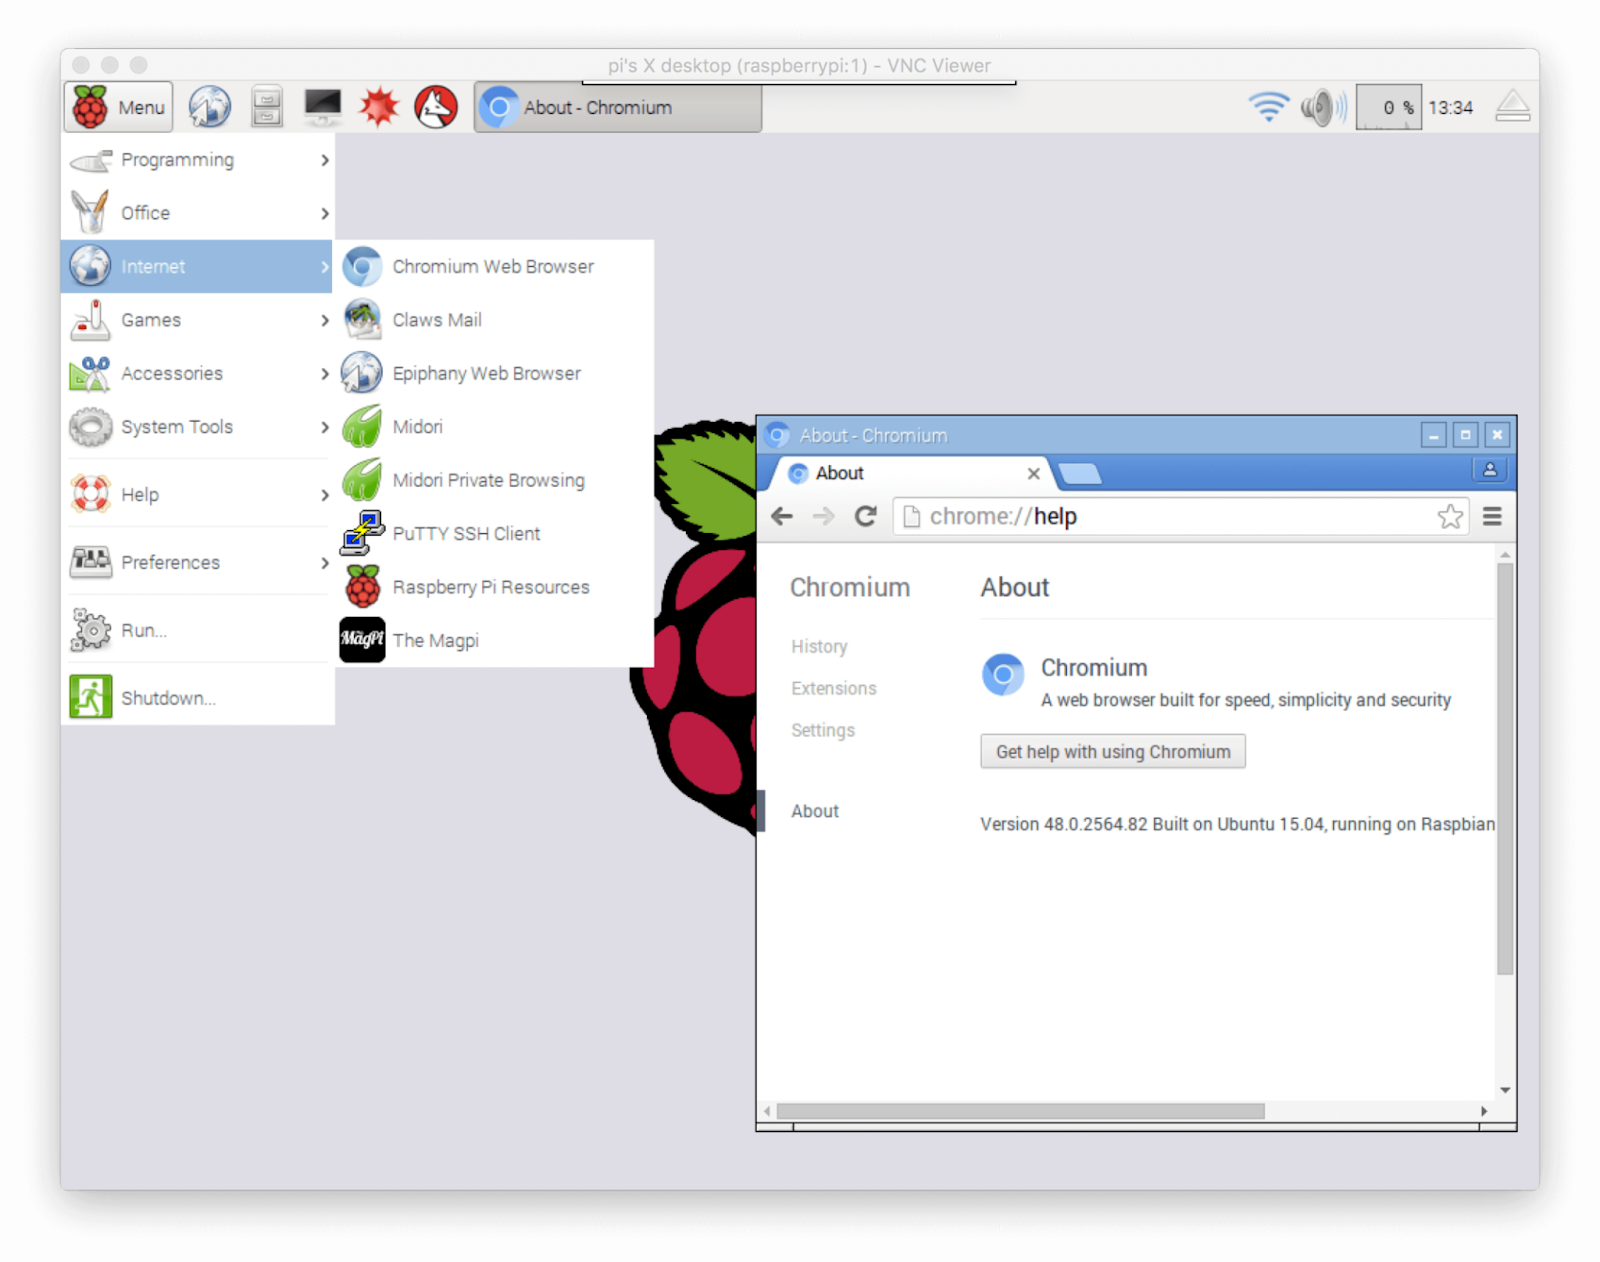
Start by opening a terminal window on your Raspberry Pi.
-
Use the following command to install the Chromium browser (if it’s not pre-installed already):

- Once it’s done installing, open up Chromium by clicking on the Raspberry Pi menu, hovering over “Internet,” and then clicking on “Chromium Web Browser.”
-
Now go to YouTube and search for a video you want to stream.
-
Finally, click on the video and it should start playing.
Top Tip: Although videos on Youtube don’t have DRM (digital rights management) issues like Netflix, they often drop frames when streaming in full screen. To fix this, try using a specialized version of the Chromium browser that comes from the Chrome OS source code.
This version is optimized for media playback and can significantly boost your viewing experience. To install it, simply enter the following commands in the Terminal:
Click Here For The Best Raspberry Pi Gear & Accessories!
Method 2: Using OMXPlayer
OMXPlayer is a command-line video player that often comes pre-installed on most Pi devices. It can be used to playback a wide variety of media formats, including YouTube on Raspberry Pi.
But the best part?
Unlike browsers like Chromium, it is optimized for hardware acceleration – meaning less CPU usage and overheating – and can provide a much smoother playback experience.
Here’s how to use OMXPlayer to stream YouTube videos on Raspberry Pi:
-
Open your terminal or command-line interface.
-
If OMXPlayer isn’t installed or was deleted, re-install it by entering the following commands:
-
After the installation process is complete, find a YouTube video you want to play and copy its URL.
-
Punch in the following command in the terminal, using the URL of the YouTube video you want to play in place of “video-url”:
-
Press Enter, and the video should start playing on your Raspberry Pi.


Click Here For The Best Raspberry Pi Gear & Accessories!
Method 3: YouTube-DL
Finally, if you’re looking for a more versatile solution to download videos directly from Youtube on your Raspberry Pi, then you should definitely consider using youtube-dl.
This Terminal tool lets you download videos and playlists directly from a wide range of video hosting websites like YouTube.
To use youtube-dl on your Pi device, you’ll need to install and set it up first.
Here’s how to go about it:
- Open the Terminal on your Raspberry Pi and run the following command:

- Once it’s done installing, you can use youtube-dl to download a video from YouTube by using the following command:

Be sure to replace [YOUTUBE-URL] with the URL of the video you wish to download.
- To play back the video you just downloaded, use any media player of your choice that supports the format. For example, if you’re using OMXPlayer, enter the following command:

Top Tip: With youtube-dl, you can also download entire playlists or multiple videos at once. Check out the creator’s official GitHub link for more information on how to use this powerful tool.
Alternative Methods
While all the methods we’ve discussed so far are great for using YouTube on Raspberry Pi, there are also other alternatives available that you might want to consider.
For example, one popular option is Kodi – an open-source media player software that allows you to play everything from music to podcasts and videos.
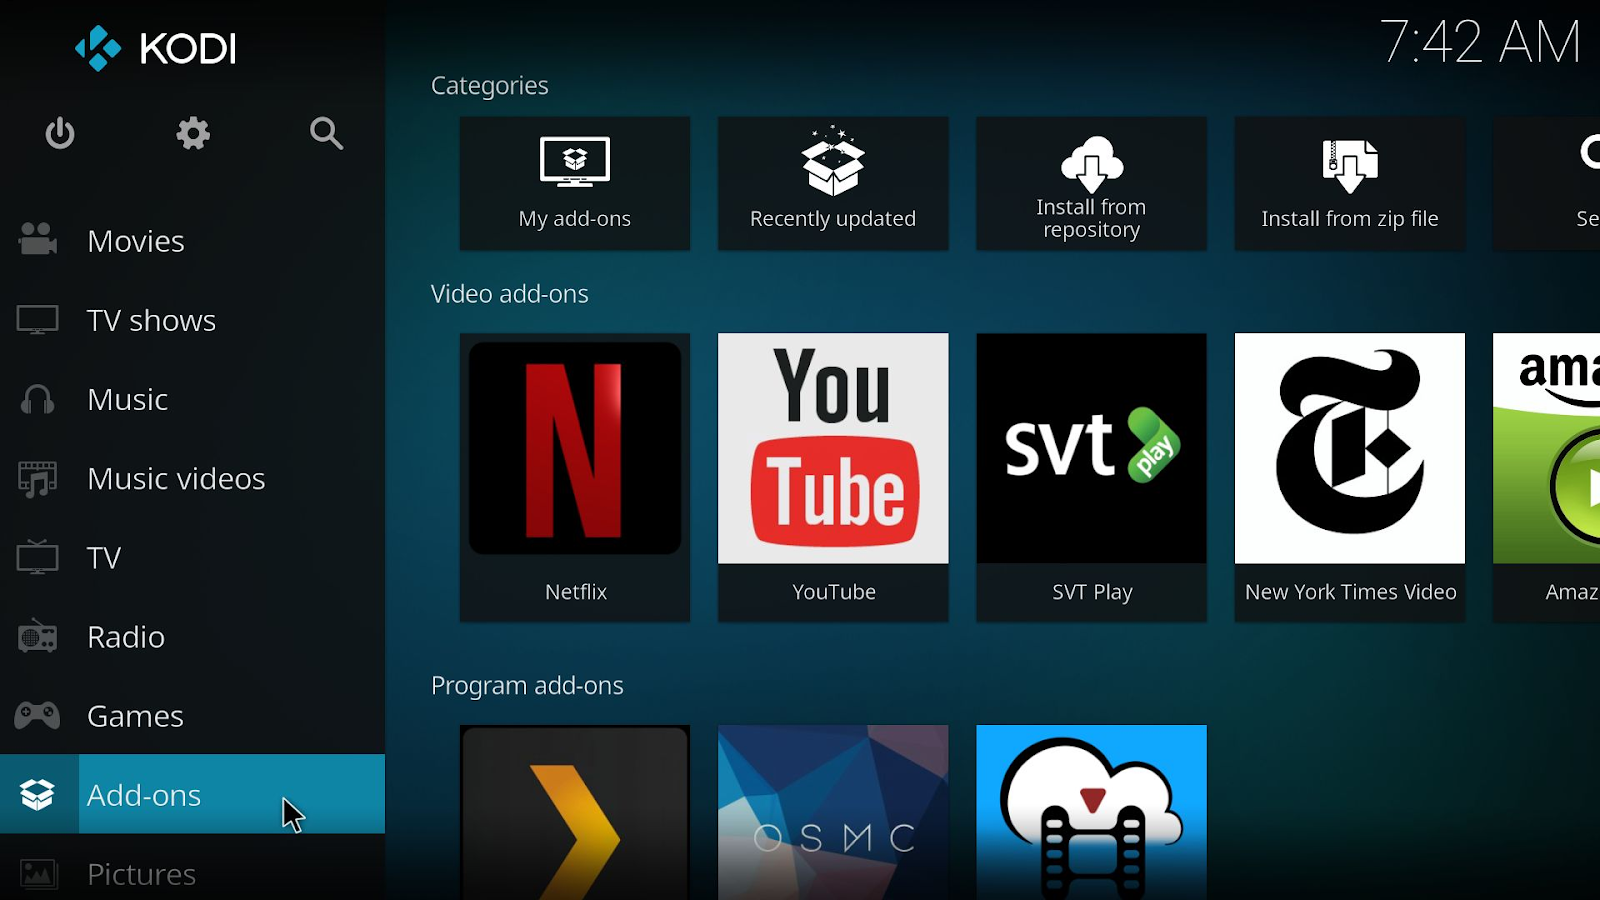
Kodi is available on most major platforms, including Raspberry Pi, and has a dedicated YouTube add-on that lets you easily access and watch YouTube videos.
Similarly, another alternative is OSMC (Open Source Media Center), another free media center operating system based on the Kodi project.
It’s designed to be lightweight and optimized for the Raspberry Pi – making it a great choice for streaming YouTube videos.
Finally, there’s also LibreELEC. With its easy-to-use interface, it’s another solid option for streaming YouTube on the Raspberry Pi.
Each of these options has something unique to offer, so they’re all definitely worth checking out.

Final Thoughts
Watching YouTube videos on a Raspberry Pi can be a fun and educational experience. With the help of the various methods discussed in this article, you can easily set up your Raspberry Pi to stream your favorite YouTube videos on your TV or monitor.
Whether you prefer to use a browser, a dedicated media center software, or a command-line tool, there are options available to suit your needs. So, get your Raspberry Pi ready, follow the steps outlined in this article, and start enjoying your favorite YouTube channels and videos on the big screen!
For an easy video walkthrough, make sure you watch the clip below from SomethingBritishy, and as always our handy FAQ section is just after the video.
Alternatively, if you’re searching for a way to use Netflix on a Raspberry Pi, be sure to check our article on that topic here.
FAQs
How Can I Connect My Raspberry Pi To A TV Or Monitor?
The easiest way is to use an HDMI cable. It’s as simple as plugging in both ends of the cable into the HDMI ports on both devices.
But if your TV doesn’t support HDMI, you’ll have to use an adapter to connect to a different type of port, for example, VGA.
How Can I Improve Video Playback Performance On My Raspberry Pi?
There are several things you can try, such as:
-Use a hardware-accelerated media player like OMXPlayer or VLC
-Reduce the resolution or bitrate of the video
-Overclock the Raspberry Pi to increase its processing power
-Use a lightweight desktop environment or disable desktop effects
-Close unnecessary background processes and applications
-Double-check that the Raspberry Pi is running on the latest software updates and firmware
Can You Play 4k Videos On Raspberry Pi?
Yes, the newest Raspberry Pi 4 does support playing 4K videos. With its improved CPU and GPU, it can even play 4K videos at up to 60fps, making it an excellent option for those who want to enjoy high-quality videos on their Pi device.