If you’ve got a Raspberry Pi, then you’ll be aware of all the fantastic emulation work that it can do.
It’s a perfect, pocket-sized platform for running your favorite retro games on, with it being able to emulate old classic video game consoles.
The best way to do this is with RetroPie.

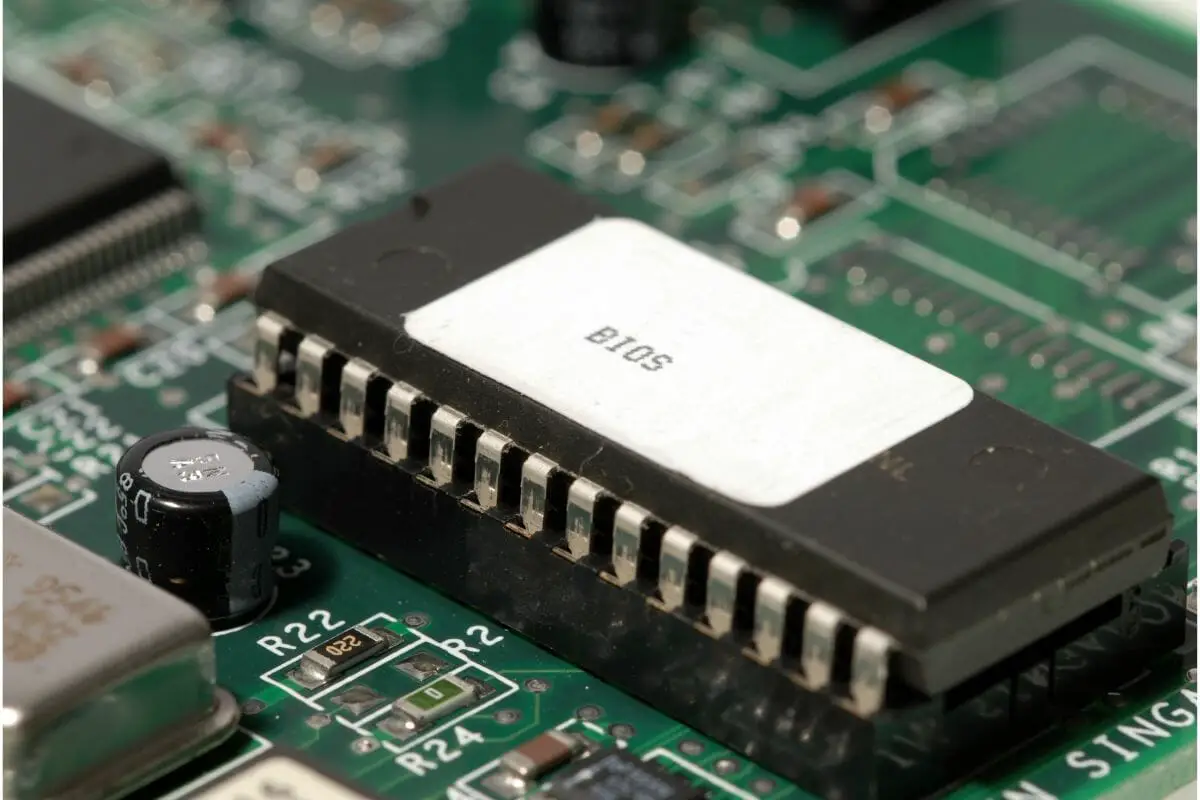
However, in order to emulate some games, you will need to add BIOS files by yourself for the game to work. BIOS stands for “Basic Input/Output System”.
With that being said, you will only need to add BIOS files to RetroPie yourself if your installed emulator requires them to work. Not every emulator that you use within RetroPie will need them.
In fact, a total of 17 emulators on RetroPie actually need RetroPie, although these admittedly include some big ones: Dreamcast, GBA, Macintosh, Sega CD, PSX, and Sega Saturn, among others.
So, how do you add BIOS to RetroPie?
Well, we’ve got the answers for you! In our handy guide below, we’ll take you through the step-by-step process of adding BIOS to RetroPie.
When Do I Need To Add BIOS To RetroPie?
As we’ve said, not every game or system that you emulate on the RetroPie will require you to add some BIOS files to it.
Many will run perfectly well without them. There are, however, a fair amount that will need BIOS files to be added into the correct place.
These emulators are: the Atari 800 and 7800, the Amiga, the Dragon32, the CoCo, the Famicom Disk System, the GBA (Game Boy Advance), the Macintosh, the PSX (which is PlayStation), the Neo Geo, the Videopac/Magnavox Odyssey 2, and the Intellivision.
On top of those, you will also need to add BIOS files for the Turbografx-16 and the Turbografx-16 CD, as well as a variety of Sega consoles: the Sega Dreamcast, the Sega CD, and the Sega Saturn.
As you can see, some of the most popular retro consoles of all time are listed here, which means that you will probably find yourself having to add BIOS files to your RetroPie at some point.
Where Should I Get BIOS Files?
When it comes to getting and downloading the relevant BIOS files, it’s thankfully relatively easy. It’s simply a matter of downloading some files and then finding the correct place to put them.
However, you must ensure that you only get your BIOS files from a trusted source. It’s very easy to download something that actually contains viruses or malware from a dodgy site.
As a result, you should only use websites that have been approved or promoted by developers for the RetroPie (see also ‘How To Update RetroPie‘).
When you use these approved BIOS websites, they should be safe for you to use. On top of that, they should also be free from licensing and rights issues.
Adding PSX BIOS To RetroPie
The PSX emulator for RetroPie is one of the most popular retro simulations, because it allows you to play your favorite PlayStation 1 video games. However, in order to do so, you need to add some BIOS files to RetroPie.
We’re going to use PSX as an example, but this process should work for most emulators.
You will have always downloaded and installed the emulator of the PSX itself, but how and where do you add the BIOS files? Thankfully, it’s simple, if you just follow these steps.
Step One: Download The PSX BIOS Files
First off, you need to download the BIOS files for the PSX RetroPie emulator. These are easy to find, simply do an internet search for what PSX BIOS websites the RetroPie developers recommend.
Remember, only download these files from trusted sources, otherwise you could face viruses.
Once you’ve found the trusted source, download all the files onto your computer. After that, find the folder that they are stored in.
If you find that the BIOS files are stored in a ZIP format, then you will need to extract the files beforehand. After that, you should also check that they are named correctly.

Step Two: Insert Your Raspberry Pi Micro SD Card
After that, simply insert into your computer the Micro SD card that you’re using for your Raspberry Pi RetroPie. This is where your emulator files and folders should be stored.
Step Three: Find The BIOS Folder
While looking through the Micro SD card on your computer, find the RetroPie folder.
Then, inside that, double-click on the “Home” folder. After that, open the “pi” folder, then the other “RetroPie” folder.
Inside that, you will find a folder named “BIOS”. Open it.
Step Four: Adding BIOS To RetroPie
Inside the BIOS folder, you might notice there are some folders for any other emulators you have. Ignore them. Instead, copy the PSX BIOS files you’ve downloaded, and paste them right into the BIOS folder.
It’s as easy as that! Your PSX games should now run properly.
This method should work for most other emulators, too, so feel free to use it.
How To Add MAME BIOS To RetroPie
For a Multiple Arcade Machine Emulator (MAME), you might also have to add BIOS files. Installing MAME for RetroPie is a great way to access countless retro classics.
Step One: Download The MAME BIOS Files
Once again, download these specific BIOS files from a trusted website that has been recommended by RetroPie developers.
Step Two: Insert Your Raspberry Pi Micro SD Card
Again, just like usual, insert the Micro SD card you use for RetroPie into your computer.
Step Three: Find The BIOS Folder
Similarly, find the BIOS folder in the same way as described above. Open the “Home” folder, then “pi”, then “RetroPie”, and finally the “BIOS” folder.
However, once there, you should find a “mame” folder. Open it.
Step Four: Add The MAME BIOS Files
Then simply copy and paste your MAME BIOS files into the “mame” folder!

Final Thoughts
Adding BIOS files is easy if you know how – follow our steps carefully! Remember, always download BIOS files only from trusted websites.
