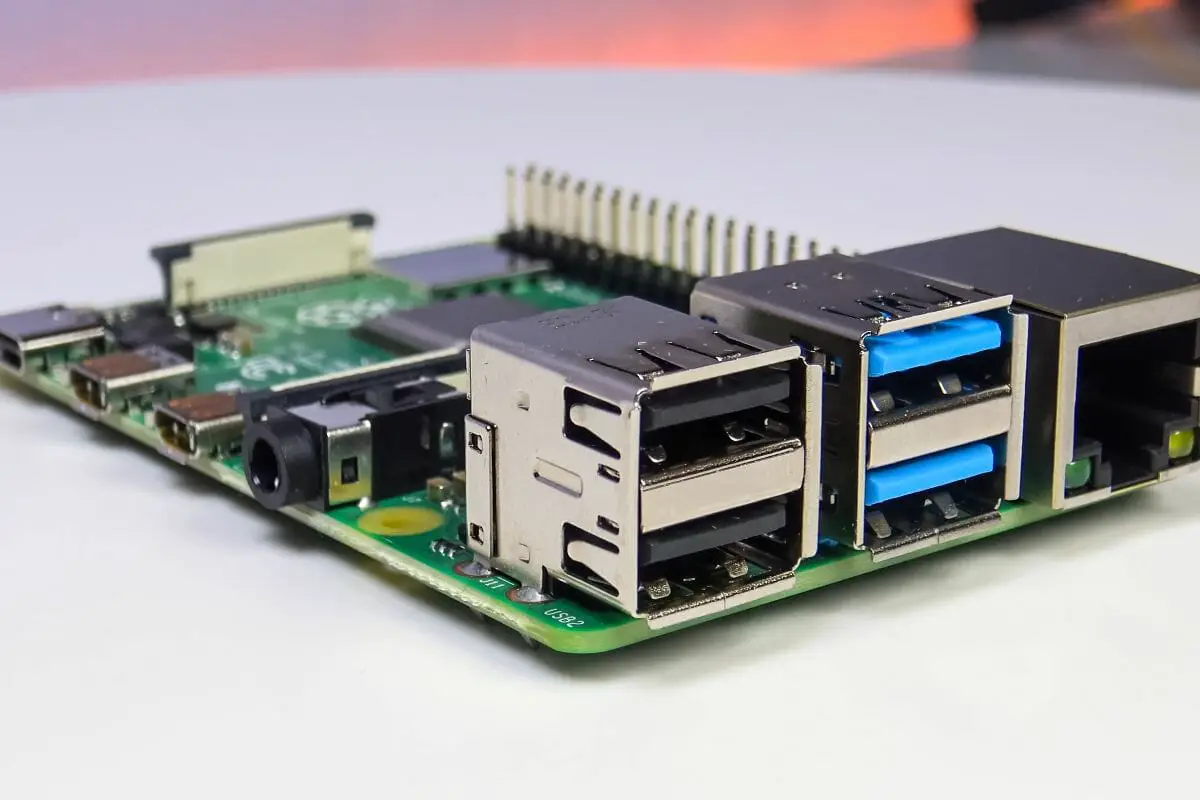
Raspberry Pi computers are renowned for being incredibly easy to build and customize. With very little effort it is possible to install totally new software and hardware into a Raspberry Pi system in little to no time at all.

However, some software programs are slightly easier to install into a Raspberry Pi than others. That’s likely why you are here reading this right now, right?
If so, you have come to the right place. In this article, we are going to take a look at how you can easily set up the Dakboard platform on your Raspberry Pi so that you can access it even from such a small device!
What Is Dakboard?
Dakboard is a digital wall calendar that is designed to sit on a computer’s desktop, and the app has become very beloved amongst computer users thanks to its customizability, and how beautifully it presents its information to users.
Because of how useful it is, it can be a total asset when added to the desktop of a Raspberry Pi computer, so let’s see how you go about installing it on your computer.
How Do You Set Up Dakboard On Raspberry Pi?
Before you go about adding Dakboard to your Raspberry Pi, you will need to make sure that you actually have a Dakboard account that you can use. This is because Dakboard is a web-based calendar platform, so you will need to ensure that you have an account.
Step 1 – Update Your Raspberry Pi
Once you have a Dakboard account that you can log into, head to your Raspberry Pi, and open the command terminal. Before you go about installing Dakboard to the device, you will need to ensure that your Raspberry Pi OS is up to date.
Head to the command terminal and enter the command:
“sudo apt-get update”
After you have entered that command, follow it up with:
“sudo apt-get upgrade”
Quickly restart your Raspberry Pi, and it will now be running on the latest firmware.
Step 2 – Create A Dakboard Display
In order for a Dakboard calendar to show up on your Raspberry Pi desktop, you will need to make sure to create a display, which is a version of the calendar that will display on various devices.
Head to the main landing screen of the Dakboard website, and look for the sidebar. You should notice a button that says “Displays & Devices”, click on this button, and you will then be brought to a new menu screen.
Provided you have not yet created a display already, there should be a large green button in the center of the menu screen that should read ‘Add A Display’. Clicking on this button will allow you to start creating a new display.
From here, you will be brought to a menu screen that will allow you to enter the information pertaining to your Raspberry Pi device so that you can safely port over the calendar display. Enter all of the information as requested, and then hit “Save”.
Step 3 – Grab Your Dakboard URL
Now that your Raspberry Pi device is registered with Dakboard, you will then need to get ahold of the URL which will allow the calendar to be displayed on your Raspberry Pi’s desktop.
Head to your registered device on the Dakboard screen, click the three dots, and then click ‘Info’. This will bring up a new menu screen that will display all sorts of information, including the “Display URL”, which you will want to copy down.
Step 4 – Boot Up Dakboard On Raspberry Pi
Now that you have the display URL for the calendar, boot up your Raspberry Pi, and then open up the command terminal.
Of course, you will want your Dakboard calendar to be visible from boot-up every time, so you will need to edit the ‘Autostart’ file to allow this, which can be done by typing:
“sudo nano /etc/xdg/lxsession/LXDE-pi/autostart”
Once this has been done, you will then need to make sure that the Dakboard calendar is able to load up upon booting the system, which will be done via the Chromium web browser. Head to your command terminal and type in:
“/usr/bin/chromium-browser –noerrdialogs –disable-infobars –kiosk –app=
Make sure that the “XYZ” in the code above is replaced with the URL that you copied earlier from the Dakboard website. This will allow the Raspberry Pi to access the Dakboard calendar.
Once you have entered this code, simply close down the command terminal.
Step 5 – Reboot Your Raspberry Pi
The final step is one of the most crucial, as rebooting the system will allow all of your changes to be put into action.
Upon restarting your Raspberry Pi, you should now see the Dakboard calendar displayed right away on the desktop screen.
Frequently Asked Questions:
Does Dakboard Work With Touch Screen?
Unfortunately, Dakboard is not currently optimized for use with touchscreen devices, as it is primarily designed for desktop devices like personal computers and laptops. Sometimes, even TVs, which are not touch screens.
Can I Use Dakboard With A Smart Tv?
If your smart TV is Android-based, then it is possible to get DAKboard to run on there by using Dakboard’s set of tools for setting up devices.
Can Dakboard Play Videos?
Yes! The Dakboard display can be edited to display certain videos on the main screen, so you can truly customize the experience of your family planner.

To Wrap Up
As you can now see, setting up the Dakboard display calendar on your Raspberry Pi device is incredibly easy, and takes very little effort, so why not try it out right now?
