
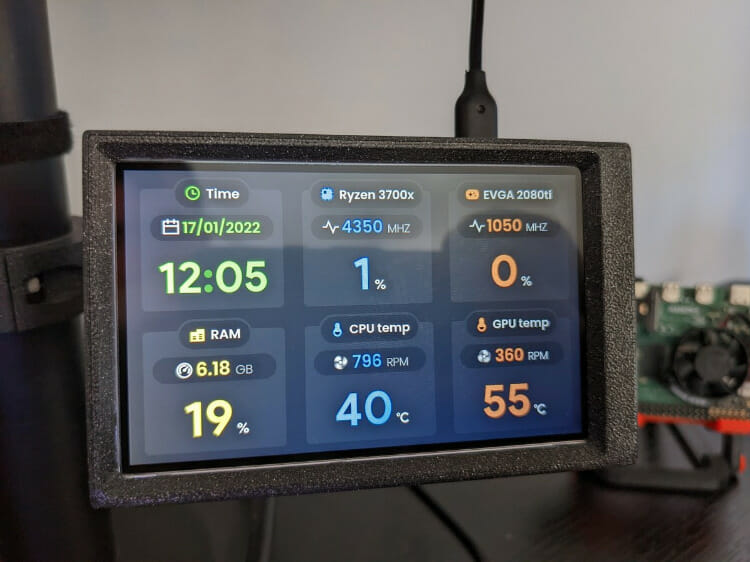
If you’re looking for a way to keep tabs on your PC’s hardware stats and health in real time, a Raspberry Pi system monitor might just be the answer.
By building your own Raspberry Pi system monitor and using a tool like ModBros, you can track crucial metrics including CPU usage, RAM, and network connection status. It also allows you to detect potential issues early and optimize your PC’s performance.
In this guide, we’ll show you step-by-step how to build your very own Raspberry Pi system monitor, from installing the necessary software to customizing the display.
Whether you’re a seasoned DIY enthusiast or just looking for a fun project to dive into, this guide has got you covered. So grab your Raspberry Pi and let’s get started!
Click Here For The Best Raspberry Pi Gear & Accessories!
Do You Need A Raspberry Pi System Monitor For Your PC?
Real-time monitoring of a PC’s hardware stats can help identify and prevent potential issues in several ways. For instance, if the CPU usage is consistently high, it could indicate that there are too many programs running in the background, leading to slow performance or overheating issues.
By identifying this issue early through real-time monitoring, you can take action to optimize performance, such as closing unnecessary programs or improving ventilation.
Similarly, monitoring RAM usage can help detect memory leaks or times of insufficient memory, which can cause crashes and freezes. By identifying these issues early, you can take steps to resolve them before they cause significant damage or data loss.
Additionally, a system monitor can provide valuable information to help you identify and diagnose problems when troubleshooting issues. By building a Raspberry Pi system monitor for your PC, you can take control of your system’s performance, keep it running smoothly, and save yourself the frustration of dealing with unexpected system failures.
RELATED: Do You Need A Temperature Monitor For Your Raspberry Pi?
Build A Raspberry Pi System Monitor For PC Using ModBros
You Will Need…
-
A computer running Windows
-
A reliable internet connection
-
Raspberry Pi 4 or another compatible model
-
A Raspberry Pi screen or LCD screen
-
MicroSD card with Raspberry Pi OS installed
-
HDMI cable or GPIO cable to connect the Raspberry Pi and screen
Top Tip: Check out our handy guide on the best Raspberry Pi touchscreens to find the right display to use for this project.
Click Here For The Best Raspberry Pi Gear & Accessories!
Installing The Software
To get started with monitoring your PC’s hardware stats using MoBros, the first thing you’ll need to do is install the server software on your PC.
Install the MoBro server software on your PC:
-
Go to the official ModBro website and download the software.
-
Follow the installation instructions provided on the website.
Download the MoBro client software for your Raspberry Pi:
-
Now download the client software for Raspberry Pi by clicking here.
-
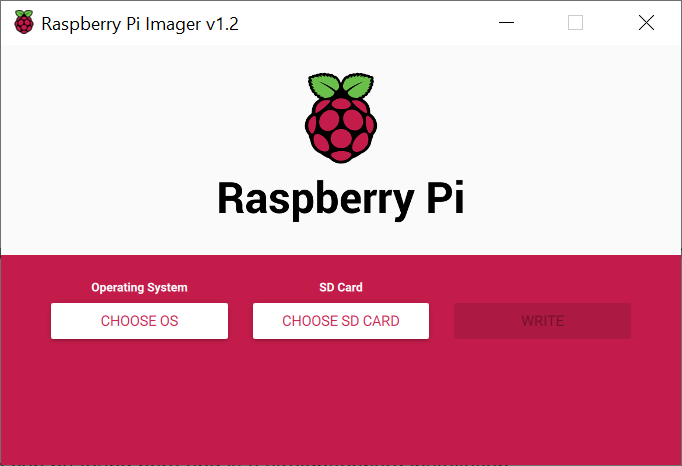
Download the Raspberry Pi Imager software.
Install the MoBro client software on your Raspberry Pi:
-
Insert the SD card into your desktop’s card reader.
-
Boot up the Raspberry Pi Imager app.
- Click on “Choose OS” and then select “Use Custom” from the drop-down menu.
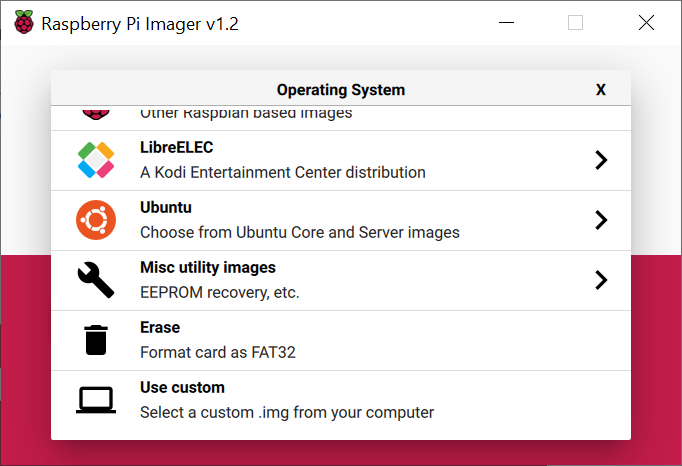
-
Select the MoBro client software image file you’ve already downloaded.
-
Tap on the “Choose SD card” button and choose your SD card from the list.
-
Click “Write” to write the software to the SD card.
-
After the software is written to the SD card, press “OK” and remove the card.
Click Here For The Best Raspberry Pi Gear & Accessories!
Setting Up The Raspberry Pi System Monitor
Once you have done all of the above, you’re ready to move on to the next step and start setting up and configuring your ModBros Raspberry Pi system monitor.
-
Insert the newly prepared SD card with the MoBros system monitoring software into your Pi device.
-
Mount the Pi over the display’s PCB using the standoffs provided.
-
Connect the display’s cables to the Raspberry Pi.
-
Connect the Pi’s GPIO pins to the Ground pins of the screen PCB.
-
Mount the display and Pi device inside the covering case and properly secure it using screws.
-
Connect the internet LAN cable to the Pi’s network port and your WiFi router.
-
The software on the Raspberry Pi should automatically detect the server application on your PC and display the default information once it’s booted if you’re using a wired internet connection.
-
If you’re using WiFi, connect to the hotspot created by the Pi device from another computer and navigate to the IP Address shown.
-
Then after connecting your Pi device to your home network. You should be able to see the default system info from your web server.
Top Tip: The steps above are specific to the hardware/display used in this guide. If you’re using a different monitor setup, refer to the instructions that came with your display.
Customizing The PC Status Monitor Dashboard
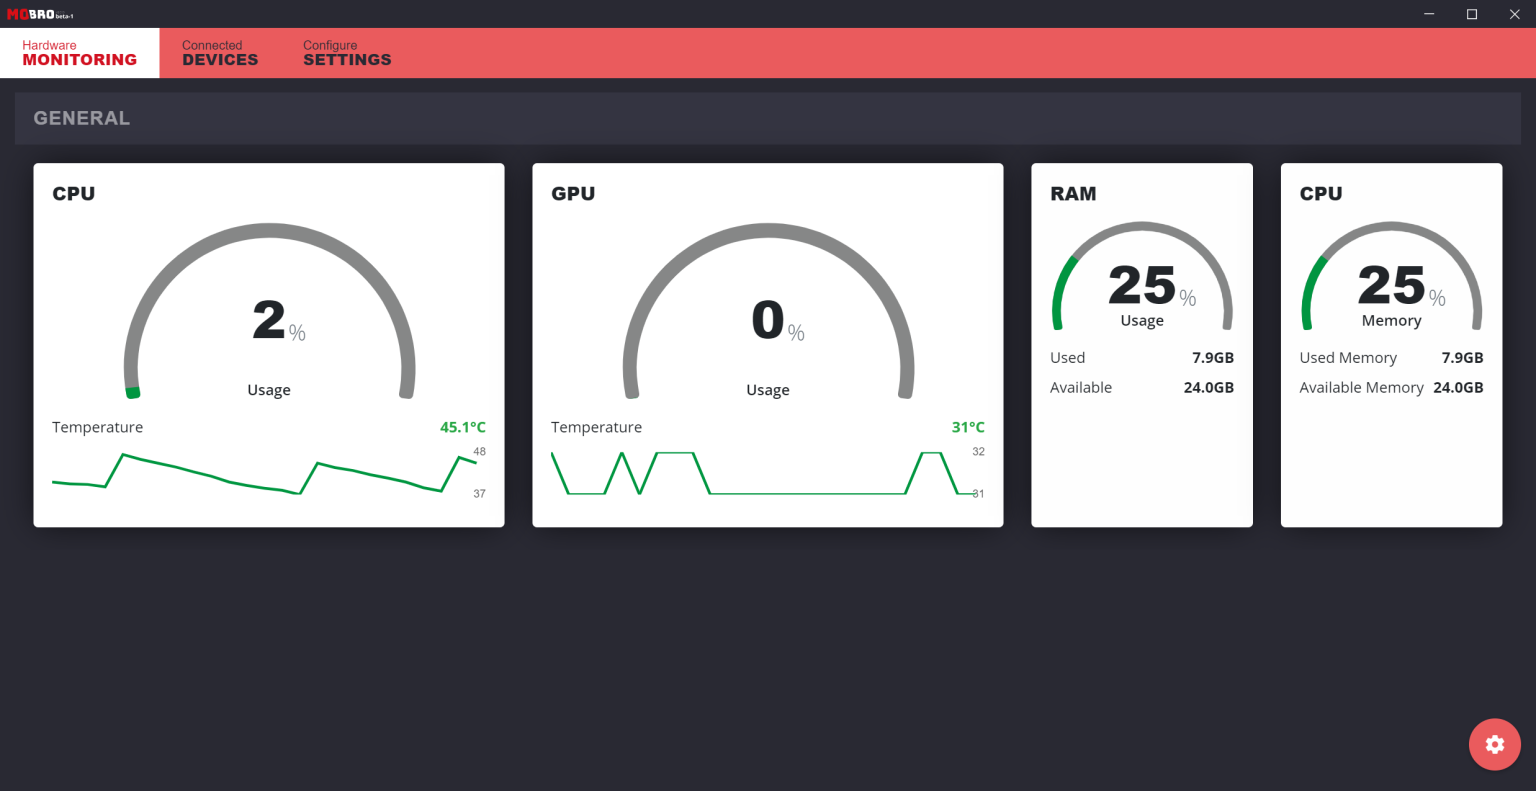
Finally, after setting up your Raspberry Pi and MoBro, you can customize the PC monitoring screen on your Raspberry Pi by making changes in the web server app.
To customize the display on your Raspberry Pi, you’ll need to make changes in the server app:
-
By default, the app’s PC performance display only shows a few items. To change the widgets shown, click on the Settings icon near the bottom right edge.
-
In the Settings menu, you can choose to add and create new widgets or modify existing ones to suit your preferences.

- After you’ve made your changes, press the Check Mark icon in the bottom right edge of the app to save them.
To change the display theme of your PC monitoring screen, follow these steps:
-
Click on the “Connected Devices” tab inside the app.
-
Locate your Raspberry Pi device in the list and click on the Settings icon right next to it.
-
In the settings for that specific device, choose the theme you want from the collapsable submenu.
Top Tip: A Raspberry Pi Model 4 or comparable alternative is best for this project due to their processing capability and compatibility with different screens.

Wrapping up
In this post, we’ve demonstrated how you can build a Raspberry Pi system monitor for your PC. This affordable and powerful solution enables users to monitor their computer’s performance in real-time, ensuring optimal efficiency and smooth operation.
Throughout the guide, we’ve discussed the necessary components, walked you through the hardware assembly, and provided detailed instructions for software installation and configuration. By utilizing the capabilities of the Raspberry Pi, open-source software, and the extensive resources available within the maker community, we’ve shown that crafting a personalized system monitor is not only achievable but also highly rewarding.
Building a Raspberry Pi system monitor presents a fantastic opportunity for those seeking to enhance their understanding of PC performance, as well as hone their skills in electronics and programming.
With limitless potential for customization and growth, this project delivers an engaging and practical experience that both hobbyists and experts will find valuable. So, don’t hesitate—dive in and start building your very own Raspberry Pi system monitor today!
If you want to see a visual walkthrough on how to set up a Raspberry Pi System monitor, check out the video below from Tech Made Easy.