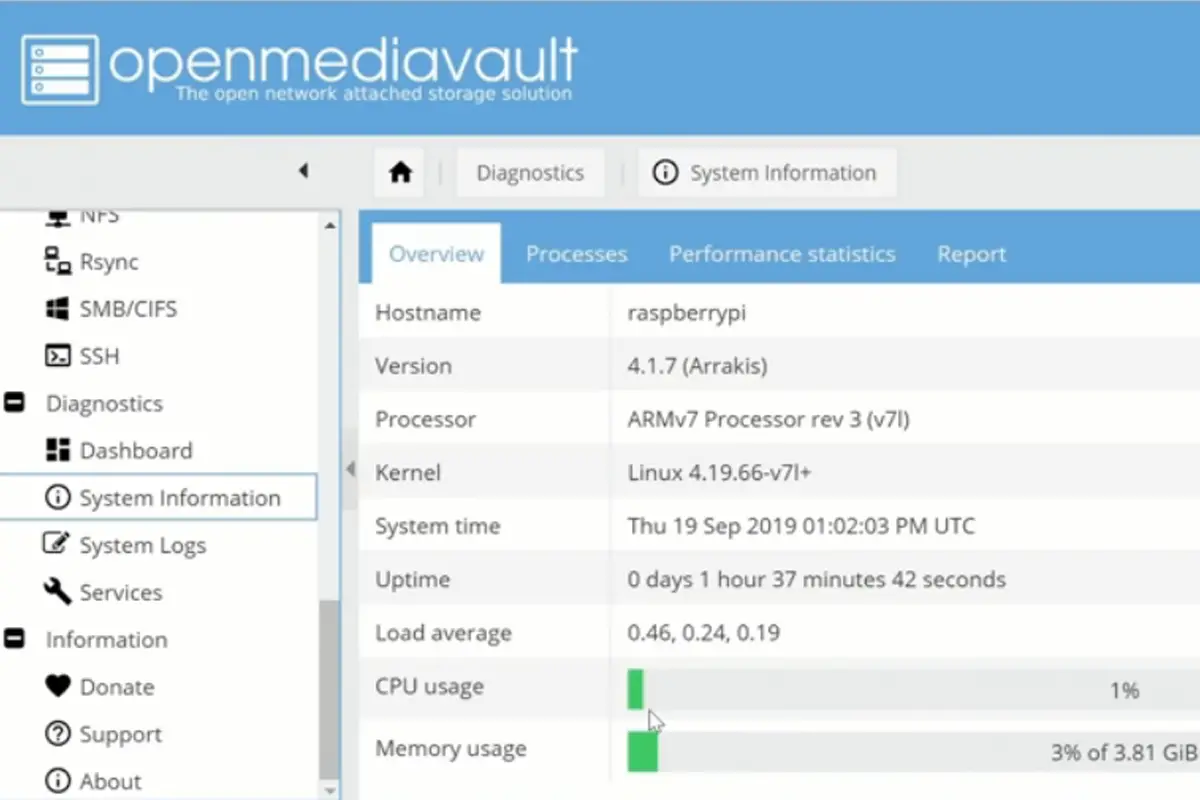
Port forwarding is a way to allow computers outside your home network access to your computer or router. This allows you to connect to the Internet from anywhere.
Port forwarding is a simple concept, but it requires some technical knowledge. If you don’t know how to port forward, don’t fret- it’s a fairly simple process, but it does require a basic understanding of networking.
In the following article, we’ll show you how to port forward your Raspberry Pi, as well as how to set up Dynamic DNS (which is different to a static DNS server).
Port Forwarding and Dynamic DNS: Explained
The process of Pi port forwarding and Pi Dynamic DNS work in tandem, although port forwarding specifically is integral to the accessibility of web applications.
One thing worth noting before we get onto the guide is that opening ports does lower the system’s security, so you should be using a tool like Fail2ban ( or a robust antivirus) in order to provide your Pi with the required protection. This likely goes without saying, but a strong password is vital as well.
How to Set Up Port Forwarding for Your Raspberry Pi
The process of port forwarding requires you to enable Pi external access, which means you’ll need to tweak a few settings on your router.
This method will vary depending on the kind of router you own, but it shouldn’t differ too much.
For the first step, you need to be using a computer that’s connected to your local network (which will just be the network you use every day). On this system, navigate to the admin page of your router through your preferred web browser.
Usually, a router IP will be either 192.168.1.254 or 192.168.1.1. To change this, and to change the rest of your router’s settings, enter your login credentials. Unless you’ve changed these, it will usually be ‘admin’ for the username and ‘admin’ for the password.
Once you’ve entered the right credentials, you’ll be able to change the settings on your router. To do this, navigate to ‘forwarding’ and then to ‘virtual server’.
Now that you’re on the ‘virtual server’ page, you’ll be changing the settings to allow for port forwarding. Enter your external port for ‘Service Port’, and change the IP address to the IP of your Raspberry Pi.
You’ll need to set the internal port to the application port of the Raspberry Pi (an example being online servers, which would run through port 80). Set the ‘Protocol’ to ‘ALL’ unless otherwise specified, and set the ‘Status’ to ‘enabled’.
Once you’ve changed all of these settings, traffic that is destined for your specified port will be redirected to the Pi’s port. This means that you’ll now have the ability to access applications on your Pi even when you’re outside the local network.
Troubleshooting
While changing your settings to allow for external access to the Pi is a simple process, there can be some problems.
If you’re struggling to make the changes stick and you’re not sure why there are a few things you can try (other than double-checking that you’ve changed the settings correctly).
Check that the external IP has remained the same. You can also simply restart your router, or restart your Pi, or restart both.
How to Set Up Dynamic DNS
If the internet service provider you’re currently with has given you a dynamic IP address (which is simply an IP address that changes, rather than remaining static), then you’ll want to set up Dynamic DNS, as it means you can still connect to applications when the external IP address changes.
The first step to setting up Dynamic DNS is installing the DDclient. To do so, enter this command in your terminal:
sudo apt update
sudo apt install ddclient libjson-any-perl libdata-validate-ip-perl
Once you’ve installed DDclient, you’re going to need to update it to the latest version, essentially by replacing your version with the newest one. To do so, enter the following command:
wget https://files.pimylifeup.com/portforwarding/ddclient-3.9.1.tar.gz
tar -zxvf ddclient-3.9.1.tar.gz
Extract the file once the download has been completed, and now execute this command in order to copy the new binary over the existing one:
sudo cp -f ddclient-3.9.1/ddclient /usr/sbin/ddclient
You’ll now need to change the initial configuration file’s location. You can do so with the following:
sudo mkdir /etc/ddclient
sudo mv /etc/ddclient.conf /etc/ddclient
You’re going to need to tweak the actual configuration file. Entering the following command will open the editor:
sudo nano /etc/ddclient/ddclient.conf
The first change you’ll need to make is to insert these lines under the file’s header:
use=web, web=checkip.dyndns.com/, web-skip=’IP Address’
ssl=yes
Once you’ve added this line, remove all other existing lines.
Setting Up Cloudflare
To use Dynamic DNS you’re going to need Cloudflare. There are other options, but Cloudflare is completely free.
To use Cloudflare for Dynamic DNS, you’ll first need to have your own domain name, many of which will be very affordable. Once you own a domain you’ll need to set up a Cloudflare account. Locate the global API-key on your account page, and copy/paste it somewhere safe.
Open your terminal and enter ‘sudo nano /etc/ddclient/ddclient.conf’. Then, either add or update the lines so they match with your account’s information:
protocol=cloudflare
server=api.cloudflare.com/client/v4
login=your_email
password=your_api-key
zone=your_domain.com
anything.your_domain.com
Save the file and then quit with CTRL + X, and then restart your dynamic DNS by entering ‘sudo /etc/init.d/ddclient restart’.
Now the IP will be updated.

Conclusion: How to Port Forward Raspberry Pi
Porting forward for your Pi is a simple process, and if it doesn’t seem to be working, it’s likely that you’ll just need to switch off and on your router, your Pi, or both.
Once you’ve changed the settings on your router to allow for external access to your Pi, it’s really just a case of entering the right commands in the terminal.
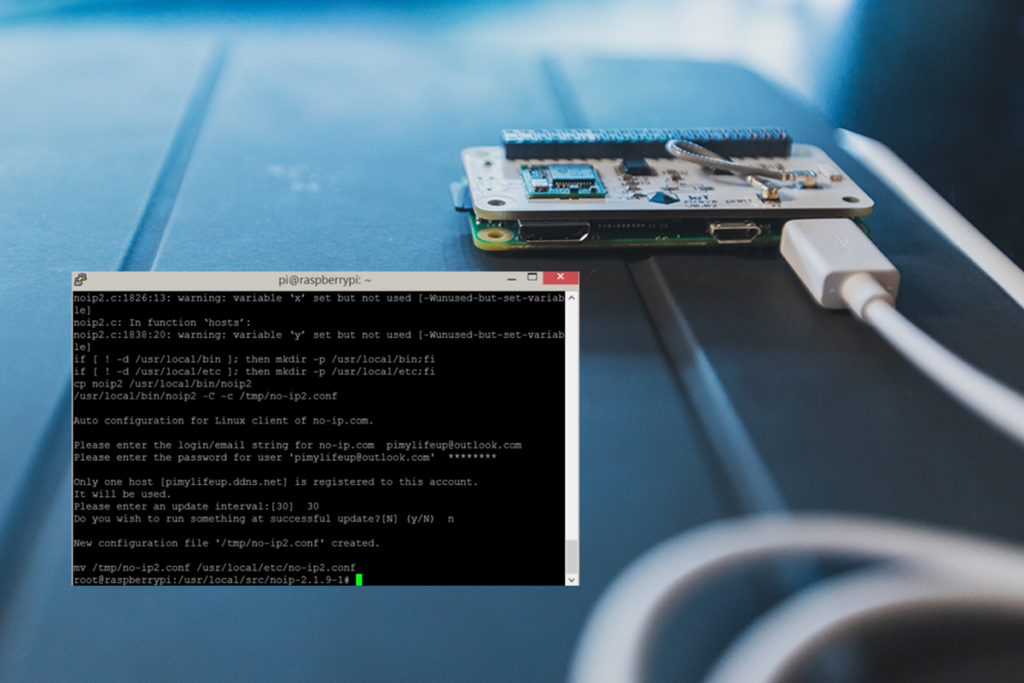
Cloudflare is probably the best of the free options when it comes to using Dynamic DNS, but you could also try NOIP, for which the process is almost identical.
- How To Uninstall Packages On Ubuntu - March 13, 2024
- How To Restart Ubuntu Using The Terminal - March 13, 2024
- What Is The Steam Deck | Experience Modern Handheld Gaming - March 12, 2024




![How To Host A Website On A Raspberry Pi: A Step By Step Guide How To Host Your Own Website On Raspberry Pi [Ultimate Guide]](https://raspians.com/wp-content/uploads/2023/02/How-To-Host-Your-Own-Website-On-Raspberry-Pi-Ultimate-Guide-1-150x150.jpg)
