

Raspberry Pi is an SBC or single-board computer developed by the Raspberry Pi foundation. The device has gained popularity due to its low cost and ease of use. This article explains how to install a heatsink on Raspberry Pi 3.
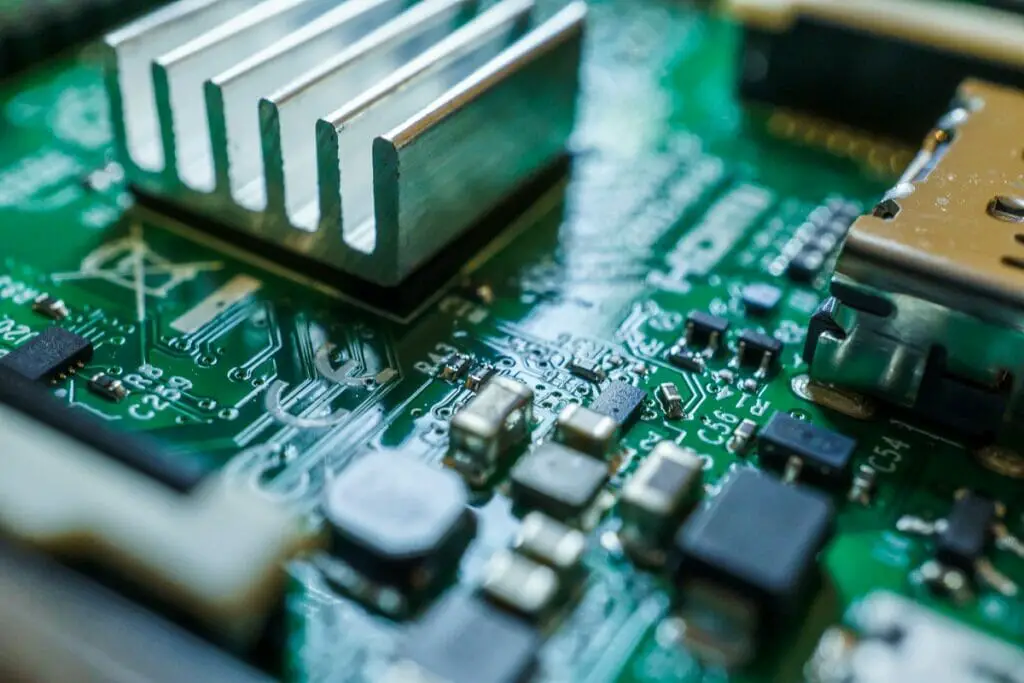
Heatsinks (see also ‘Does Raspberry Pi 3 Need Heatsink?‘) are devices that dissipate heat from electronic components. They are usually placed close to the CPU or GPU to prevent overheating. In the case of the Raspberry Pi 3 (and also in the case of the Raspberry Pi 4), the heatsink is installed on the top side of the board.
But how do you go about starting the installation process? The following article will break down all you need to know about installing a heatsink on your Raspberry Pi 3.
Equipment Required To Install Heat Sinks On A Raspberry Pi 3
For this article to make any sense, you’re going to need all of the equipment mentioned. This equipment includes a Raspberry Pi (this article covers the Pi 3, but the process is very similar for the Pi 4), a Raspberry Pi case, a 5V DC fan, the heat sinks (which usually come in a pack of three), and either a Phillips screwdriver or star head.
For the Raspberry Pi 3 you’re only going to need two of the heat sinks, unlike with the Pi 4, where you’ll need all three.
How To Install Heat Sinks On A Raspberry Pi 3
If you have all of the required equipment, now you can start installing the heat sinks for OSMC on your Raspberry Pi 3.
You’ll see a thin blue film on the back of each of your heat sinks. Gently remove this film from both to reveal a layer of white glue. The purpose of this glue is to transfer the heat of the chip over to your heat sink- it’s a thermal paste of sorts.
Once the blue film has been removed you should place your heat sink against the corresponding chip on the Pi. The heat sink should cover all of the chip, and you should press on it firmly until it’s secure.
Remove the blue film of the other heat sink and then do the same; place it firmly against the corresponding chip until it’s secure.
How To Put Your Raspberry Pi 3 On A Casing
Once the heat sinks have been installed you’ll need to put your Pi onto a case. Most of the cases available for the Raspberry Pi will come with the right screws. This is also when your DC fan will come in.
Attach your Pi 3 to the metal case via the four screw holes at each corner (match the holes of the Pi to the holes of the casing, essentially). The side I/O ports must be in line with the case’s side I/O holes. At this point, you’ll need to screw the Pi into the case using your four small screws
How To Connect Your Fan To Your Raspberry Pi
The next step is connecting the 5V DC fan to the Pi. Make sure that the fan’s red wire is attached to PIN 4 and that the fan’s black wire is connected to PIN 6.
Now that the fan is connected to the Pi, you can slot your fan onto the case. In most cases (probably a less confusing way to say that…) the two screw holes on the fan will go under the case’s holes.
The screws you need are longer than the screws you used to attach the Pi to the case, and should have come with your fan. Align the holes of the case with the holes of the fan and tighten the screws.
Once the fan is installed onto the case, you should be placing the top cover onto your case. Your remaining screw (the fifth one that should have come with your case) should go in the remaining hole on the case, which you’ll find on the side of the case, rather than in the corners.
Tighten this screw until it’s secure, and now the process of installing heat sinks on your Raspberry Pi will be complete. The only main difference when it comes to installing them on a Pi 4 is that you’ll be installing three heat sinks, instead of just two.
Are Heat Sinks Essential For The Raspberry Pi?
Your Raspberry Pi doesn’t need to have heat sinks installed, because when used for basic purposes, the Pi doesn’t tend to give off a lot of heat.
For the most part, you won’t be risking any damage to your components by not having heat sinks installed. The fact that the basic Pi doesn’t come with a heat sink is a good indicator that the developers deemed it non-essential.
However, if the Pi you bought came with heat sinks, there’s no harm in installing them anyway. The process only takes around five minutes, and extra thermal protection can’t hurt, especially if you plan on using the Pi for more intense purposes somewhere down the line. They’re also very affordable.
Monitoring the temperature of your Pi will be required if you’re using it for a loaded server or you’re overclocking it. Even still, a lot of people prefer passive cases to install heat sinks on their Raspberry Pi.
Final Thoughts
Heat sinks don’t tend to be necessary for the Raspberry Pi, because unless they’re being used intensely, the Pi is unlikely to generate much heat. You should consider installing heat sinks if you’re going to be using it intensely, though.
Also, even if you don’t intend to use it intensely, a lot of the time the Pi will come with heat sinks, so you might as well install them- especially since it’s such a quick process.
All the equipment you need to install heat sinks is your Pi, a case for the Pi, a fan, a screwdriver, and heat sinks.