
Samba is a program that is designed to help network administrators to gain an unparalleled level of control over their networks and to make it easier to set up, configure, and control certain domains.
This allows users to stay on top of all activities occurring on a specific network and even helps them to get Linux devices to integrate with Microsoft devices within the same network.
Such a program is incredibly useful for many computer users, and as such, it is an attractive program for many, including those that make use of small Raspberry Pi computers. However, setting up Samba to run on a Raspberry Pi is often easier said than done.
Read on as we take you through an easy workflow to set up Samba on your Raspberry Pi.
How Do You Set Up A Samba Server On A Raspberry Pi Computer?
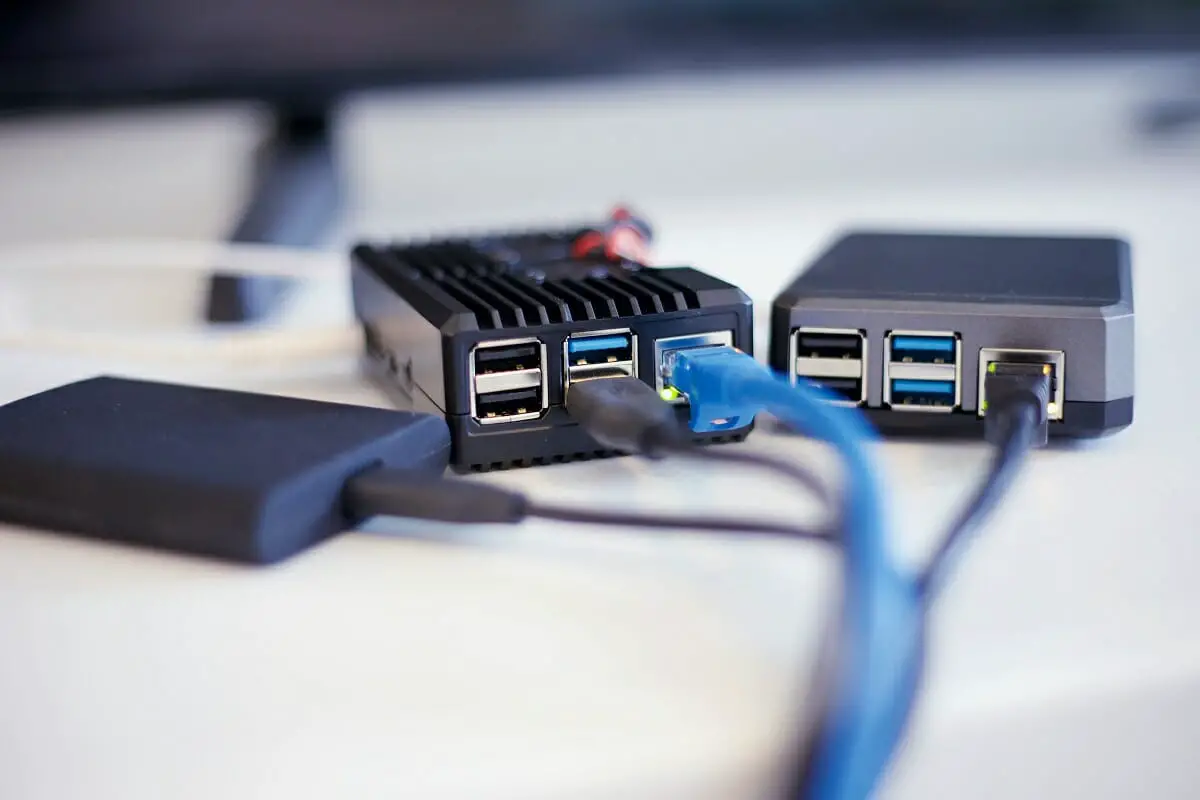
In order to get a Samba server set up on your Raspberry Pi, you will need to make sure that you have access to the Raspberry Pi itself, a MicroSD card, plenty of free space, and an external hard drive.
You will want to make sure that you have access to all of these, as they will work together to ensure that the process works seamlessly.
Click Here For The Best Raspberry Pi Gear & Accessories!
Step 1 – Prepare Your Raspberry Pi
Before installing any new hardware or software to a Raspberry Pi, we strongly recommend ensuring that the device is operating on the latest version of the Raspbian OS.
This can easily be done by heading to the command terminal of your Raspberry Pi computer and typing in:
“sudo apt-get update
sudo apt-get upgrade”
Simply hit enter, and then restart the Raspberry Pi. This will ensure that it is running on the latest and most secure version of the Raspbian OS.
Step 2 – Start Setting Up Samba
Now that your Raspberry Pi is ready, head to the command terminal again, and you can get started on installing the Samba platform. Open a new command line in the terminal and type in:
“sudo apt-get install samba samba-common-bin”
Hit enter and the Samba platform will begin downloading and installing to your device. You will want to make sure that you have a strong internet connection to install the platform fully.
Step 3 – Create A Folder To Share In Your Network
Next, you will want to create a folder where all of the information about your server will be held. Feel free to store this folder anywhere, but we recommend making sure that wherever you store it is very secure.
You can create your folder by entering:
“mkdir/home/pi/shared”
Click Here For The Best Raspberry Pi Gear & Accessories!
Step 4 – Move Your Folder To Samba
Now that you have created the folder, you can add it to Samba by heading to the configuration menu for Samba. To find this, enter the following into your command terminal:
“sudo nano/etc/samba/smb.conf”
This will open up a file that contains all of the configuration information of the Samba platform. In order to implement your chosen changes, simply open up a new command line and type in:
“[raspianshare]
path = /home/pi/shared
writeable=Yes
create mask=0777
directory mask=0777
public=no”
Each of these will allow for maximum security of your server, while also making it accessible to multiple users
Once you have entered the new command to the bottom of the configuration file, you can go ahead and save those changes by typing in “‘ctrl’ + ‘x’ and ‘Y’” and then hit the ‘Enter’ key.
Step 5 – Connect Your Raspberry Pi
You will want to create a unique user for your Samba server so that you can keep it secure. In order to create a password for your Samba account, simply head to the Raspberry Pi’s command terminal and type in:
“sudo smbpasswd -a (type in your chosen password here)”
Once you have done this, it is best to restart the server to verify that your changes have been implemented, by entering the command:
“sudo systemctl restart smbd”
Now, you can go ahead and connect your Raspberry Pi to Samba Share, which will allow you to control your server via your Raspberry Pi.
Step 6 – Connect Your Other Devices To Samba
Now that your Samba server is up and running, you can connect your PC or MAC devices to the network. Let’s find out how to do it!
PC
Head to the file storage on your PC and click on the “Computer” menu option. From there, you will see the button marked “Map Network Drive”, click on this option.
This will open up a dialog box, in which you must enter some information.
Within the “Folder” textbox, you will want to enter:
“\raspberrypi(X)” (In this case ‘(X)’ should be replaced by whatever you named your Samba folder earlier. From there, you can simply click “Finish” to implement your changes.
You may be prompted to enter your Samba login details now. Make sure to do so.
At this point, your PC will now be connected to your Samba server!
MAC
Head to the Finder application, where files and other information are stored on the computer.
Once the application is open, look to the toolbar at the top of the computer, and click on the ‘Go’ button, which will present you with the ‘Connect to Server’ button.
The new dialog box will allow you to then enter the details of your server:
“smb://(X)/raspianshare” (In this case ‘(X)’ will be replaced with the IP address of your server).
Once this is done, simply hit the ‘Connect’ button. Once again, you will be asked to log in to your Samba account, at which point you can hit ‘Connect’ once again.

Frequently Asked Questions:
Can You Build A Server With Raspberry Pi?
Yes. A Raspberry Pi can be used to build just about any server.
Are Raspberry Pis Good For Servers?
Definitely. Raspberry Pi computers are compact, but can easily provide enough power to host a server. Samba servers, FTP servers, Media servers – Raspberry Pi’s are great for all!
Which Raspberry Pi Is Best For Server?
Generally, any Raspberry Pi model can run a server, but you should try to aim to make use of the most up-to-date model possible.