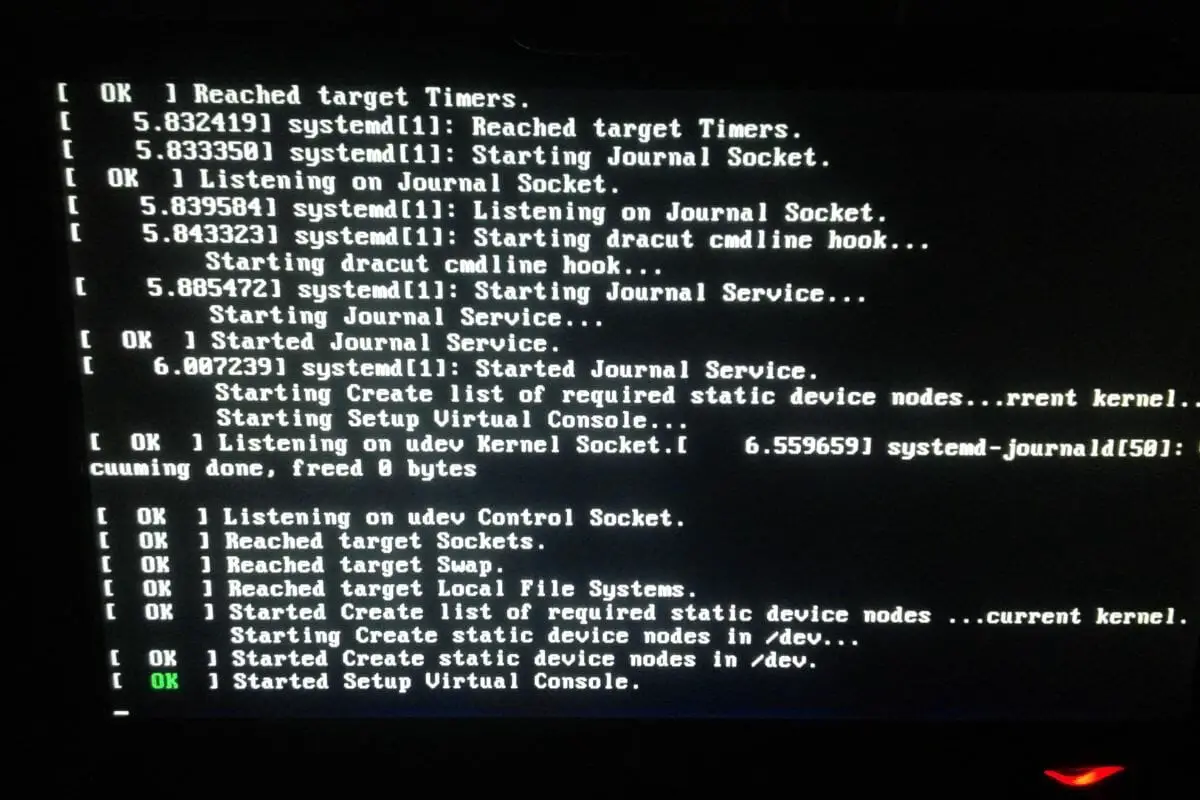
Installing a Linux distribution like Arch Linux on a Raspberry Pi can seem like a daunting task, especially for beginners. However, with the Raspberry Pi’s compact size and user-friendly interface, it is a perfect platform for learning programming and computing skills.
If you’re looking to install Arch Linux on your Raspberry Pi, you’ve come to the right place. In this article, we’ll guide you through the installation process step-by-step, making it easy for even the most novice Raspberry Pi users to master.
Let’s dive in!
How Do You Install Arch Linux On A Raspberry Pi?
Let’s start by gathering everything you need. To get Arch Linux up and running on Raspberry Pi, you will need the Raspberry Pi device itself, as well as a PC, with a card reader, that already has the Linux framework running.
You will also want a MicroSD card that has at least 8 gigabytes of storage capacity.
If you are unsure of which Raspberry Pi model to choose we have put together a handy guide comparing each model.
Insert Your Micro SD Card Into Your PC
To start off, you are going to want to get the Micro SD card that we mentioned, and you are going to want to insert it directly into the card reading unit on the PC.
Once the SD card is inserted, head to the command terminal to find your ‘root/sudo’ access so that you can identify the card and install Arch Linux onto it.
Search for ‘fdisk-1’ in the terminal to get to the right spot.
Start Formatting
From here, you are going to want to use the ‘fdisk’ command to create a partition. Type into the command terminal ‘fdisk /dev/(YOUR SD CARD NAME)’
This will allow you to delete existing partitions on the card and then create a new one for the installation. You can delete all partitions on the card by entering the command ‘o’.
Create Your Partitions
Head to the command terminal and enter the command ‘n’, followed by ‘p’. This will allow you to create a separate partition away from the Arch Linux partition.
Make sure that the other partition is set to a partition type of ‘W95 FAT32 (LBA)’.
You can now create the other partition by typing in ‘n’ and then ‘p’ before hitting enter. This will allow you to create the second partition for use with your Arch Linux installation.
FAT & ext4 File Systems
Now you simply create the file system that will allow you to store your Arch installation on the partition.
Head to the command terminal and enter the command:
Mkdir boot
Mount /dev/sdx1 boot
Mkfs.exta /dev/(Y)
mkdir root
mount /dev/sdX2 root’
Be sure, in this instance, to swap out ‘X’ and ‘Y’ for your chosen partition names.
Step 5 – Download Arch Linux For Raspberry Pi
Once again, head to the command terminal and enter the following command:
‘wget http://os.archlinuxarm.org/os/ArchLinuxARM-rpi-aarch64-latest.tar.gz
bsdtar -xpf ArchLinuxARM-rpi-aarch64-latest.tar.gz -C root
sync’
This is the boot file for Arch Linux that can be used to boot up your Raspberry Pi using Arch Linux. Move that boot file into the partition you wish to boot up from on your Raspberry Pi.
To do this, run the command:
‘mv root/boot/* boot
Sed -i ‘s/mmcblk0/mmcblk1/g’ root/etc/fstab
Umount boot root’
Move Arch Linux To Your Raspberry Pi
Now that you have added the partition to your Micro SD card, you can set about moving the card to your Raspberry Pi. Grab the SD card and insert it into the Raspberry Pi computer. From here, you will be able to boot up the Pi with Arch Linux.
Head to the command terminal within the Raspberry Pi and enter the following command:
‘Pacman – key – – init
pacman – key – – populate asrchlinuxarm’
This command will cause the Pacman keyring to initialize, causing ArchLinux to boot up.
Now, whenever you turn on the Raspberry Pi with this MicroSD card inserted you will be able to boot it up using the Arch Linux partition.

To Wrap Up
Congratulations! You have successfully installed Arch Linux on your Raspberry Pi. You can now explore the endless possibilities that come with having a powerful Linux distribution on your compact device.
From experimenting with new programming languages to setting up servers and running complex applications, the sky’s the limit. We hope this guide has been helpful in simplifying the installation process for you.
Remember to keep exploring and learning new things with your Raspberry Pi and Arch Linux. You might like our guides on how to install Chrome on a Raspberry Pi, or how to rename a Linux directory.
Good luck!
As always we have included a handy video from maketecheasier for those of you who are more visual learners.
